With Action Items, the user will be able to set specific tasks and link them to patients.
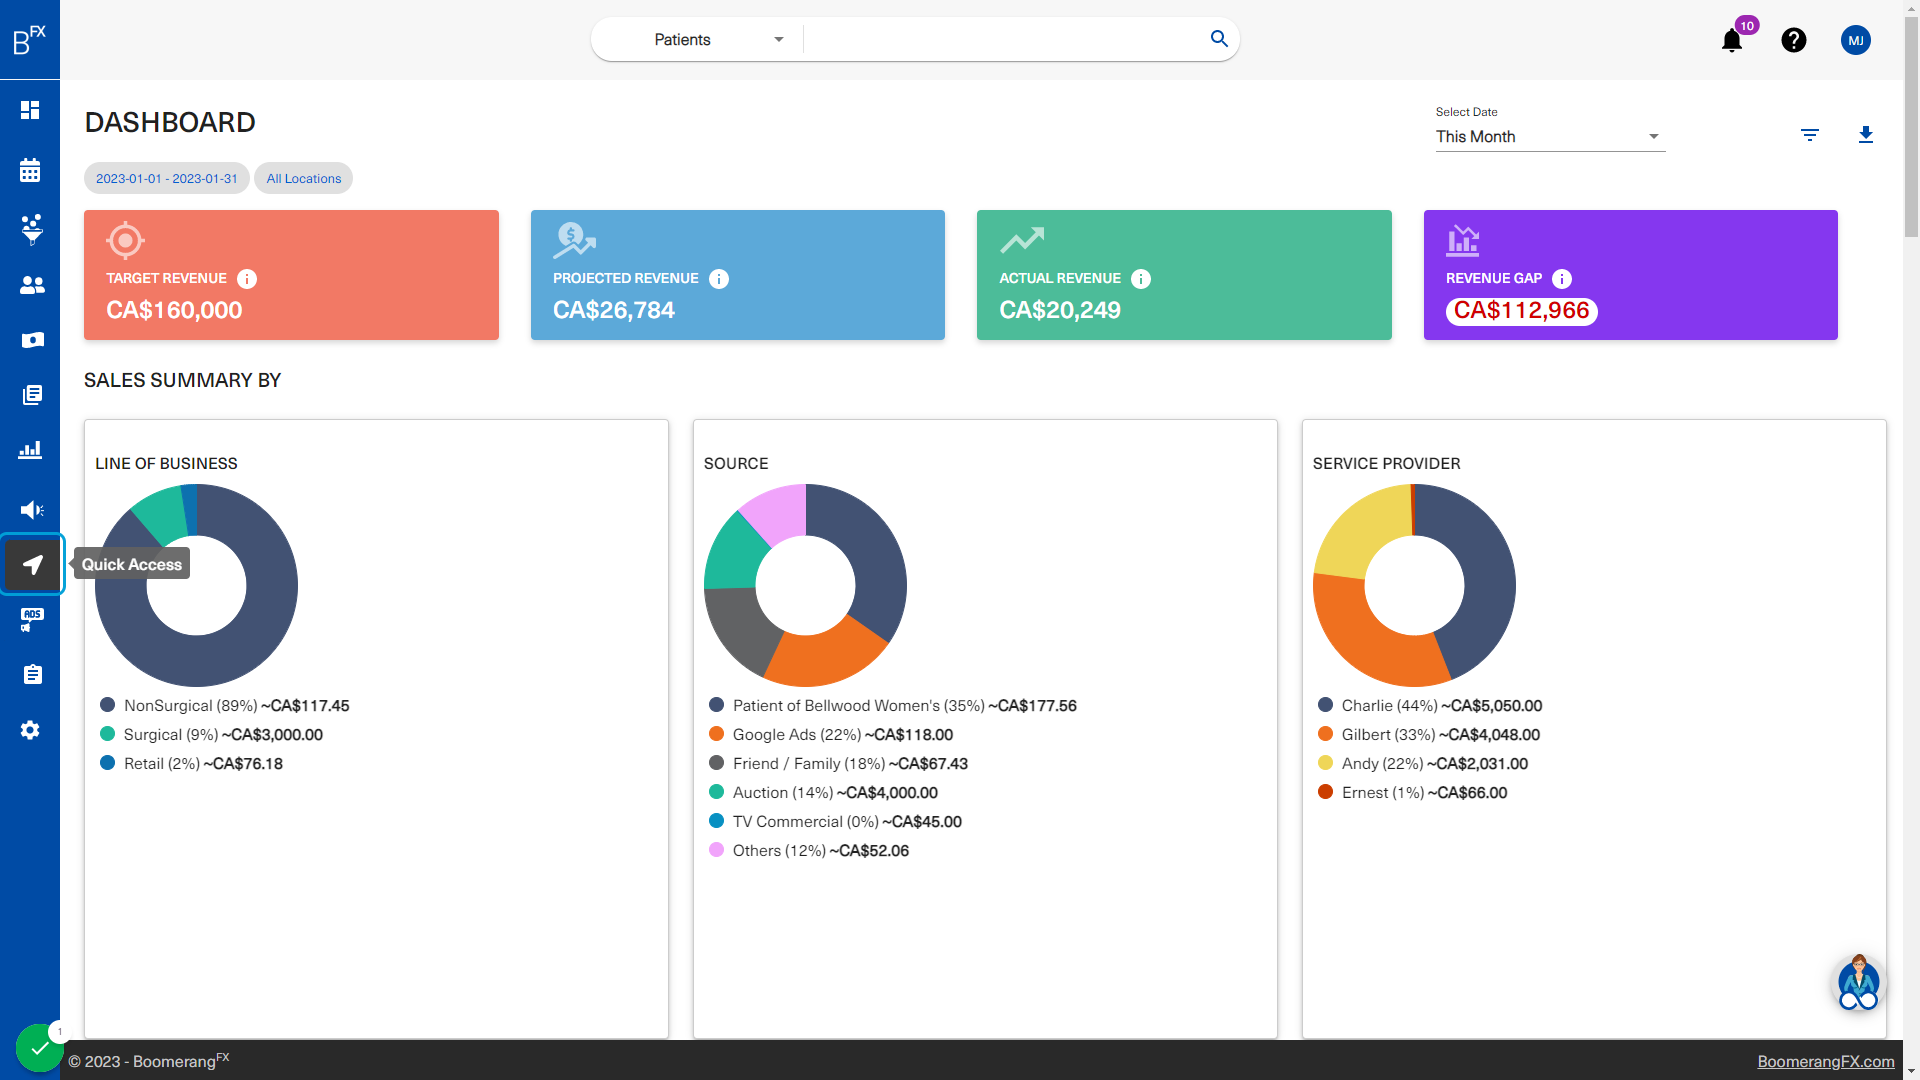
2. Click on Quick Access on the left bar menu

3. Click on Action Items 
4. This is the page the user will land on
The user will find two sections: Add Action and Actions for Me.

5. To begin, the user will start by setting a deadline for the action item 
6. To set the deadline for the action item, the user will click on Completed By and choose a date
By clicking on the calendar icon under the "Completed By" field, the user will be able to choose a date using the calendar widget

7. Click on the appropriate date 
8. The status is set to Pending by default as the action has not been completed yet 
9. Under Priority, the user will be able to indicate how urgent this action item is 
10. Next, the user will specify the Patient/Lead associated with this action item
The user will type the name of the patient/lead found in the system and choose the appropriate name

11. Click on option 
12. After choosing the associated contact, the user will select the appropriate action
Actions can be created under the Set Up menu

13. The user can also specify who from the staff the action item will be assigned to 
14. For the purpose of this workflow, the Action Item will be assigned to the current user 
15. Under notes, the user is able to fill additional comments/information regarding the action item 
16. Once all fields are filled as necessary, the user will click on Save Action Items
Once clicked, the action item will appear under Actions For Me

17. In the Actions For Me section, the user is able to filter the action items
The user may choose to look through the action items of other staff members as well

18. This table shows a brief overview of the action items for the selected staff member 
19. To edit a pending action item, the user may click on the pencil icon 
20. Any of the information is editable
If the user only wishes to specify that this action item is complete, this radio button should be clicked

21. To save, click on Save Changes 
