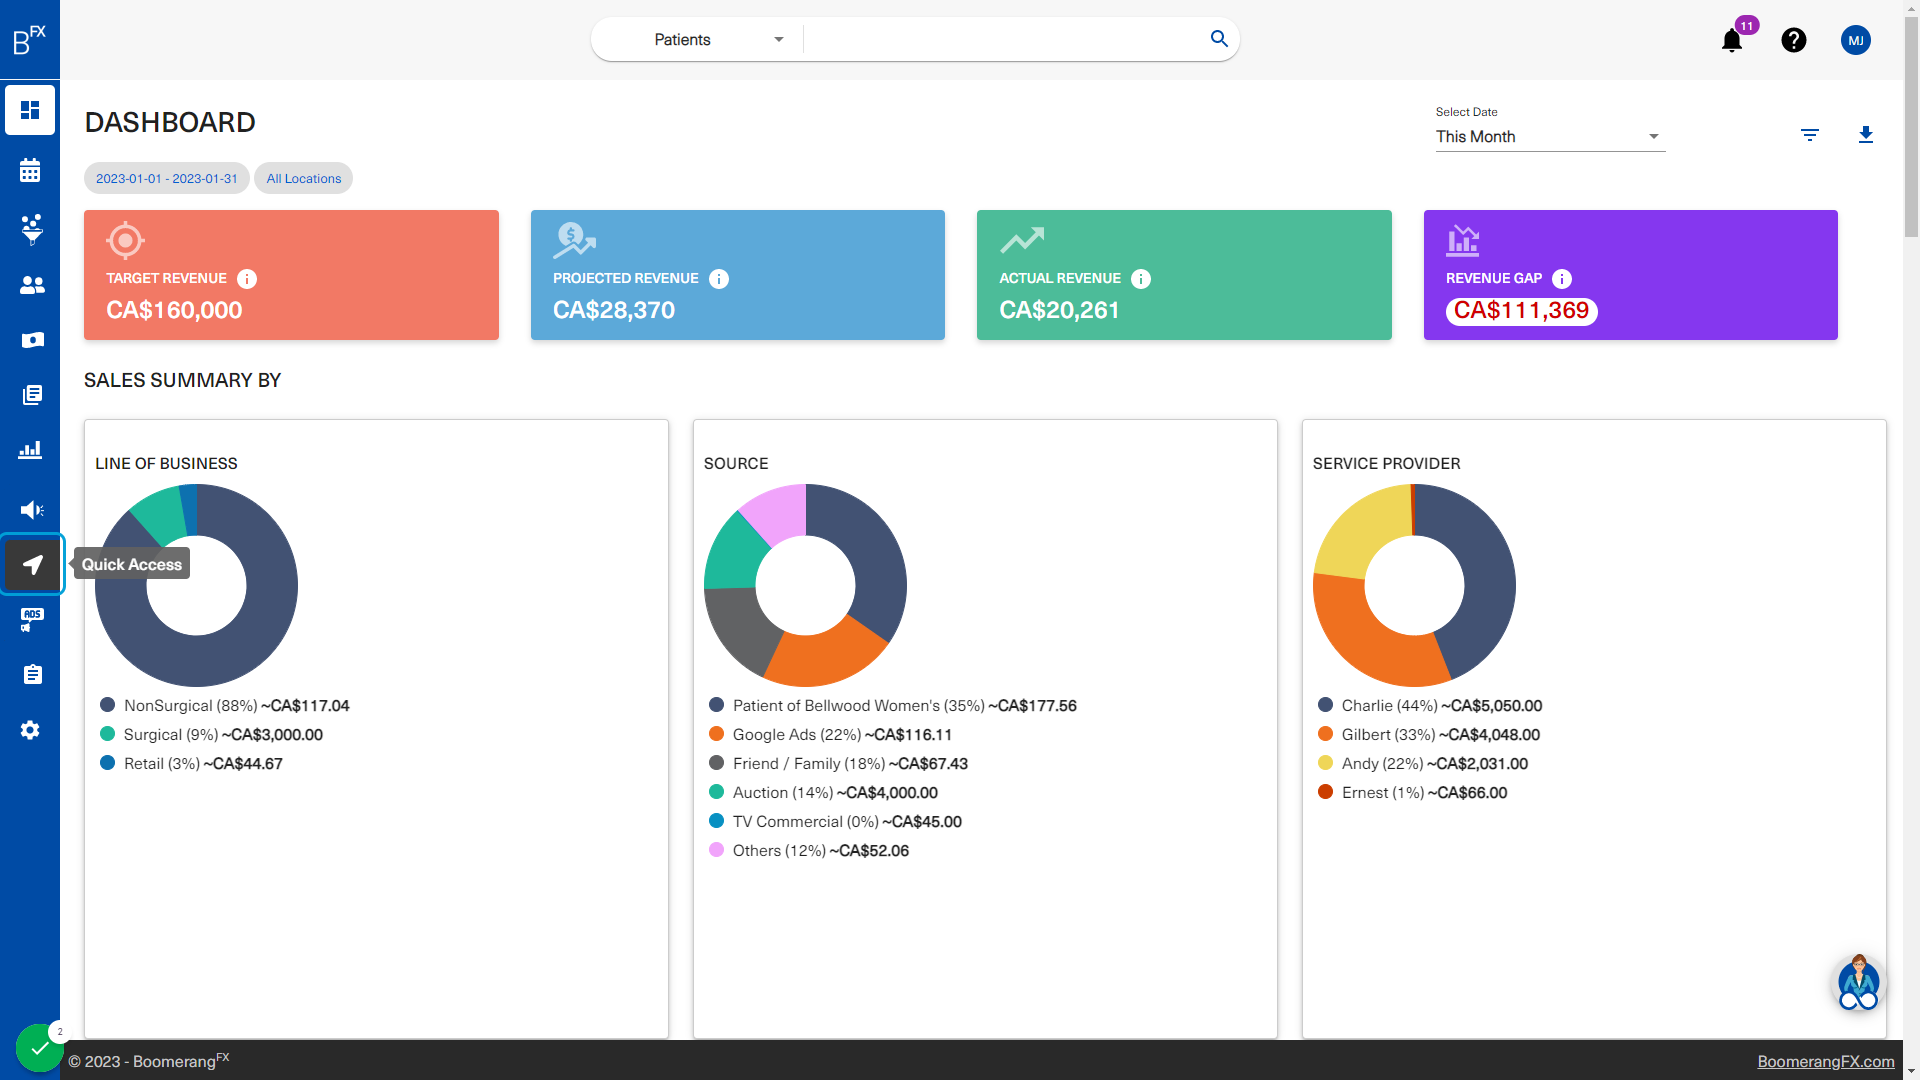
2. Click on the Quick Access button on the left bar menu

3. Then click on Activity Log 
4. This is the main Activity Log page
Under that page the user will be able to access a log of activities done by the staff in BoomerangFX. The purpose of this log is to track all changes for reporting or error spotting purposes.

5. To select a specific time frame of the activity log, the user will choose a start and end date 
6. The user may use the navigation buttons to choose the correct start date month... 
7. ...and day 
8. Same applies for the End Date 
9. Click on 25 
10. The user will click on search to view the all the changes that are logged in the chosen time frame 
11. This list will appear below
The list is filtered by date from latest to oldest by default. Filters can be applied to all columns by clicking on the column title.

12. The list of activities are linked to pages within your BoomerangFX login 
13. Upon clicking on the activity, the user will be redirected to a page directly related to that activity
The purpose of this function is to view the details of the activity that took place. Some pages may even be editable, however, the records listed in the activity log are not editable and there will always be a record of all previous, current, and future changes.

14. In this case, the user is redirected to view the receipt that was created and recorded in the activity log
The user may decide to edit this receipt, and that edit along with any other changes to this receipt will appear in the activity log

15. In order to search through the activity log, the user will click on the search icon located above the top right corner of the activity log table 
16. This search bar includes filters for a more efficient search 
17. To download the activity log, the user will click on the download button next to the search bar 
18. The user may also view other pages by clicking on the back and forth arrows located in the bottom right corner of the activity log table 
19. The user may also choose to view 10, 20, or 30 records at once as necessary
This can be done by clicking on the drop down labeled "Rows per page" to the left of the back and forth arrows

20. This is an example of how the activity log will appear if the user decides to choose 30 rows per page 

