1. Pre-requisites to online booking
In order for the online booking to work, the clinic staff members need to be pre-assigned to specific procedures (Step 1). That is done under the Staff Members Setup. Next, the Staff Schedule needs to also be pre-determined in order to allow patients to pick a timeslot from a list of available staff hours (Step 2). This is done under Staff Schedule Setup.
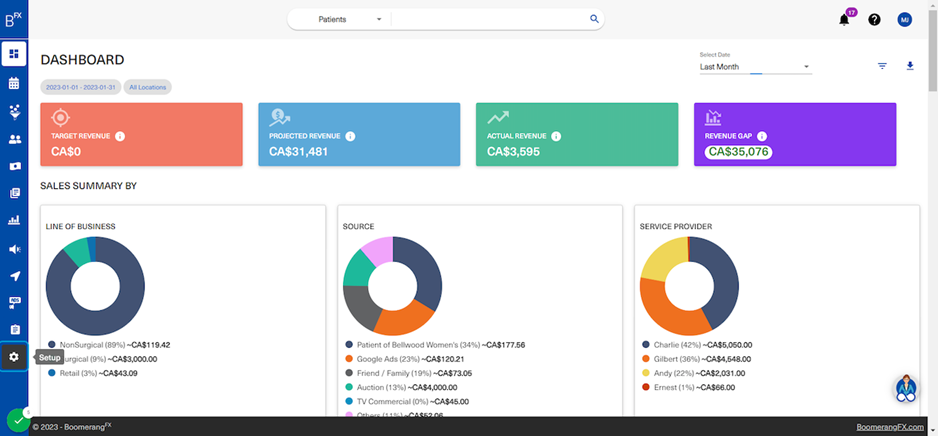
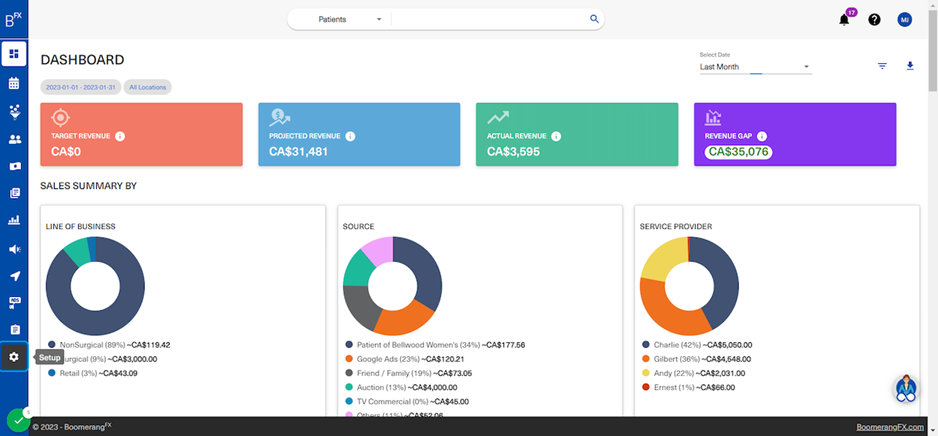
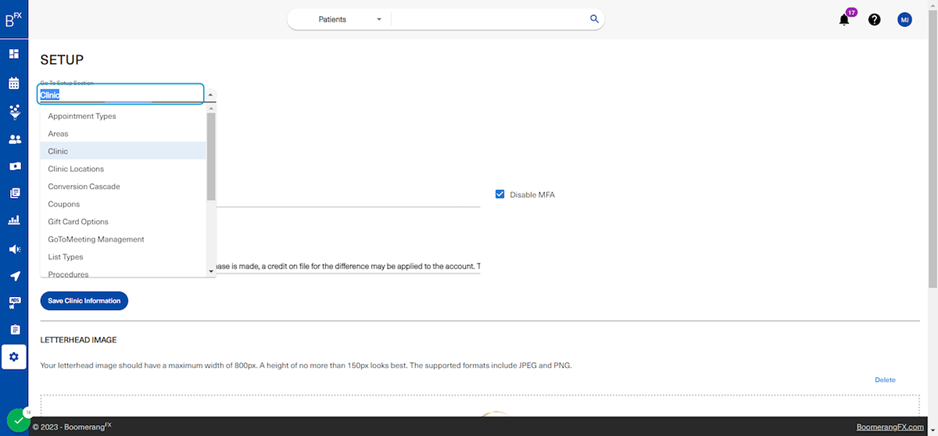
2. Click on the Go To Setup Section
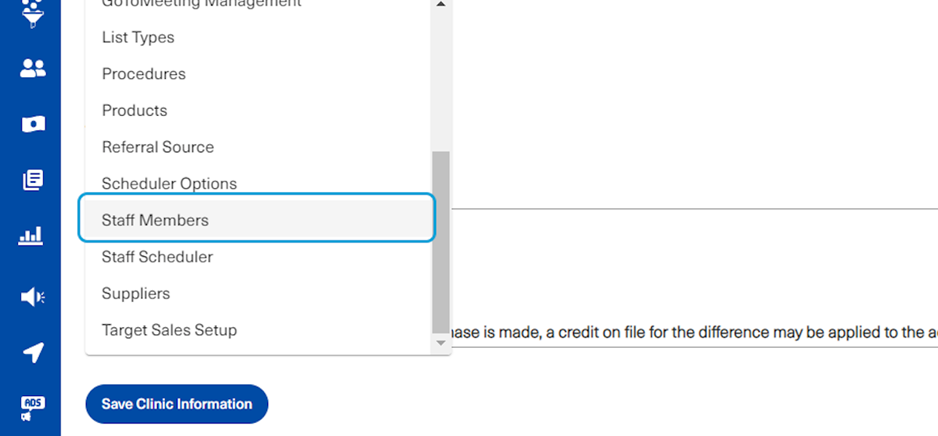
3. Click on Staff Members
4. Step 1: Adding Procedures to Staff Members
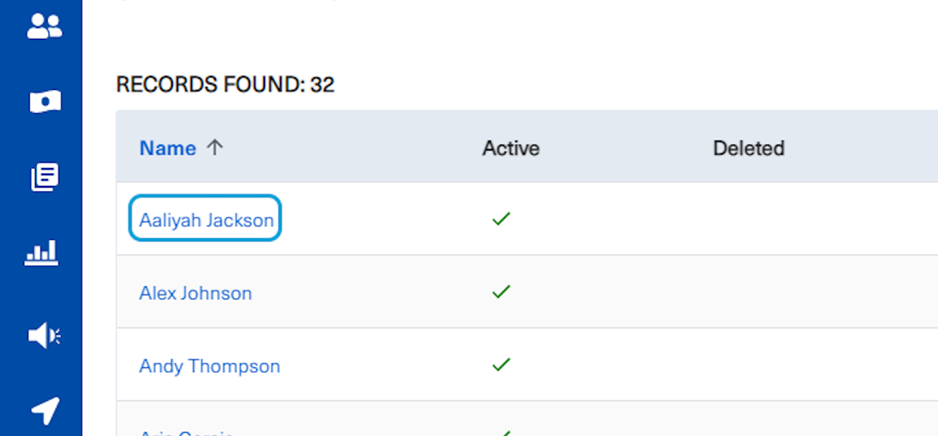
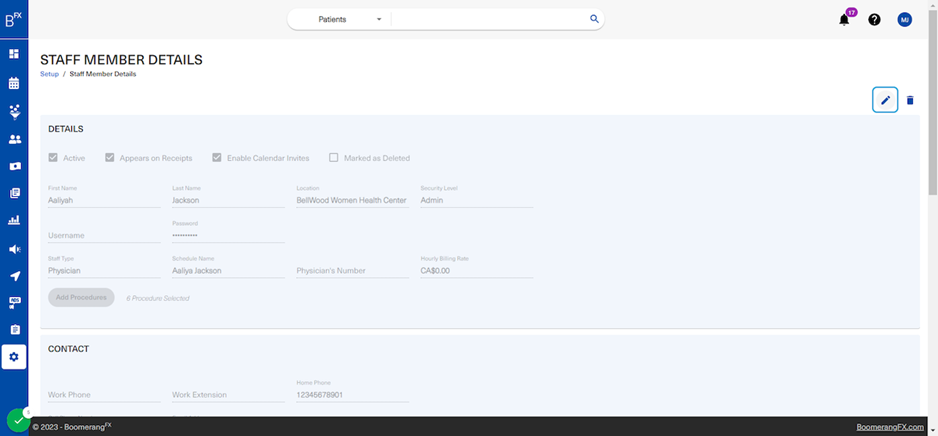
This is the staff members page, by clicking on the name users are able to view the staff member's details then edit by clicking on the pencil icon (shown in the next few steps). The user may also decide to edit right away by clicking on the staff member's edit icon (the pencil).
5. For the purpose of this workflow, click on the name you wish to edit
In this example, Aaliyah Jackson will be the staff member who a patient books online with
6. Then click on the edit button on the top right
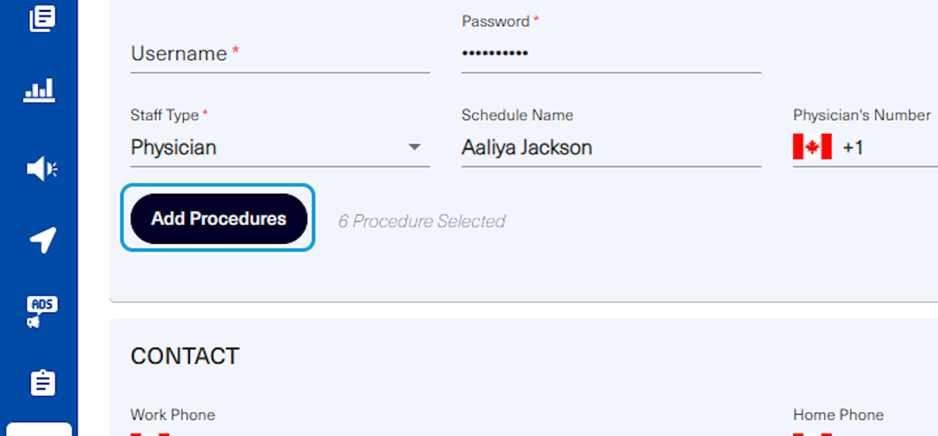
7. Click on Add Procedures
8. Navigate and select appropriate procedures
The user will see a pop up revealing all the procedures that the staff member has been assigned. The user could then choose to select or unselect the procedures as necessary.
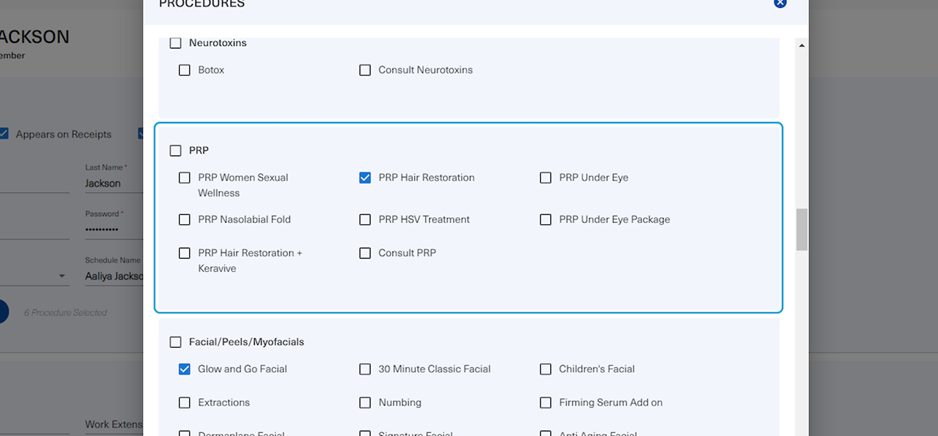
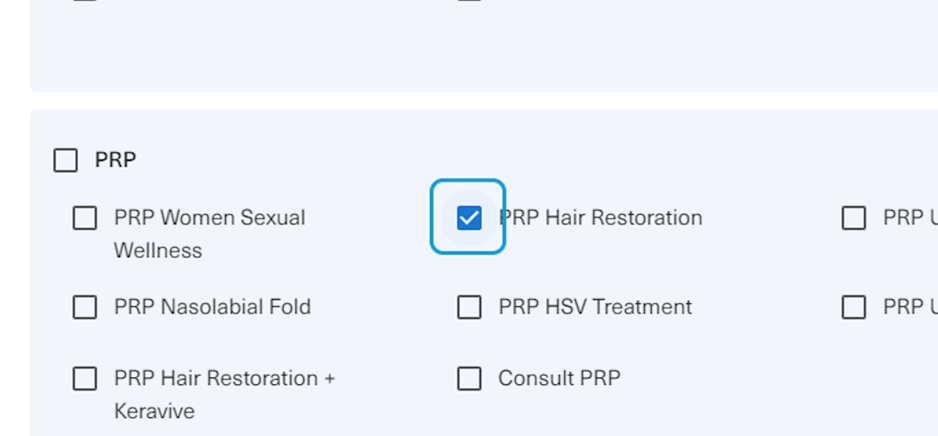
9. In this example, Aaliyah Jackson will have PRP Hair Restoration checked
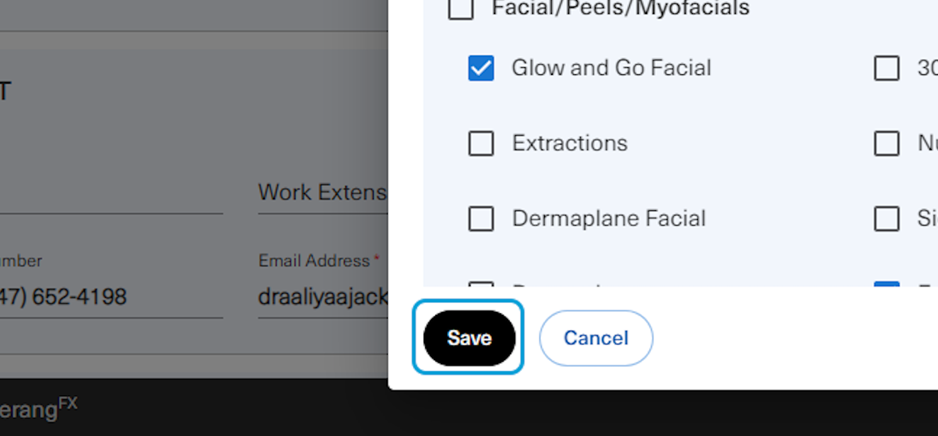
10. After selecting all appropriate procedures that the staff member will be conducting, click on save to save the changes made to this pop up
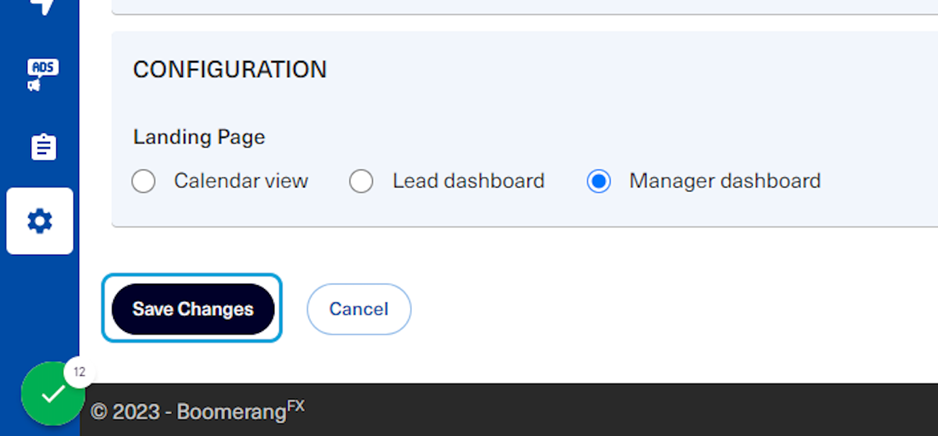
11. Then scroll down and click on Save Changes to save all edits made to this staff member.
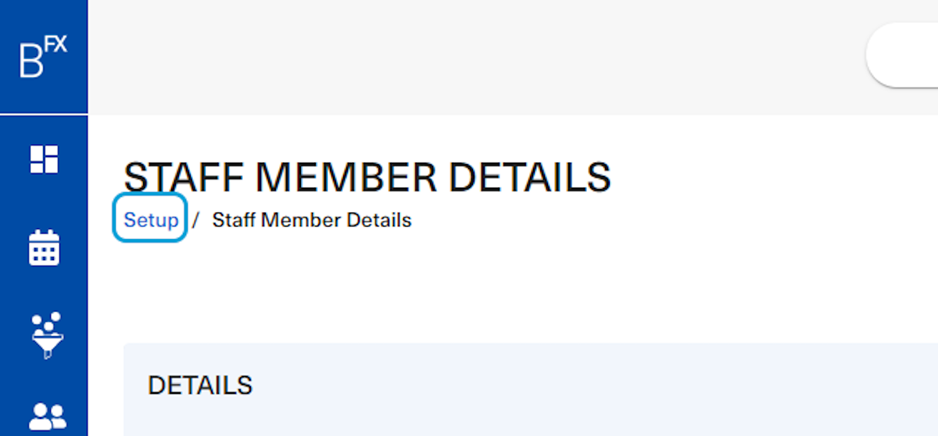
12. To go back to the Setup page, click on Setup
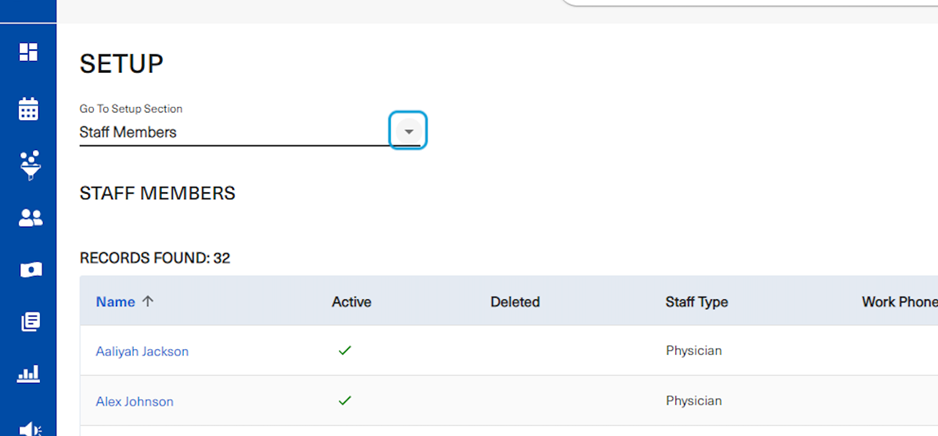
13. Click on the Go To Setup Section
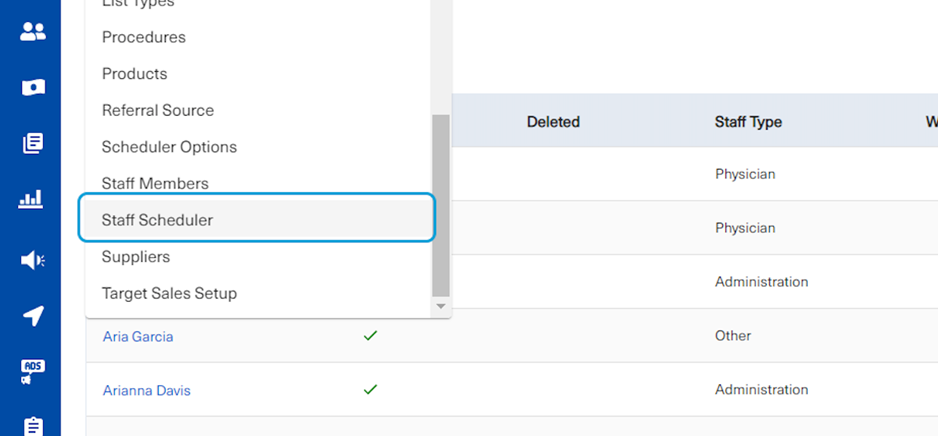
14. Then click on Staff Scheduler
15. Step 2: Setting up the Available Staff Hours
On this page, users will able to set up a schedule for the staff's working days and hours in detail.
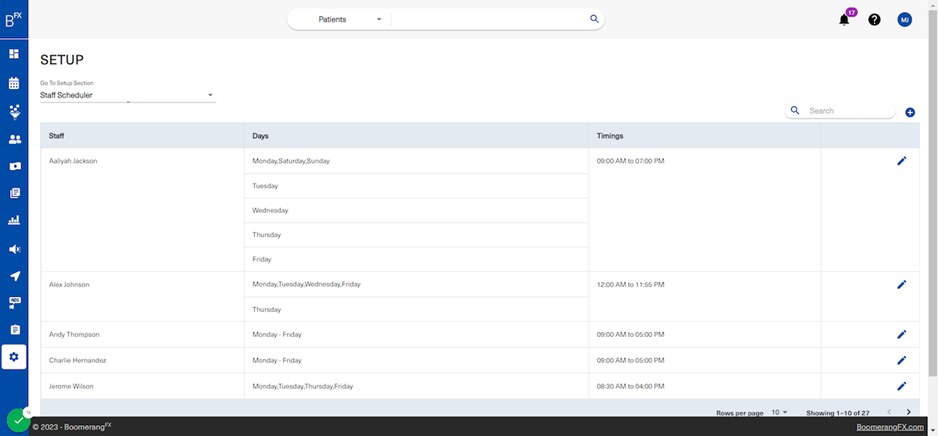
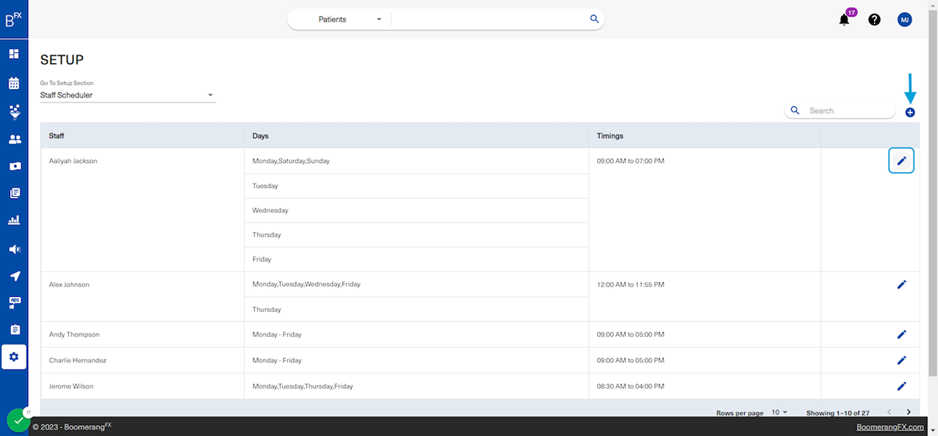
16. In this workflow, an existing staff schedule will be edited. Click on the pencil icon to edit.
To create a new staff schedule, then the user may click on the plus sign. The process is the exact same as what is shown in this workflow.
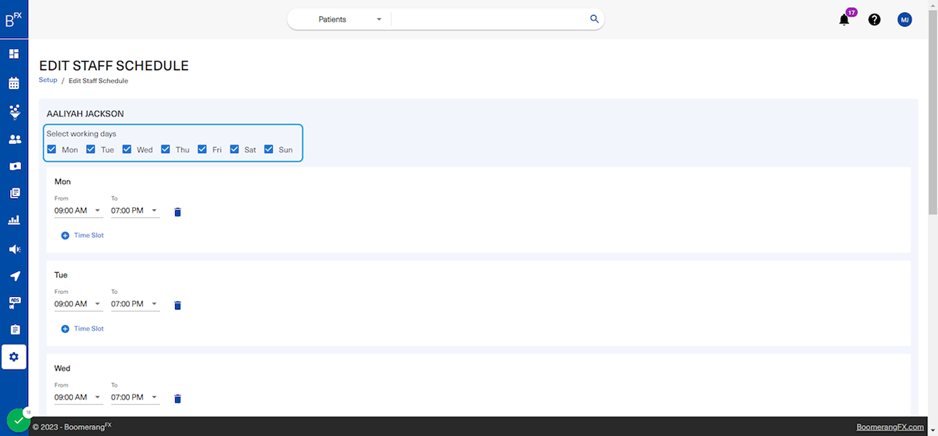
17. This component allows the user to specify the staff member's working days
The below boxes will automatically appear allowing the user to select a start and end time for the staff member's shift.
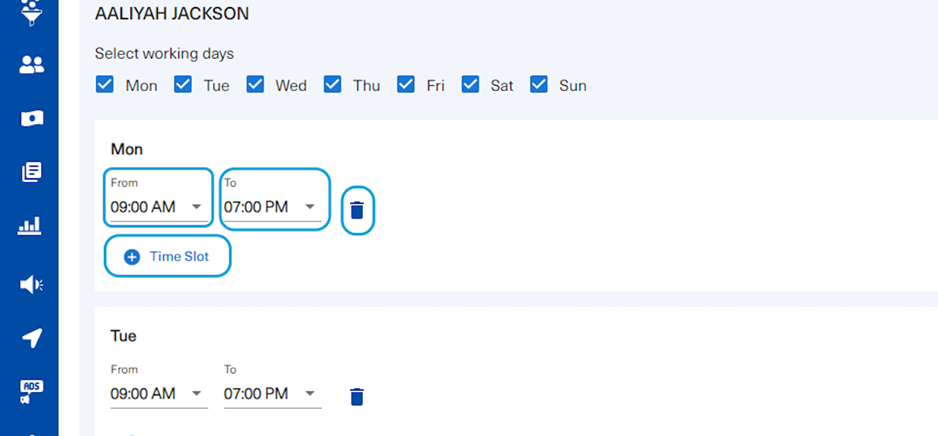
18. The user may choose the time that best suits the staff member, or delete this working day, or add multiple time slots for the staff member.
The staff member may want to work from 9 AM - 2 PM, then continue from 3 PM - 7 PM. The user is free to customize the day according to the staff member's preference.
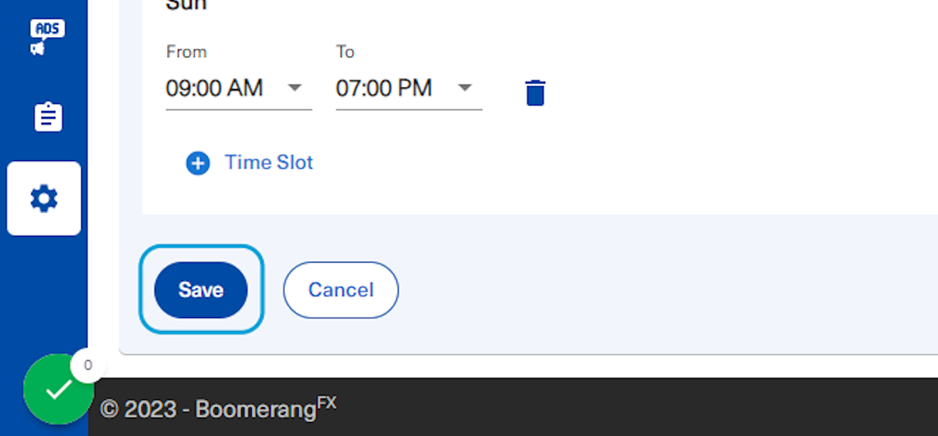
19. After customizing the staff schedule, scroll down and click on Save
20. At this point, you have completed the two steps required for enabling your online booking!
Once informed, your implementation specialist will enable your online booking feature on your website and your new leads / patients will be able to book appointments straight from there. The next steps explain the lead / patient journey through an example website.
21. This is an example website of Bellwood Women's Health and Wellness

22. Click on Book Online

23. The user will be redirected to this page containing 2 quick steps
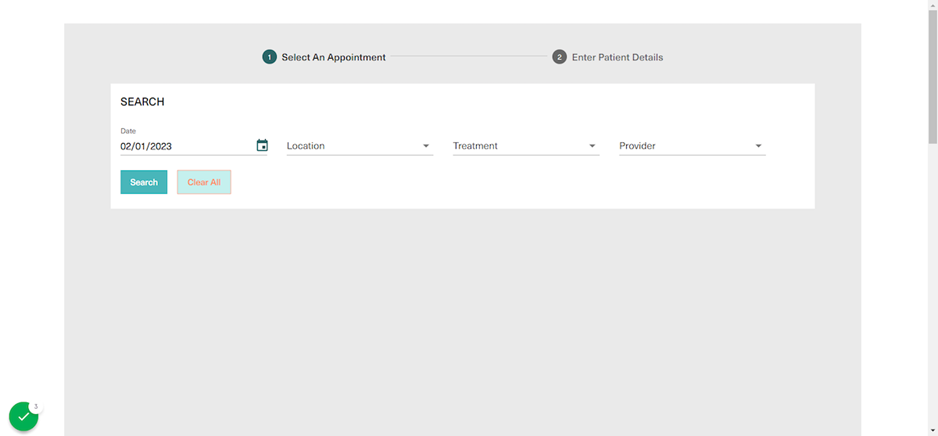
24. Step 1: Select An Appointment
The user will fill out the necessary information to have an accurate search. In this example, the provider chosen is Aaliyah Jackson.
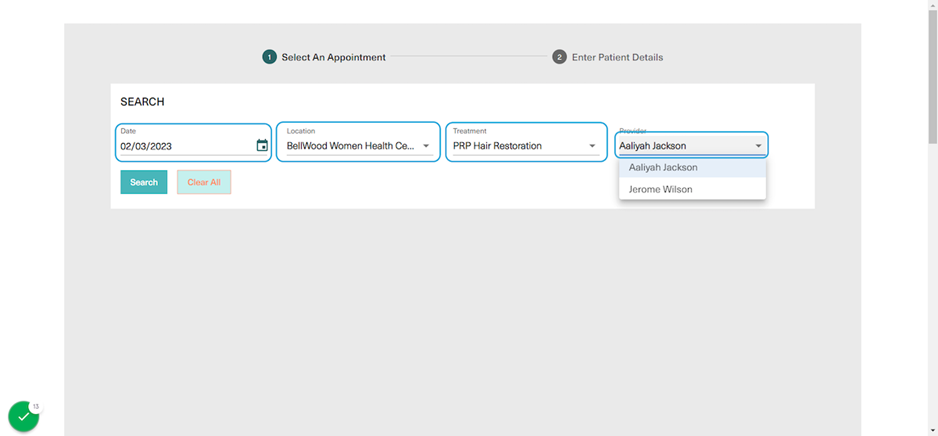
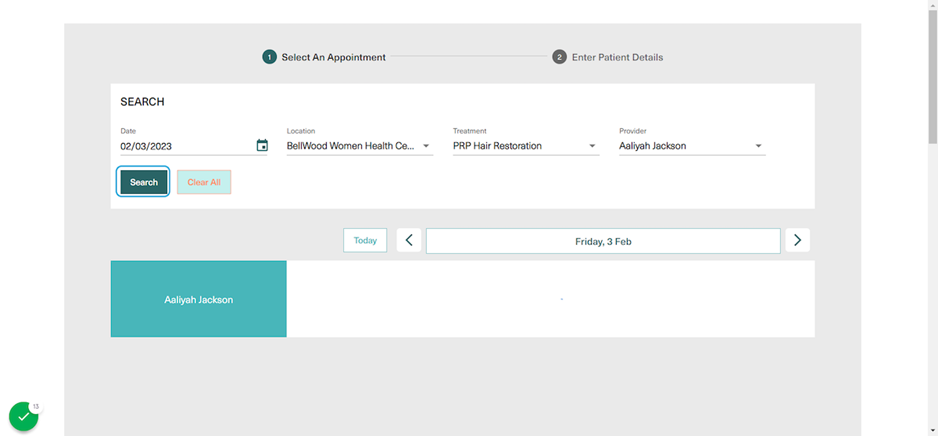
25. Once all information is filled out, the user will click on search to view available appointment time slots for the chosen provider
26. In this section, all available time slots will be shown. The user may choose only one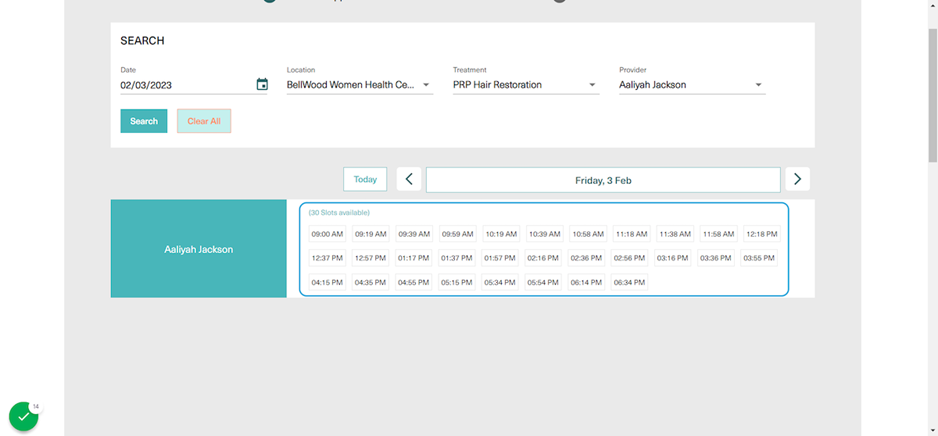
27. Once the user chooses a suitable appointment time, the appointment details will show on the right and the user will start with Step 2.
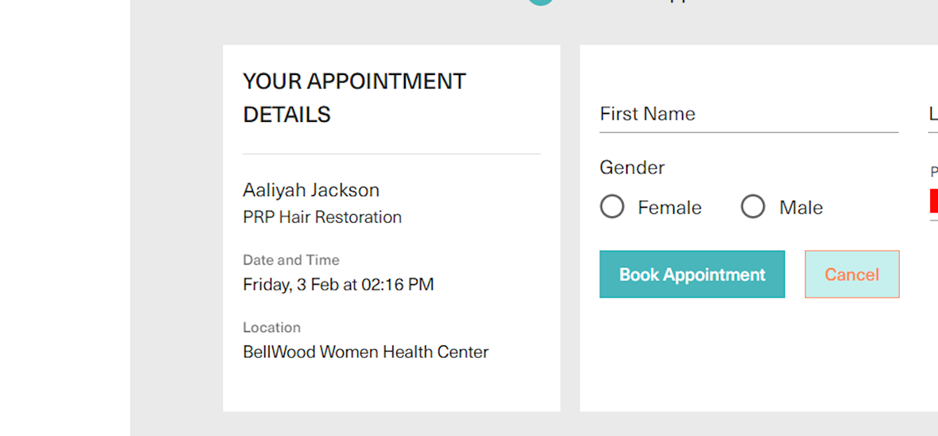
28. Step 2: Enter Patient Details
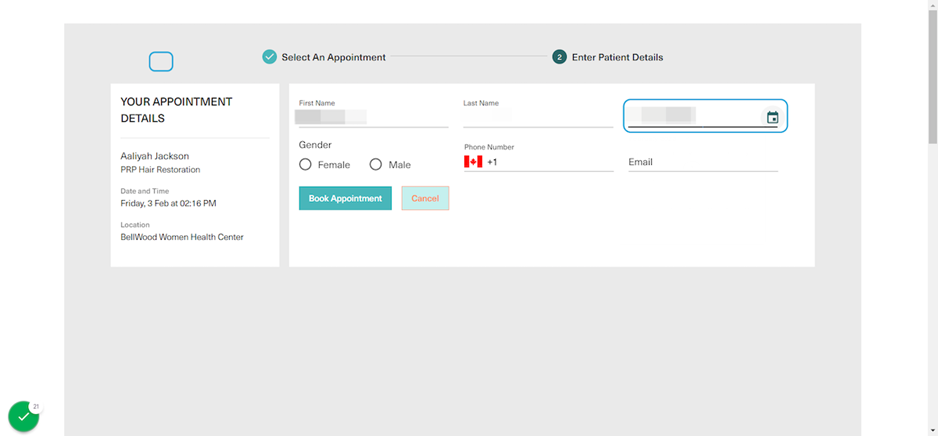
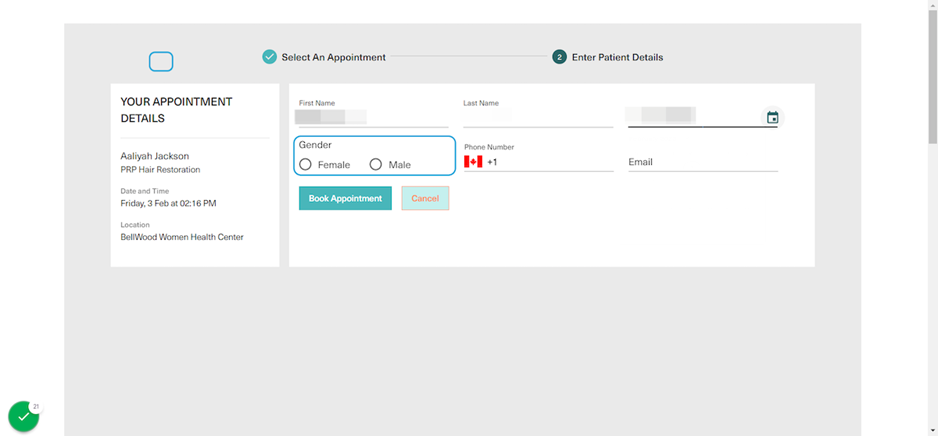
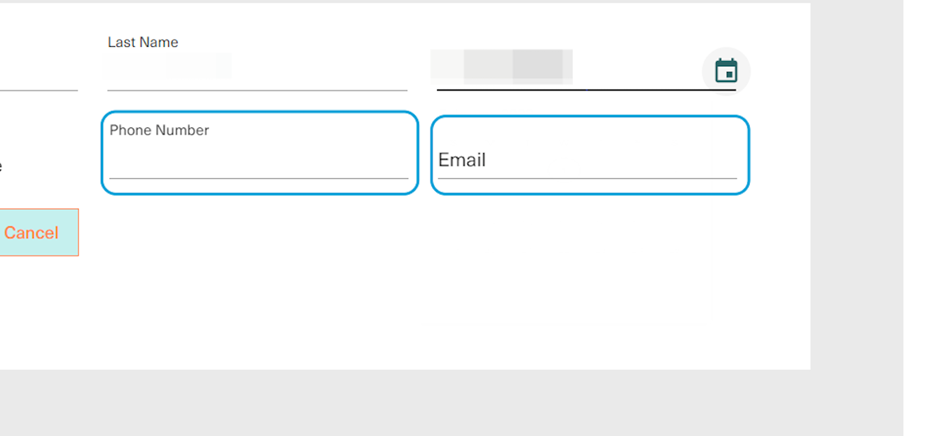
In this step, the user fills in demographic information which will automatically be added into a patient profile in your BoomerangFX login. This process is automated to enhance the internal process of adding patients and booking them into the scheduler. The system will also match the information provided here with the patient list on your Boomerang login. If the information is a perfect match, the appointment will be booked under the relative existing patient profile. If it is not an exact match, it will create a new patient.
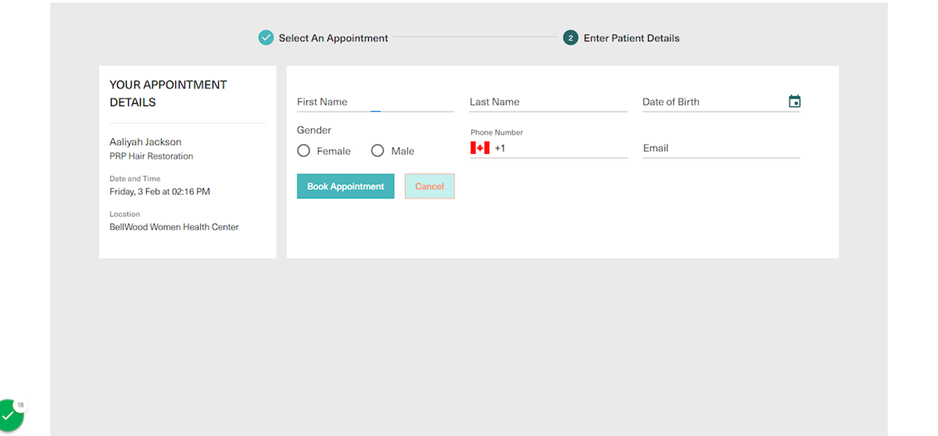
29. The user will fill out their information
Contents are blurred only for this example
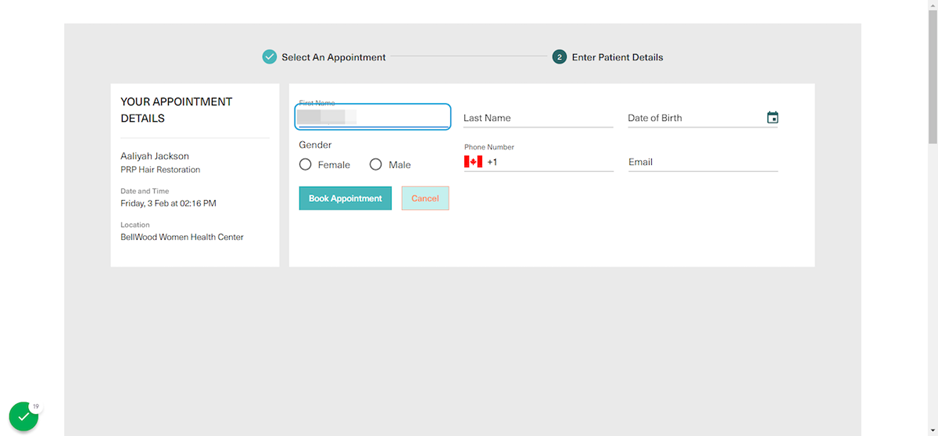
30. Last name
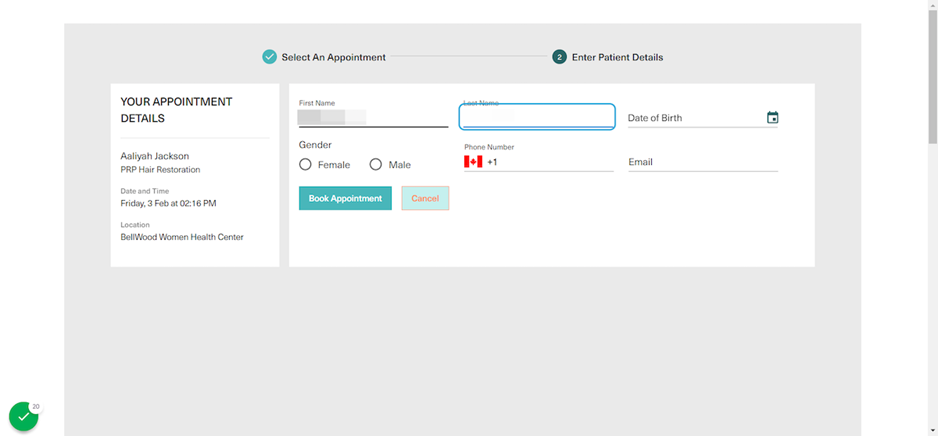
31. Date of birth
32. Gender
33. Phone Number and Email
34. When all fields are filled, the user will click on Book Appointment
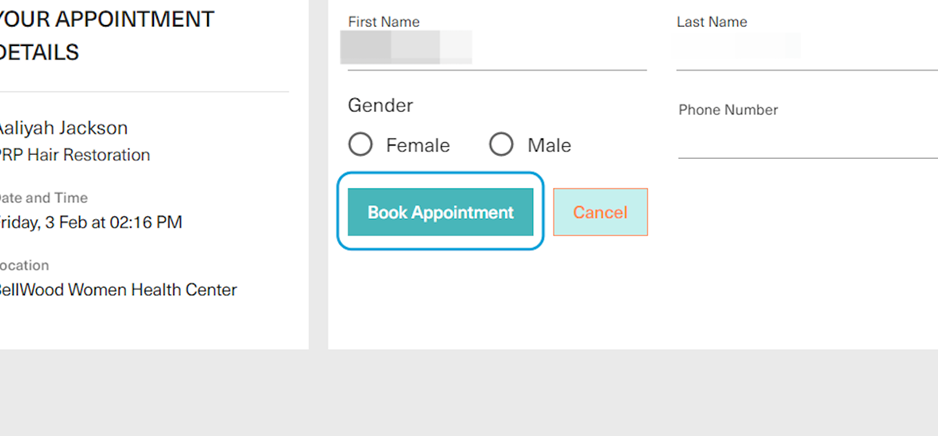
35. This box will appear prompting the user to enter the verification code sent to the phone number that was just used to book the appointment online
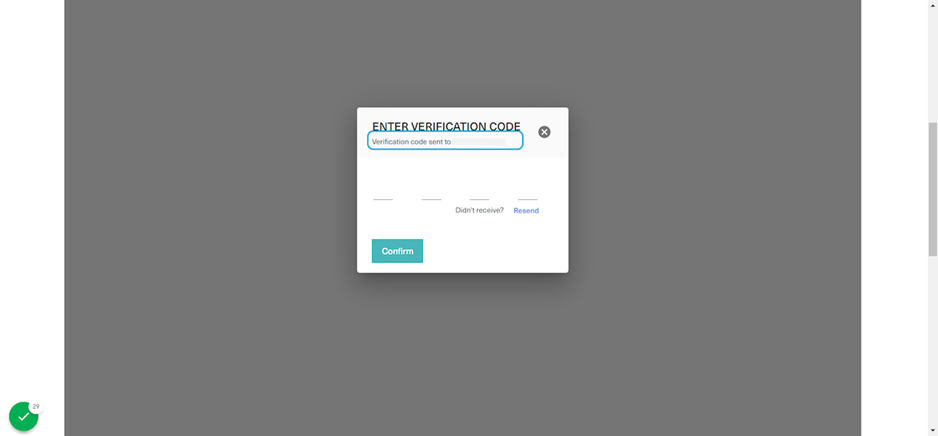
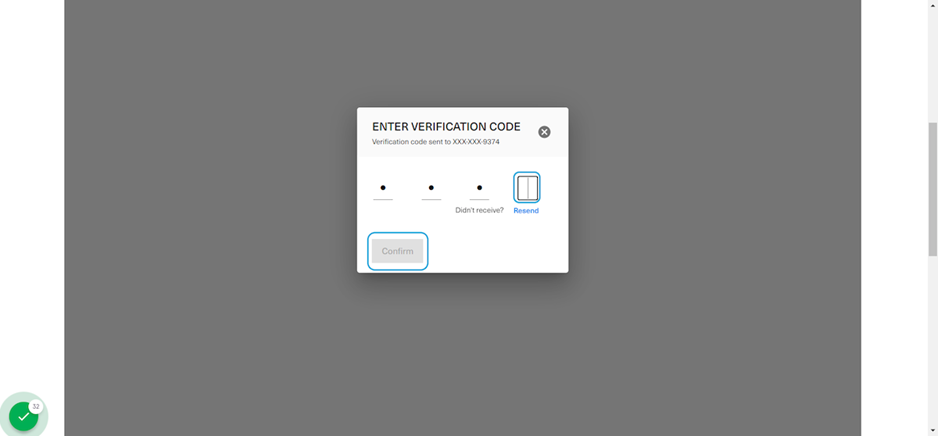
36. Type the code into this prompt then click on confirm
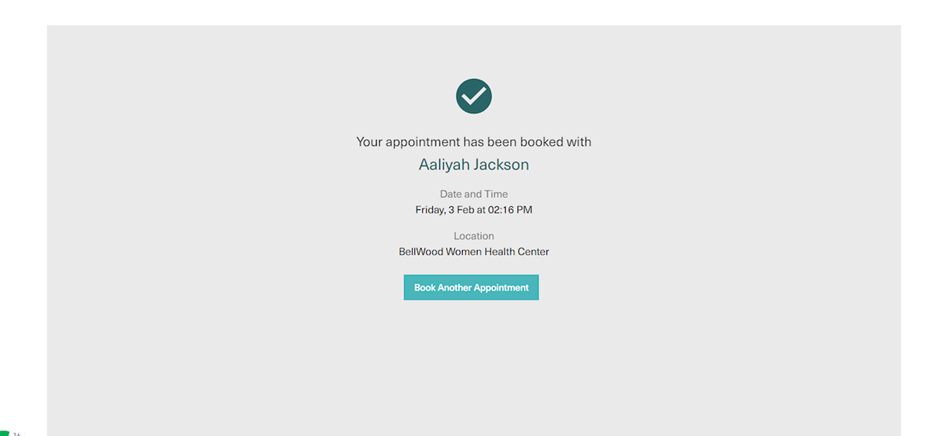
37. This is the confirmation message that will appear to the user upon completing the online booking
The user will also get an email confirming the appointment.
38. On the clinic's end, click on scheduler to view the scheduled appointment
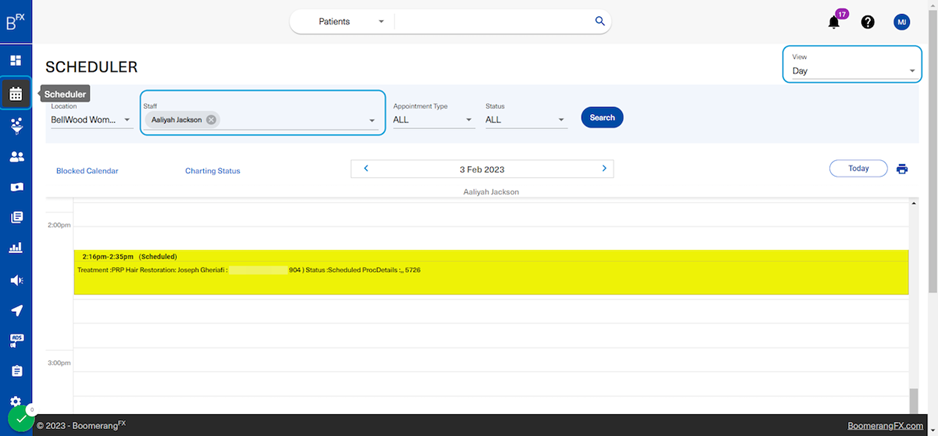
In this page, the staff is filtered to show only Aaliya Jackson's schedule the view is set to Day, and the calendar is showing the 2:16pm-2:35pm appointment which was booked online. This is also an existing client and the treatment appeared under their patient profile.
