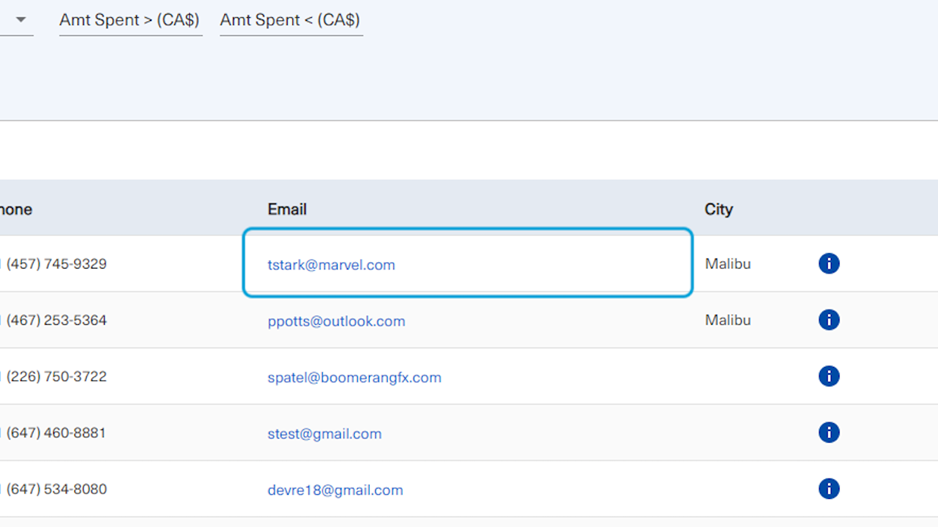
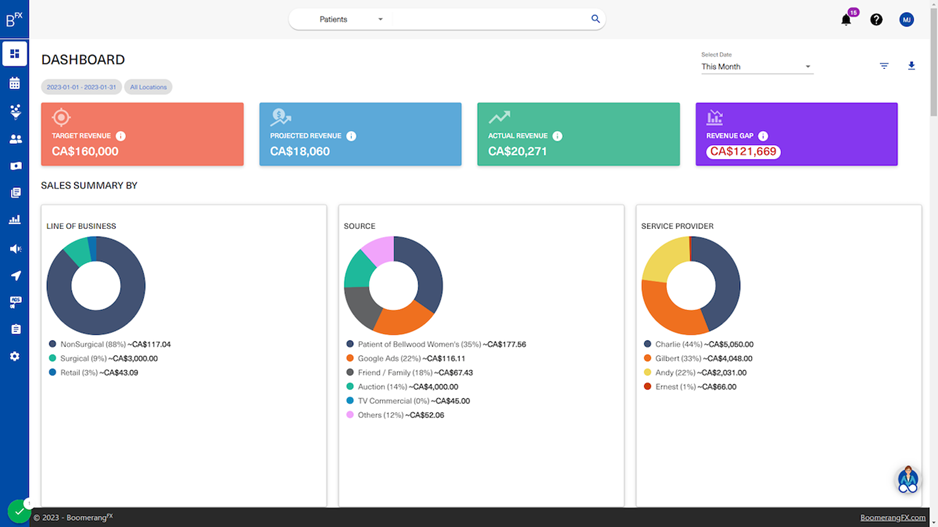
2. Start on the Dashboard Page
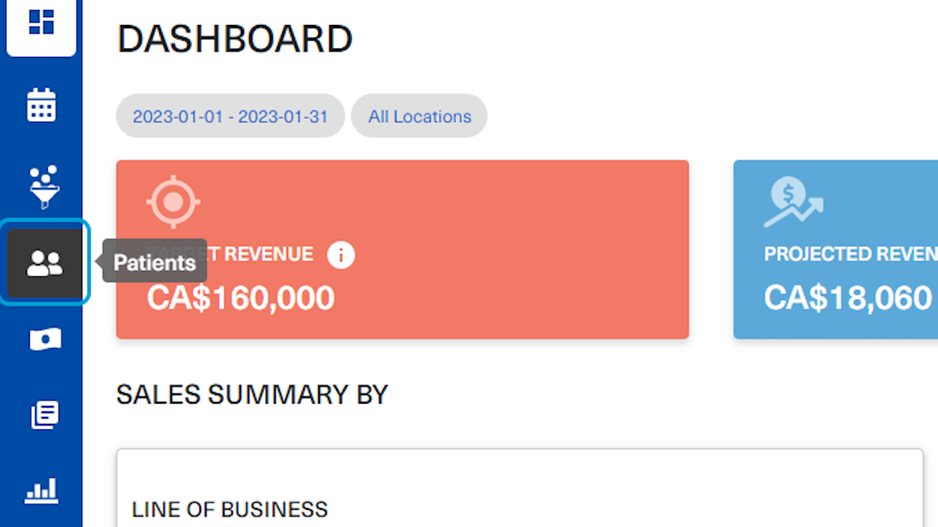
3. Click on Patient on the left bar menu
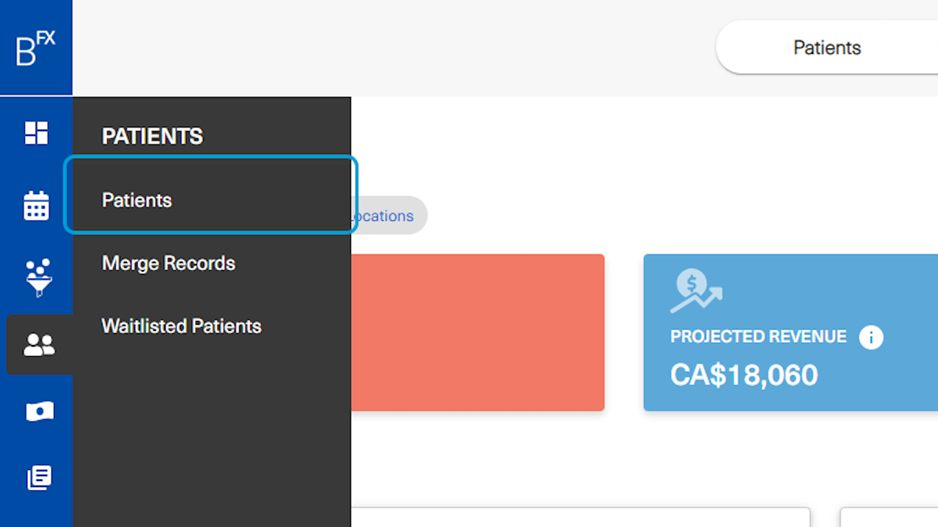
4. Click on Patients
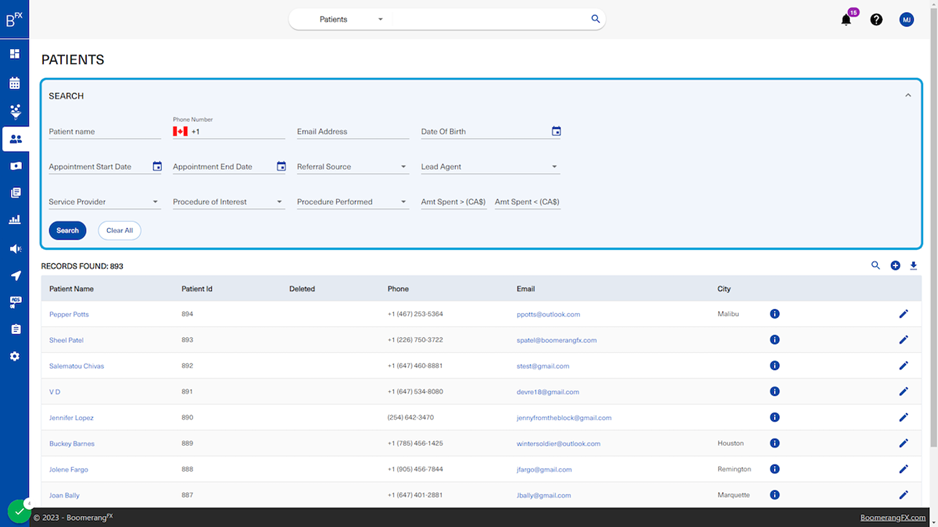
5. The user may utilize this search bar to find patients
The user may search for patients by name, date of birth, procedure, etc.
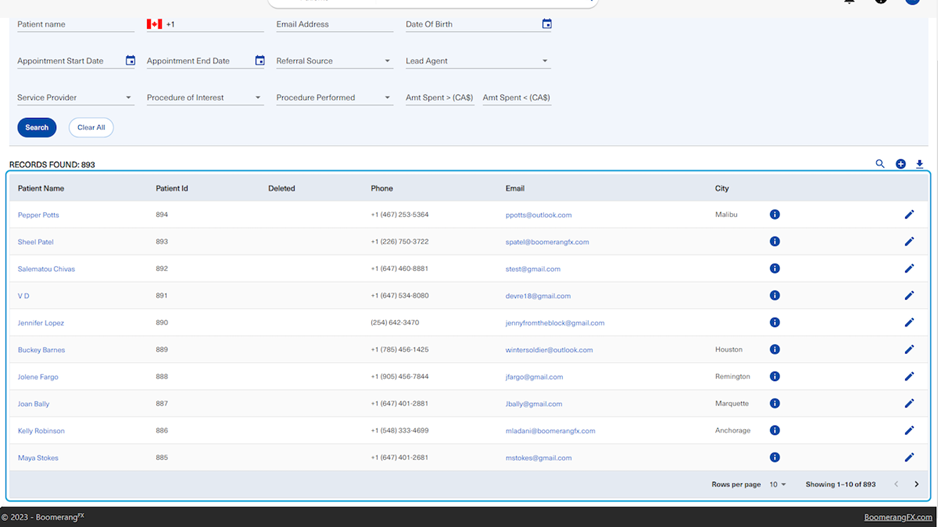
6. This section shows all the practice's patients in a list with some of their details
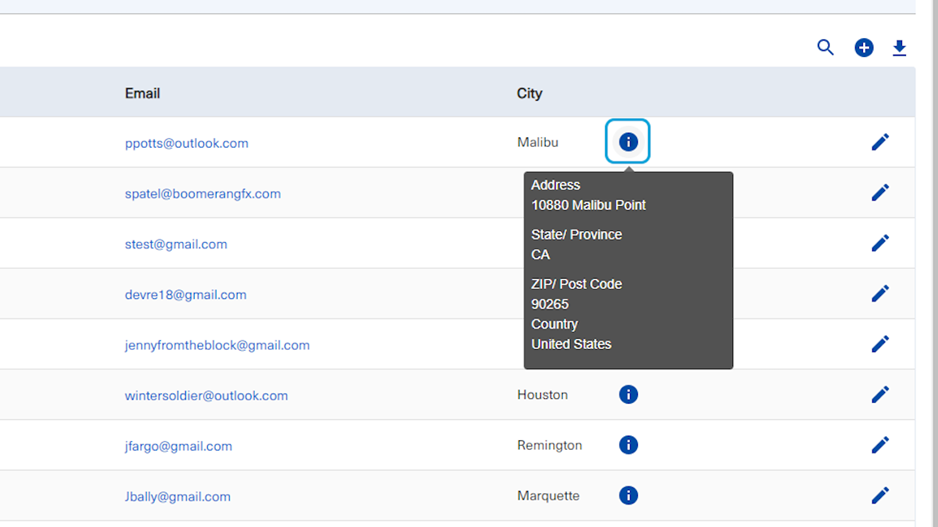
7. Hover over the tooltip to view more details about the patient's address
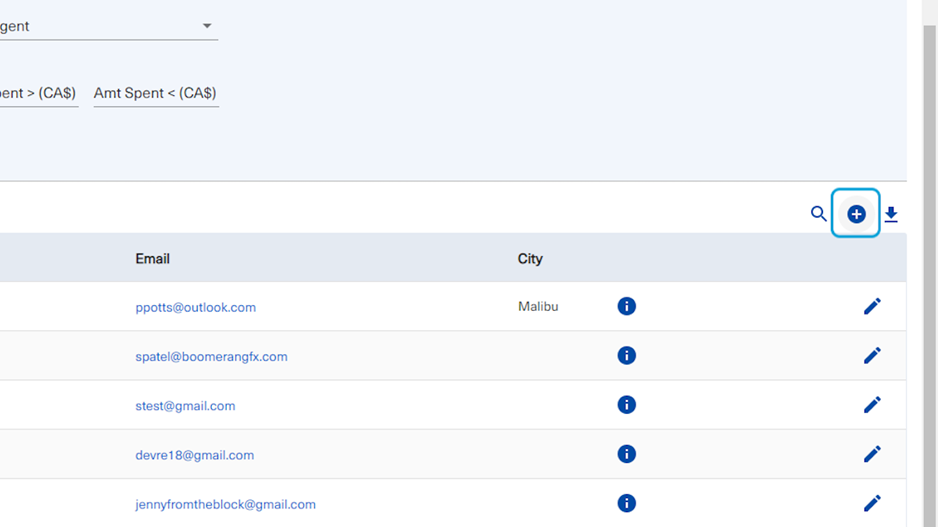
8. To add a patient, click on the plus sign on the top right corner of the patient list
9. Step 1: Basic Information
The user may click on each title/step of this navigation bar to skip to the end or go back to edit any required changes.
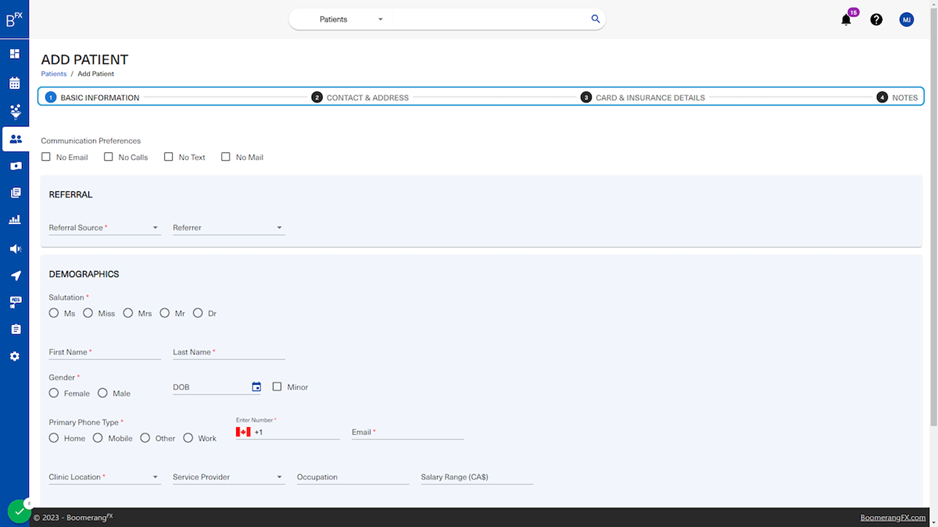
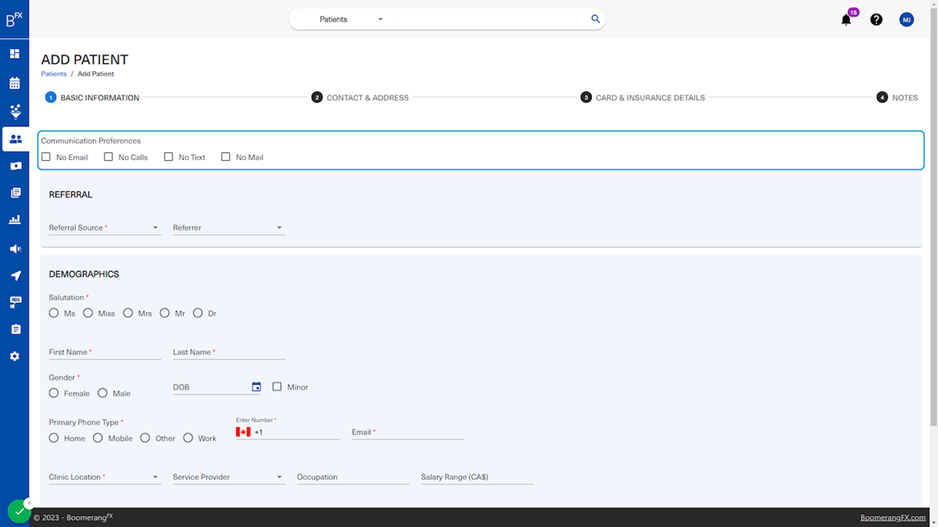
10. Check any of the boxes that apply to the patient's "Communication Preferences"
The checkboxes are NOT checked by default. They are meant for specifying the modes of communication that the patient would prefer NOT being communicated through.
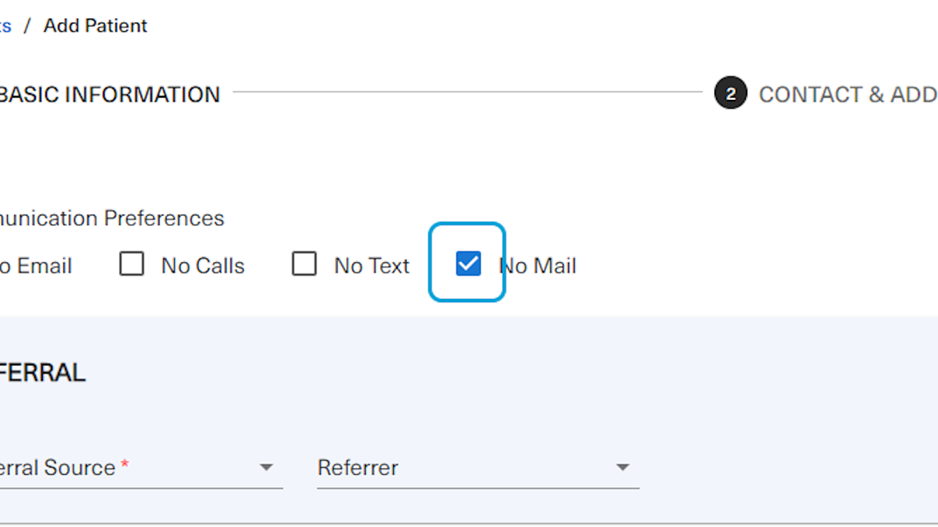
11. For example...
Clicking on "No Mail" indicates that the patient prefers to not be sent any correspondence by mail, however, will accept all other mentioned modes of communication.
12. Under the "Referral" section, click on the drop down button to open the drop down menu
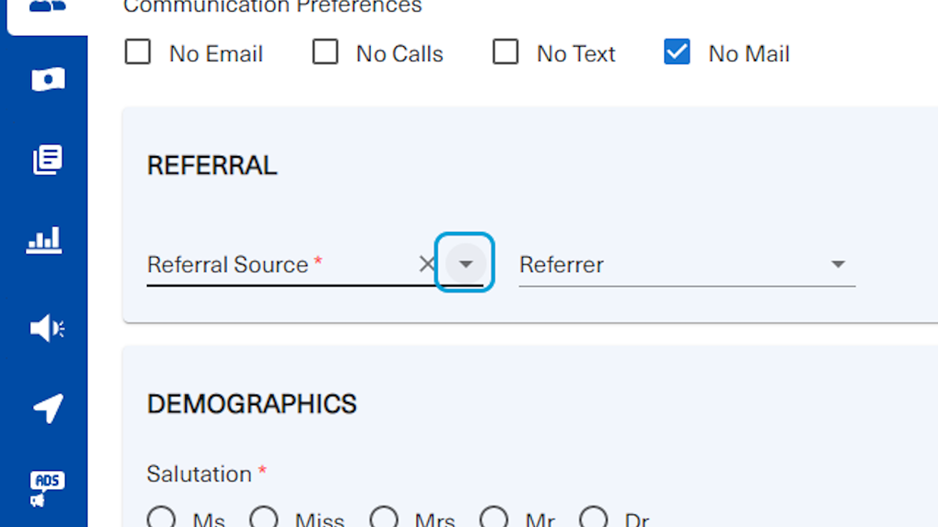
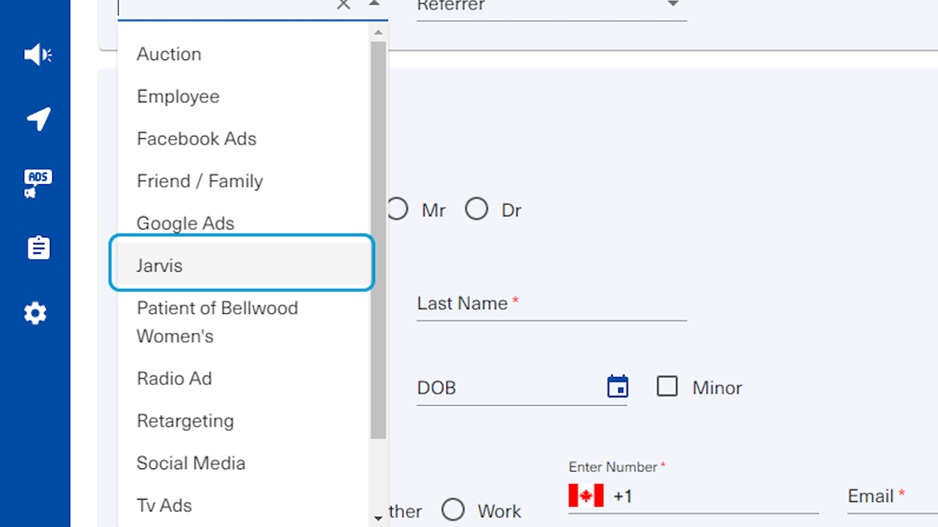
13. Choose an option from the dropdown menu
The options are pre-defined fields that can be added/edited under the Set Up section of the user's BoomerangFX Login
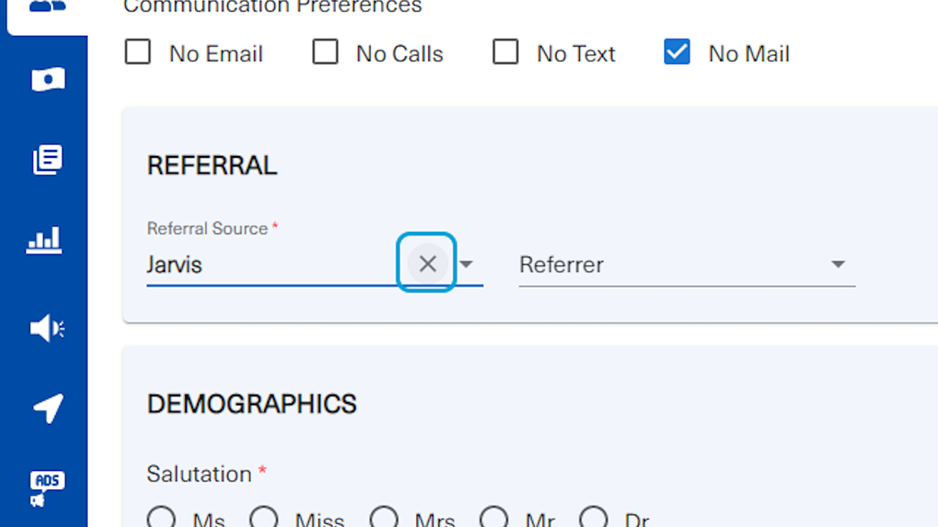
14. The user may click on the "X" to clear the selected option
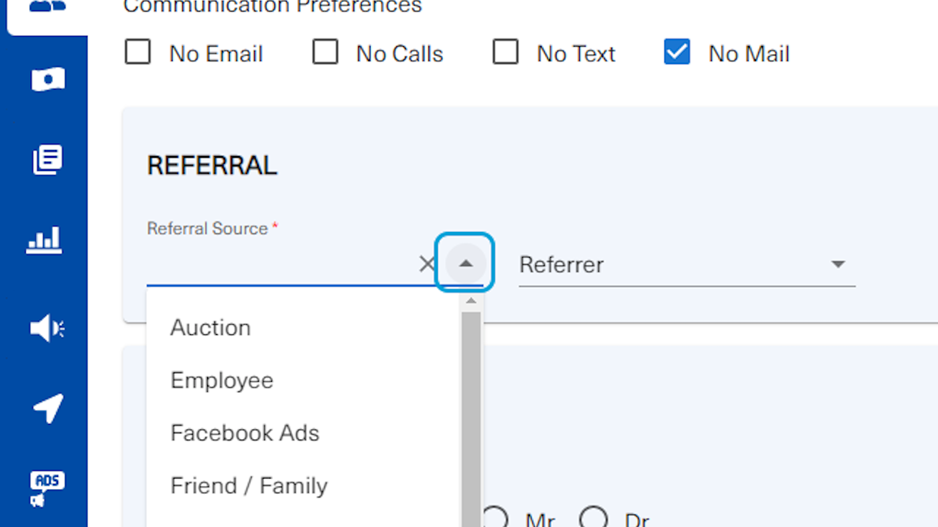
15. To choose another option after clearing the initially selected option, click on the drop down button again to view the drop down menu
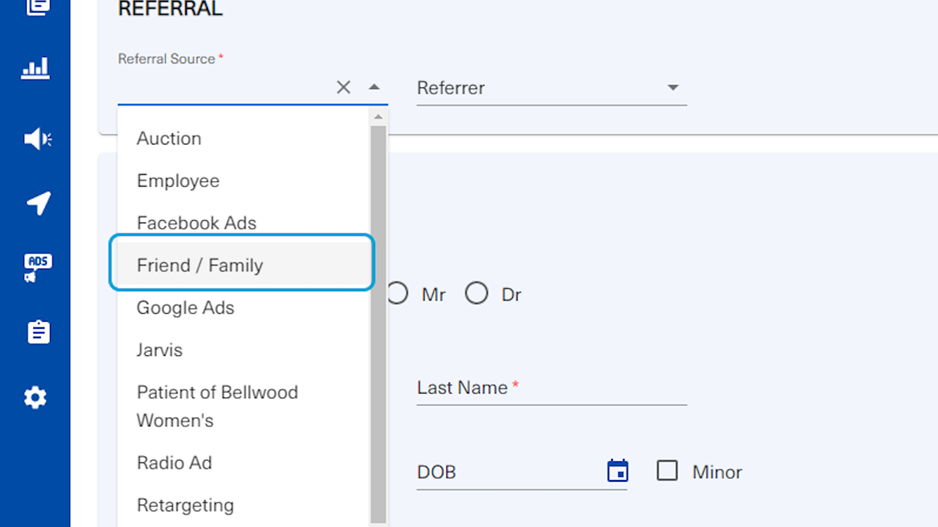
16. Select the new option
This particular option refers to a friend or family member who has been a client at the practice and has a profile in the user's BoomerangFX account.
17. Under "Referrer", the user may type the name of the person who referred the current contact that is being added to practice's EMR.
As mentioned in the above step, this referrer should be someone who has a patient profile in the practice's BoomerangFX account.
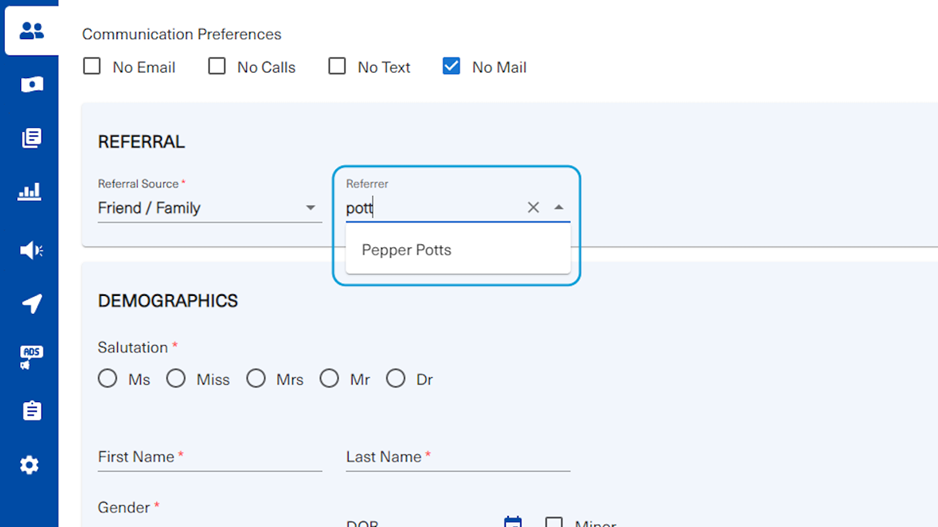
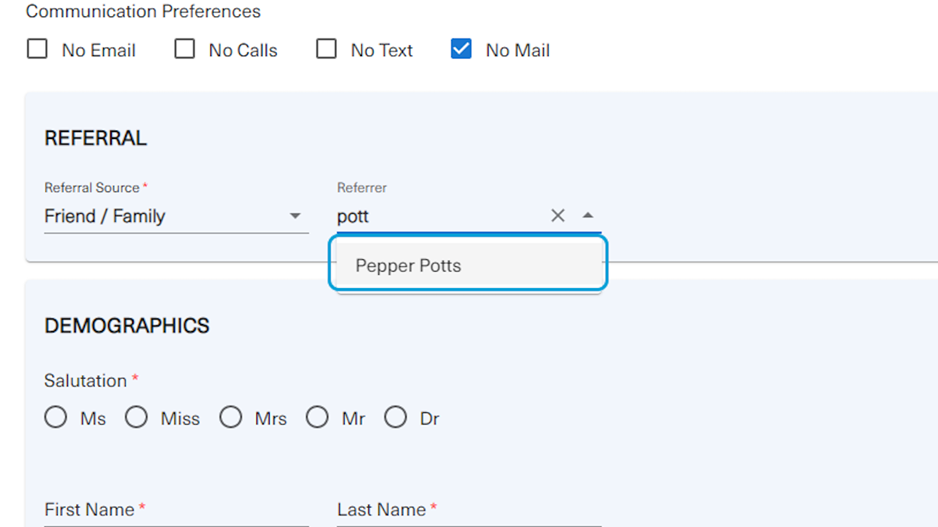
18. Click on option
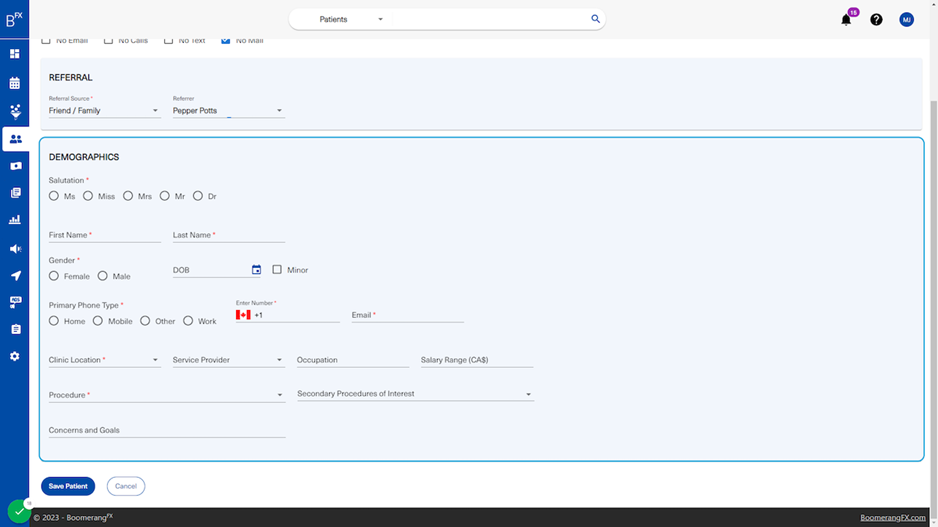
19. Under the "Demographics" section...
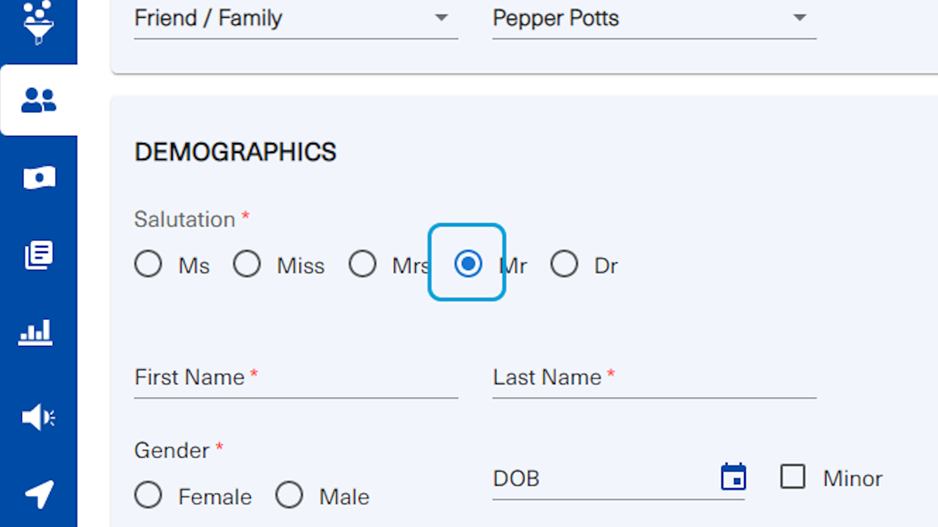
20. Select the appropriate "Salutation" for the new patient being created
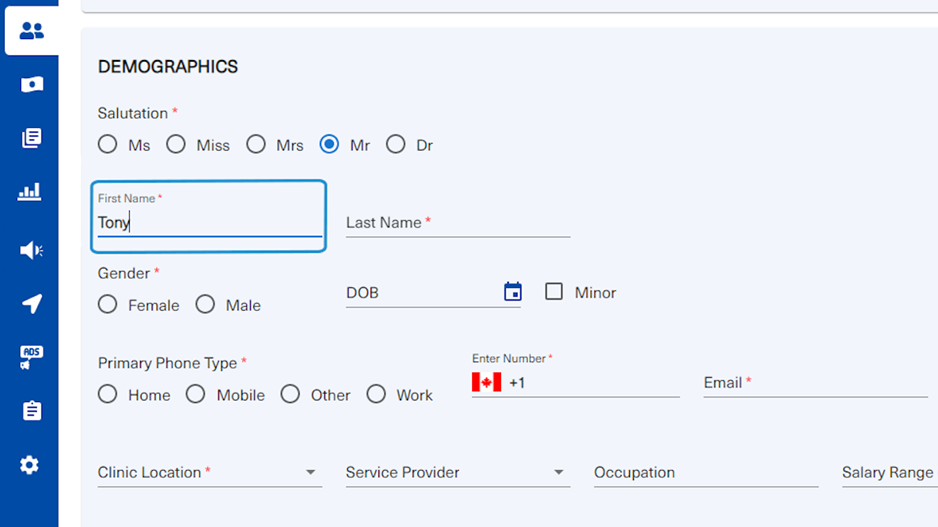
21. To enter the new patient's name, click on the the text fields for First Name and Last Name to fill the information out. Type the client's first name...
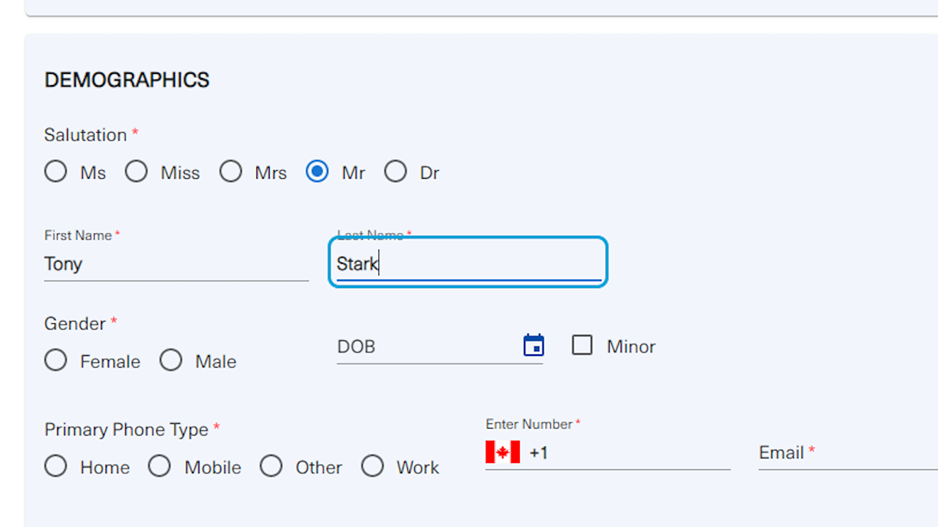
22. ...and last name
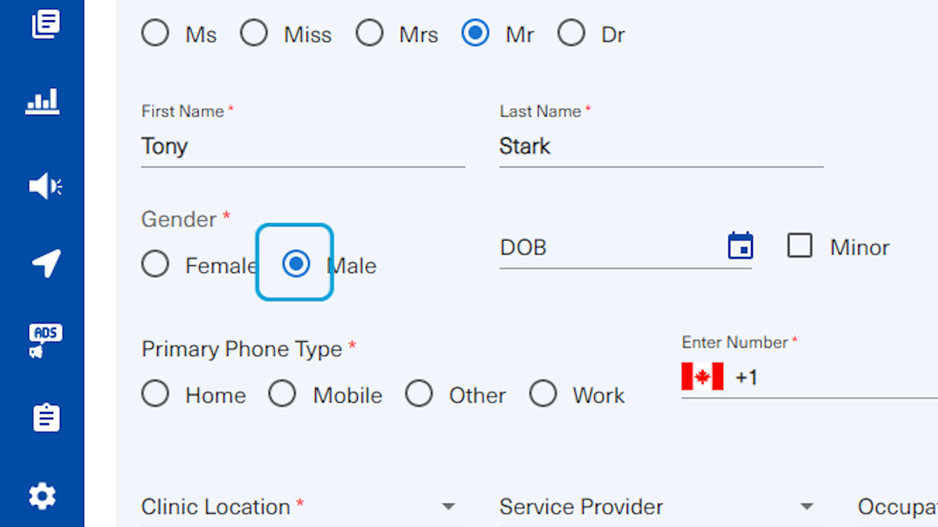
23. Select the appropriate gender
24. Fill in the patient's DOB
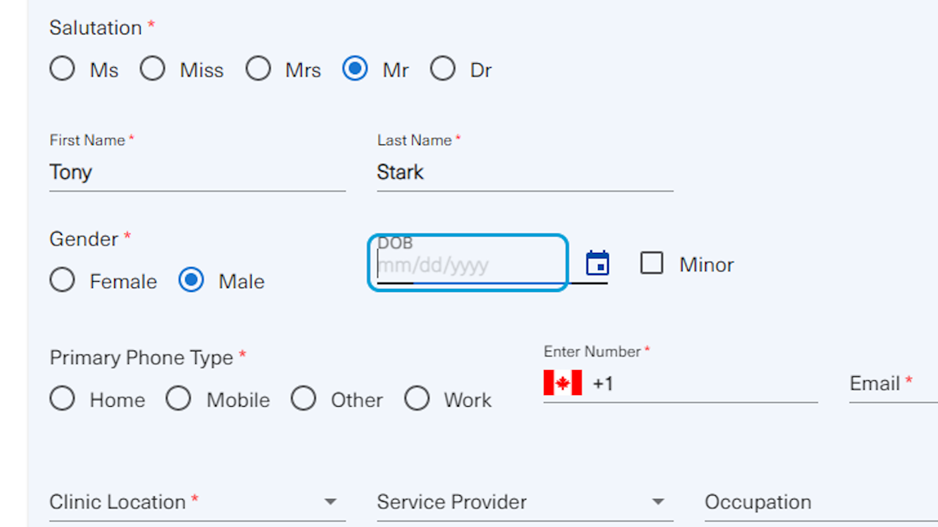
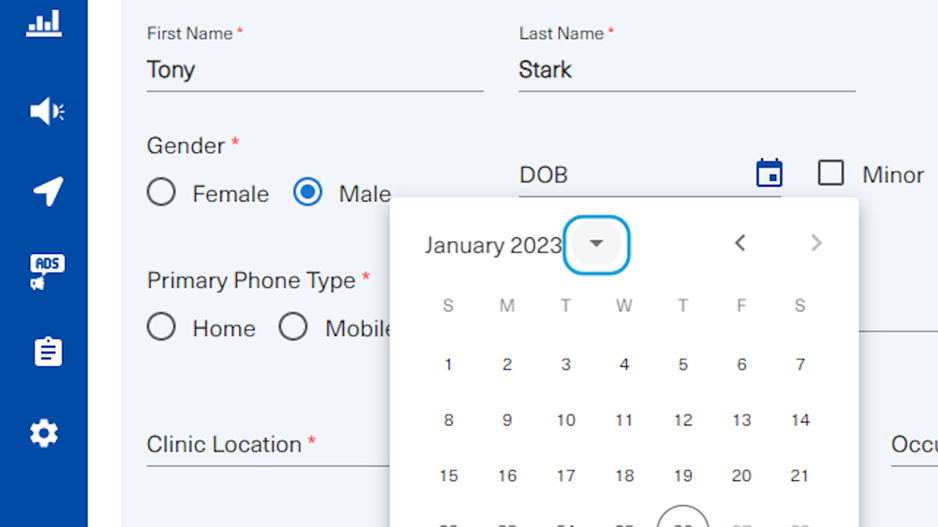
25. To select the date of birth, navigate through the calendar drop down widget
Click on the drop down button near the month and year to select the patient's birth year
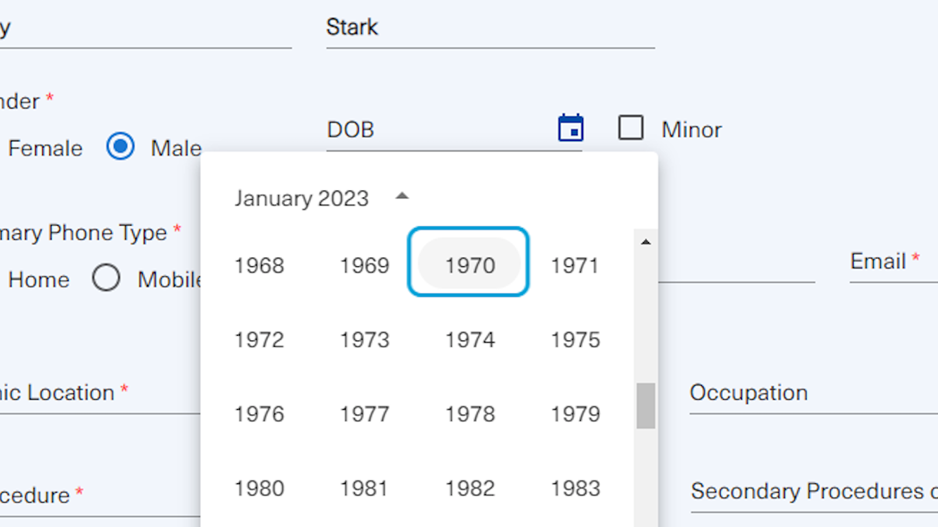
26. Click on the year the patient was born
27. After selecting the appropriate year, navigate through the months by using the two arrows on the top right corner of the calendar widget.
The month will appear on the top right.
When the user reaches the patient's birth month, click on the patient's exact birth date.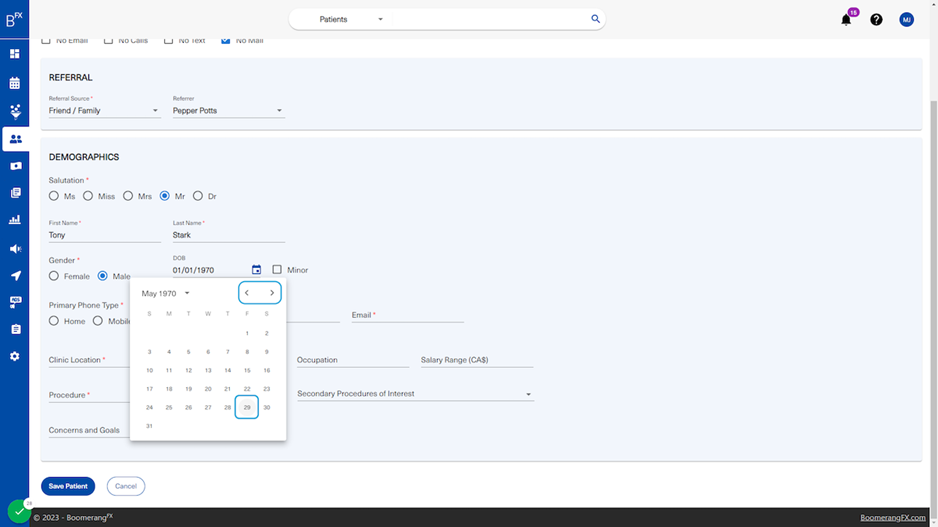
28. The user may select the checkbox stating "Minor" if the patient is considered a minor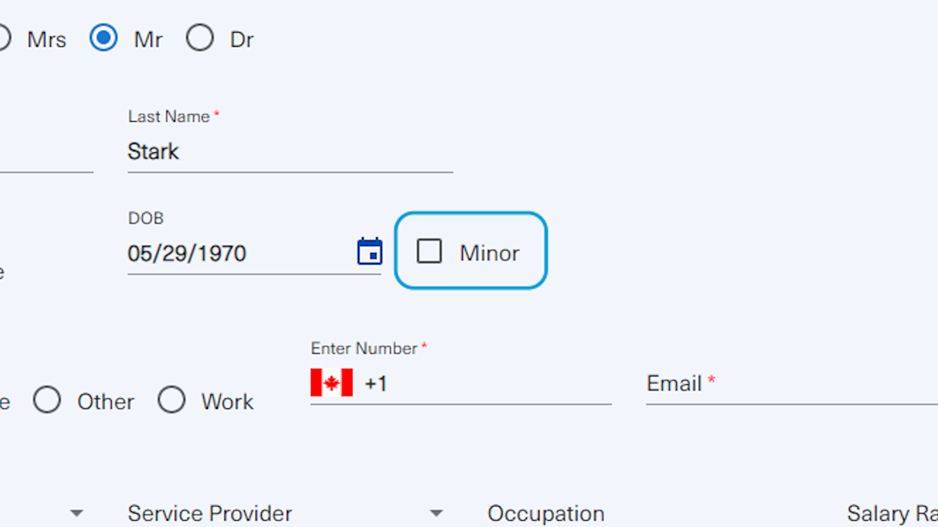
29. To fill out the patient's contact information, click on the appropriate fields
To select a Primary Phone Type, select one of the radio buttons provided (the user may only select one of the four options).
To fill in the new patient's phone number, click on the Phone Number field and type the number down.
To fill in the new patient's email address, click on the Email field and type the email down.
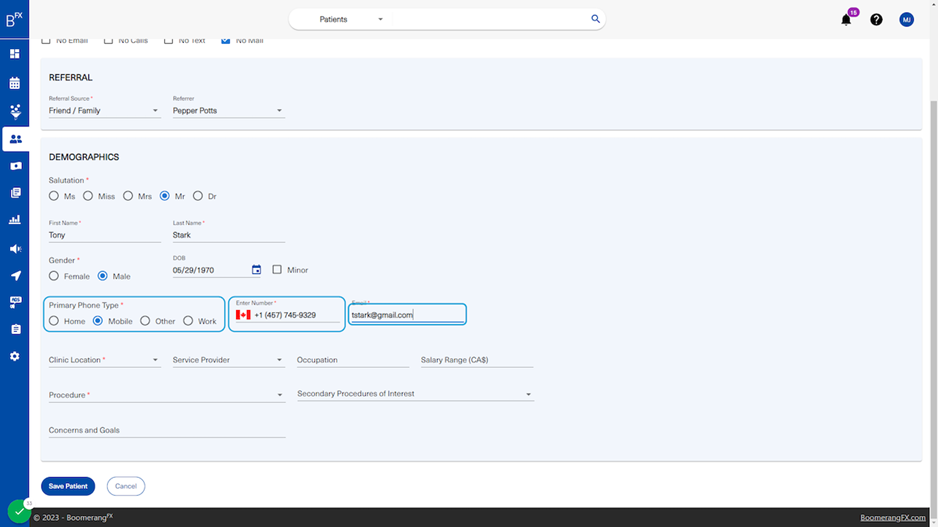
30. To specify the Clinic Location, click on the drop down button...
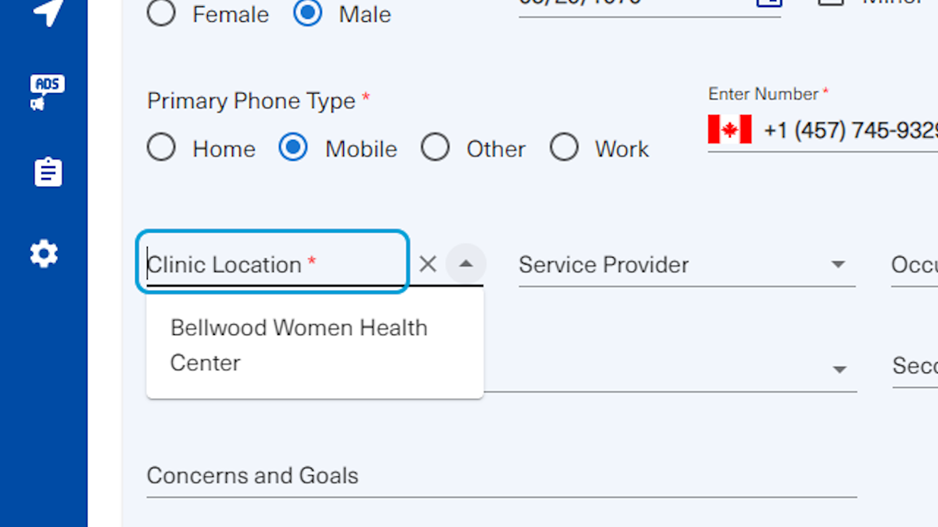
31. ...and select the appropriate clinic location
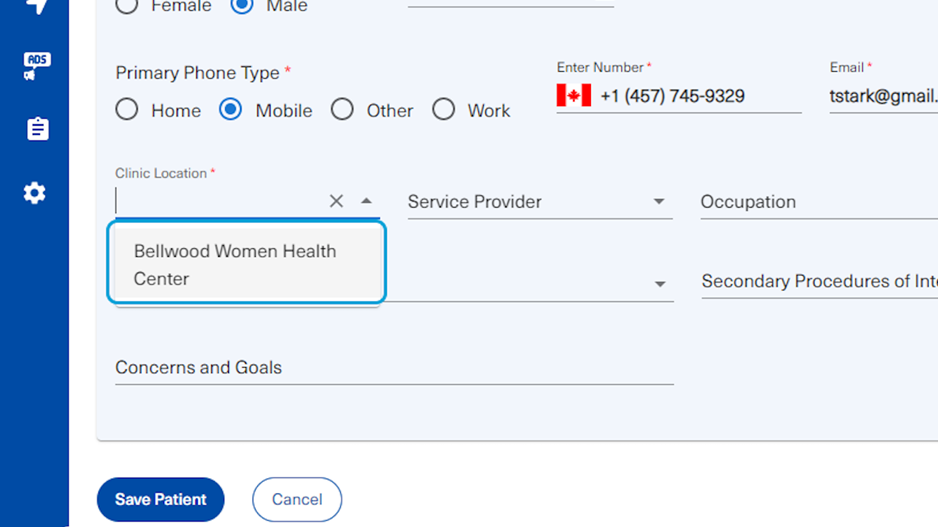
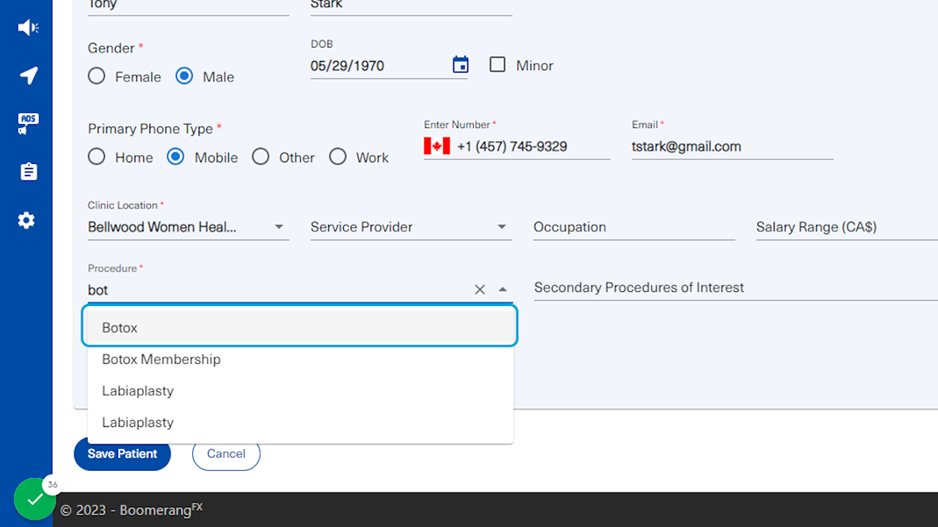
32. To specify the procedure the new patient will undergo, click on the drop down button. The list of procedures will appear
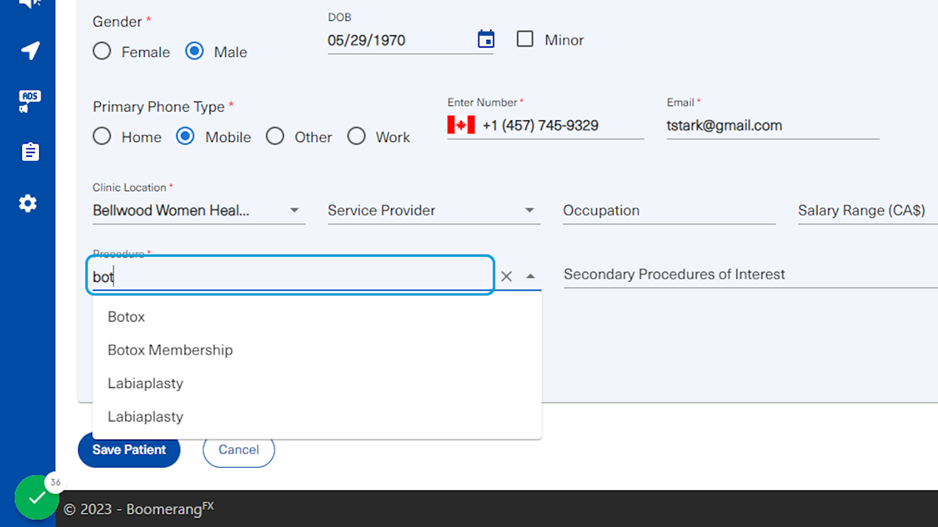
33. Select the appropriate procedure
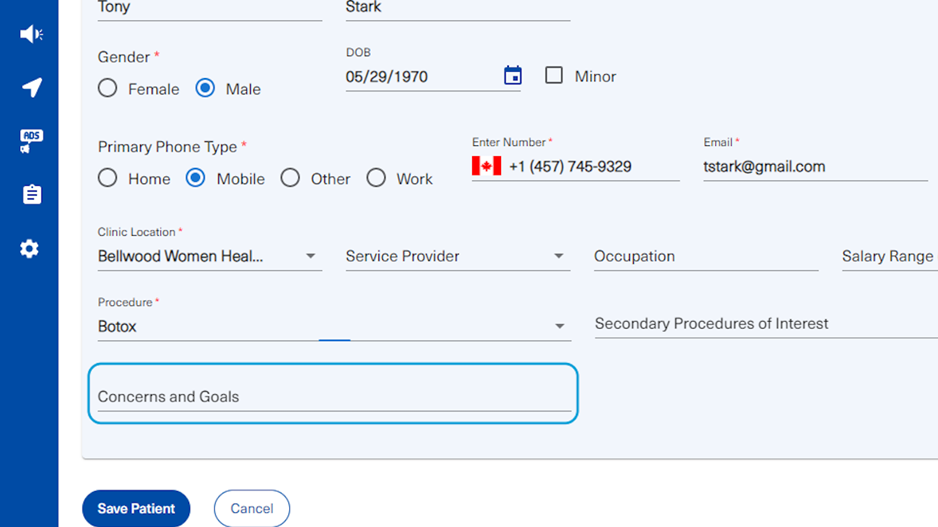
34. To edit the new patient's concerns and goals, click on the "Concerns and Goals" text field and type the necessary information
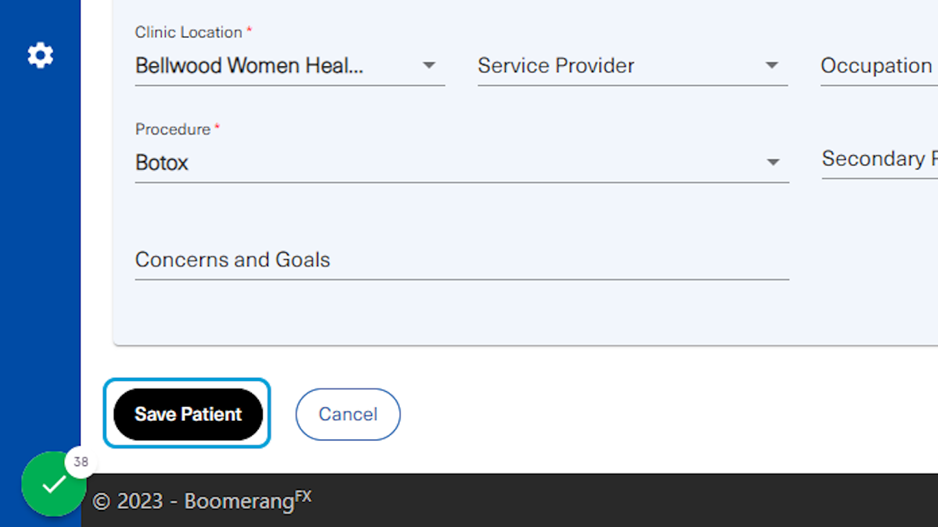
35. Click on Save Patient
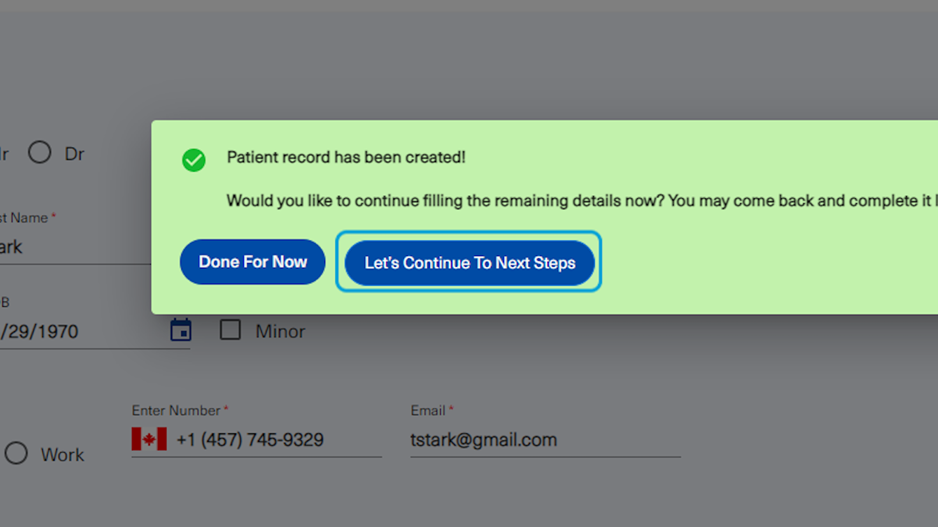
36. This message will appear indicating that the new patient was added successfully to the patient list!
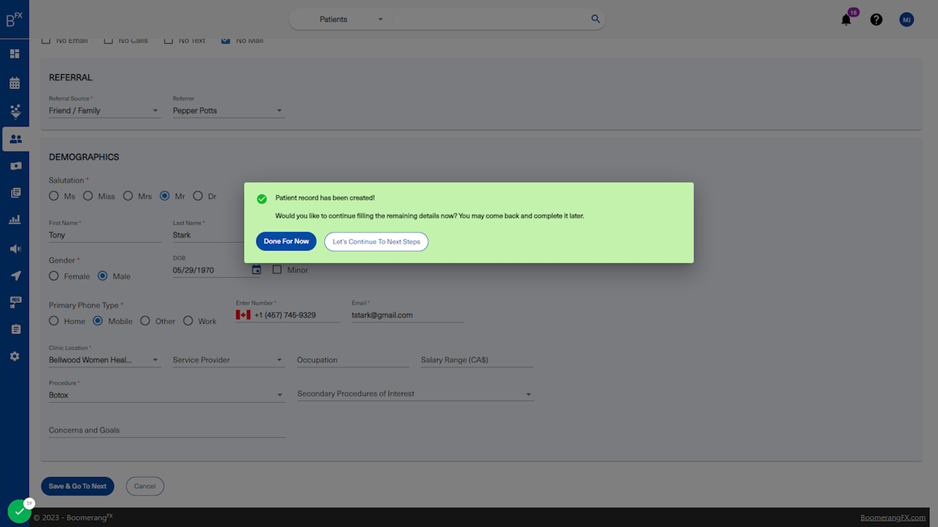
37. To proceed with the next steps mentioned earlier on the top navigation bar, click on "Let's Continue to the Next Steps" button in the message box
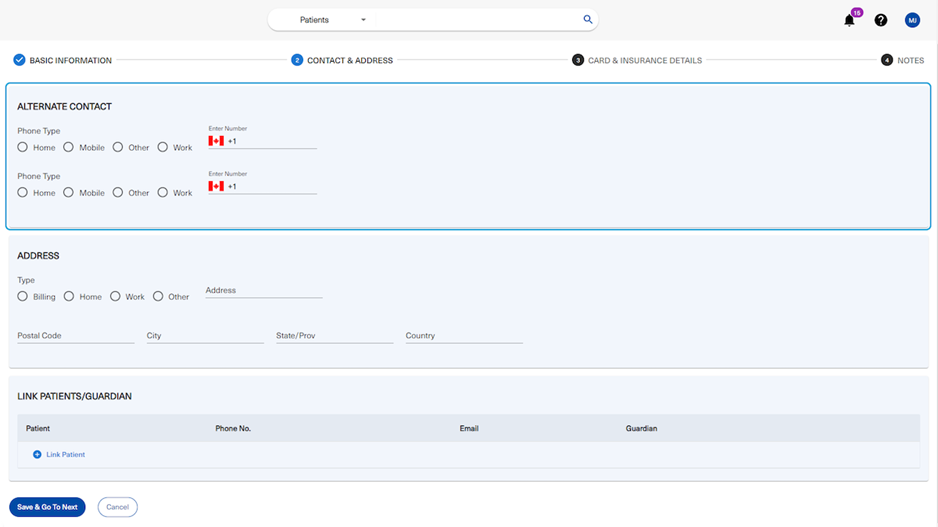
38. Step 2: Contact & Address
The first section, "Alternate Contact", allows the user to fill out additional numbers that the new patient may have.
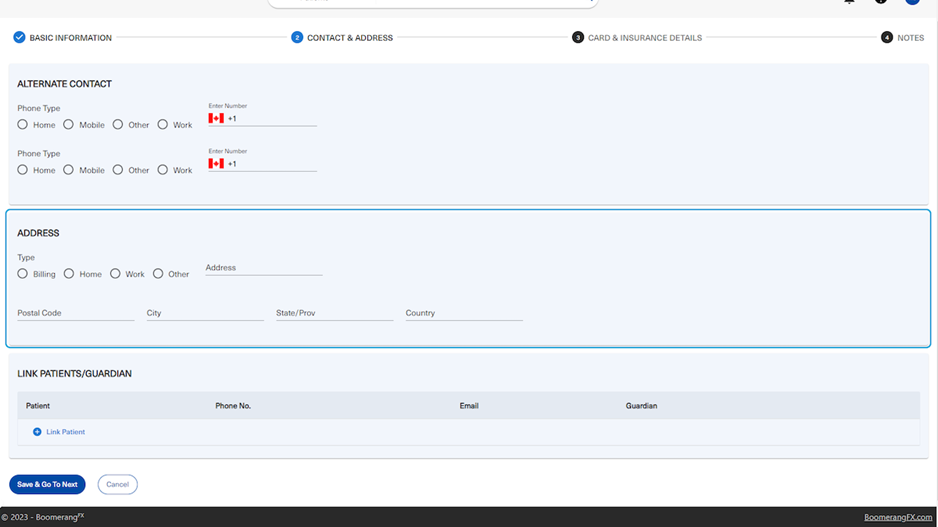
39. The user may add the new patient's address details under the "Address" section
40. Click on the type of address being added
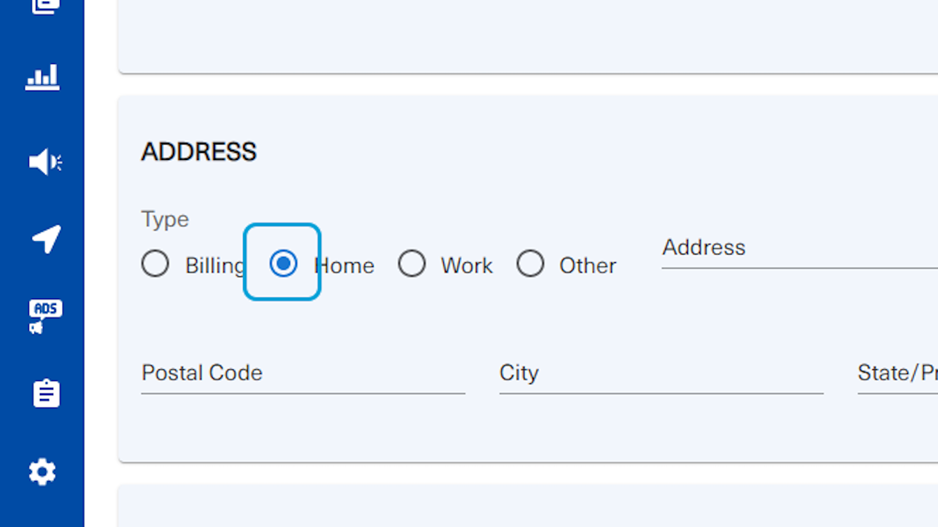
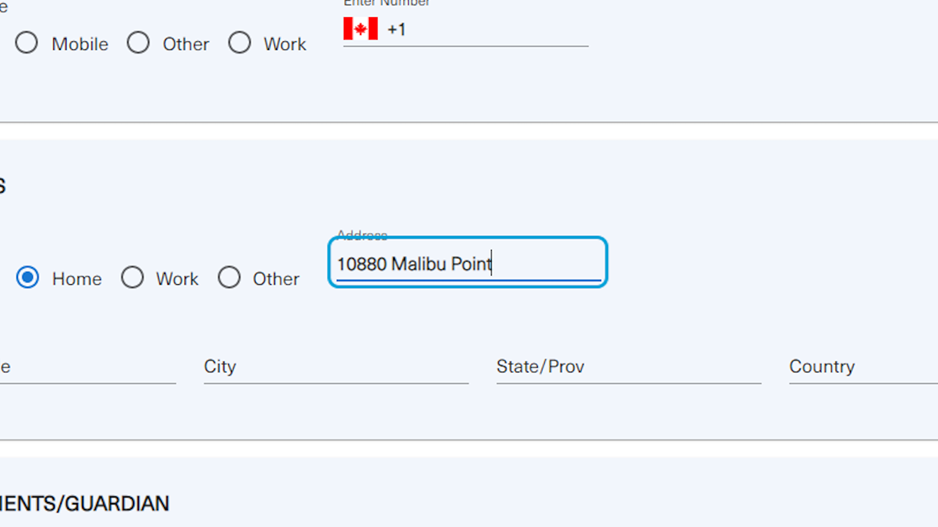
41. Write down the address in the text field titled "Address" to the right
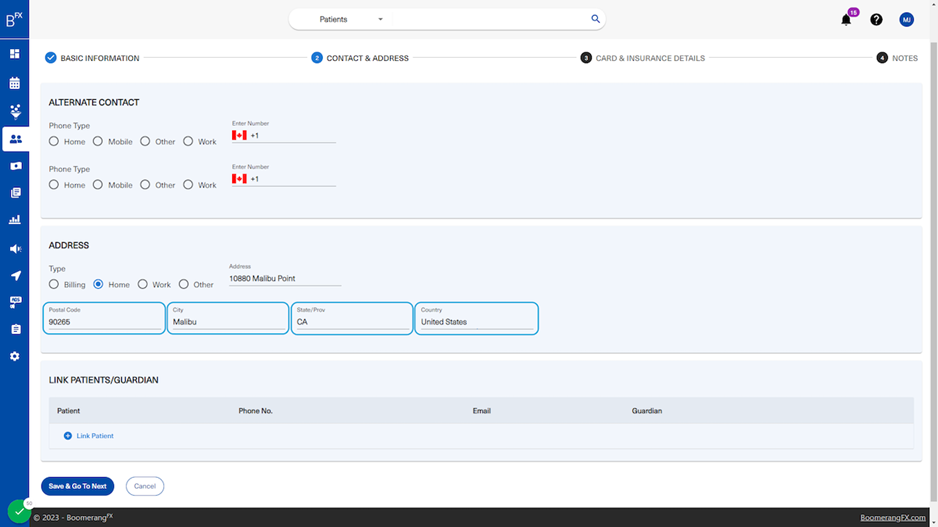
42. Fill in the rest of the text fields as necessary
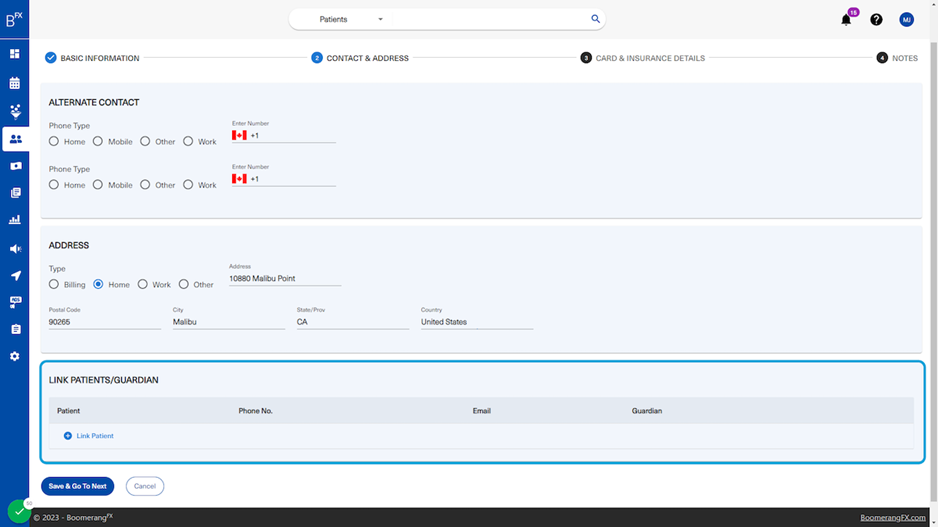
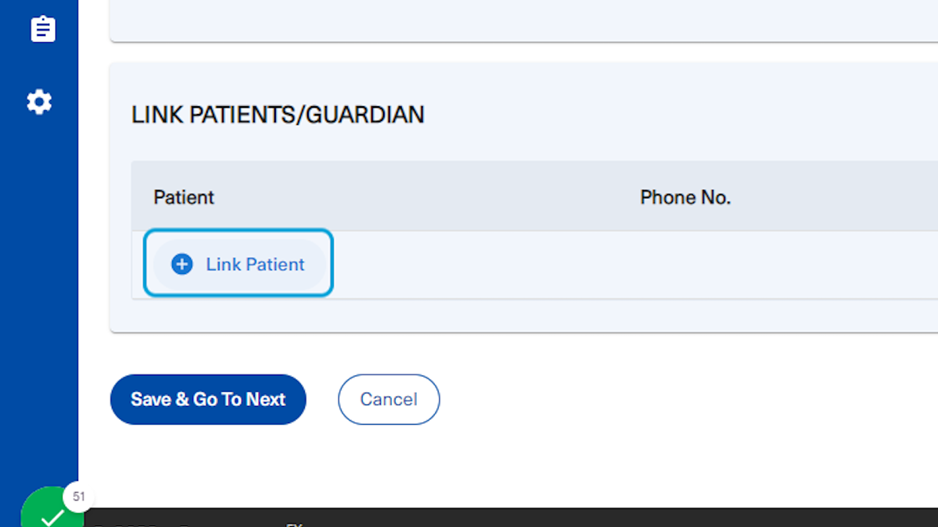
43. In this section the user are able to link the new patient to a specific patient that already exists in the patient list.
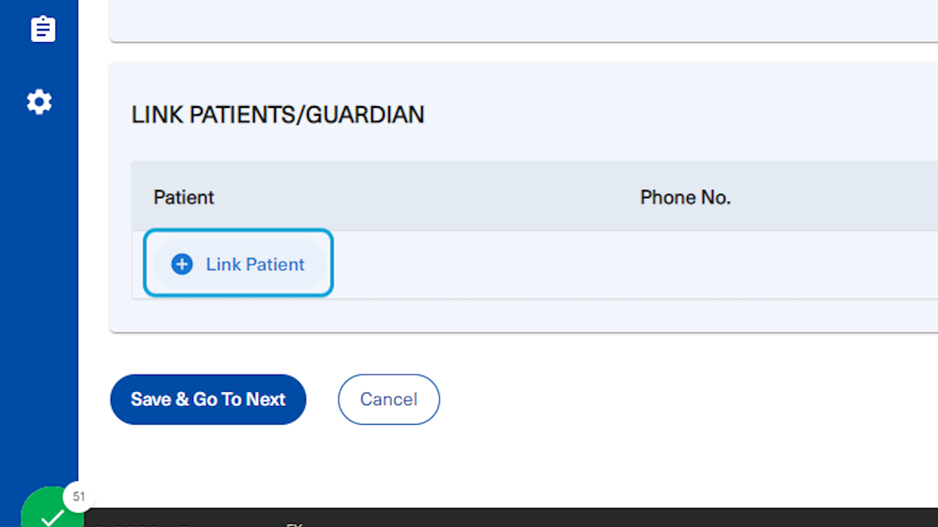
44. To link the new patient to an existing one, click on "Link Patient"
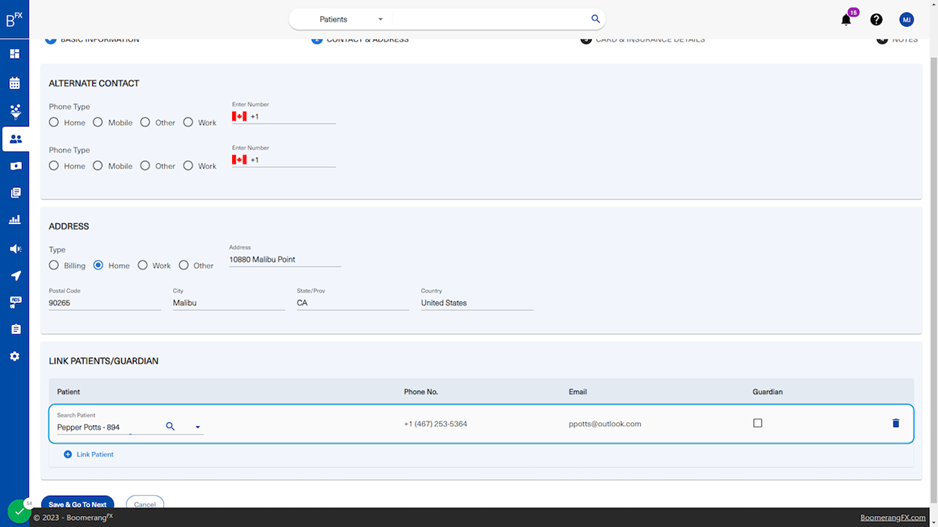
45. Search the existing patient
Then click on the patient that appears in the drop down and the information will populate automatically
46. This is a representation of what the linked patient's information looks like
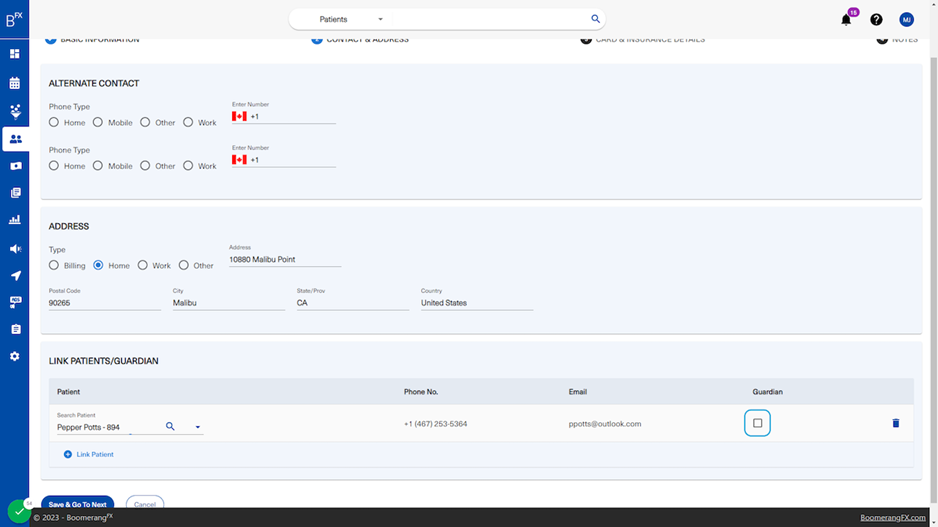
47. If the linked patient is a guardian to the new patient, the user may click this checkbox to indicate that
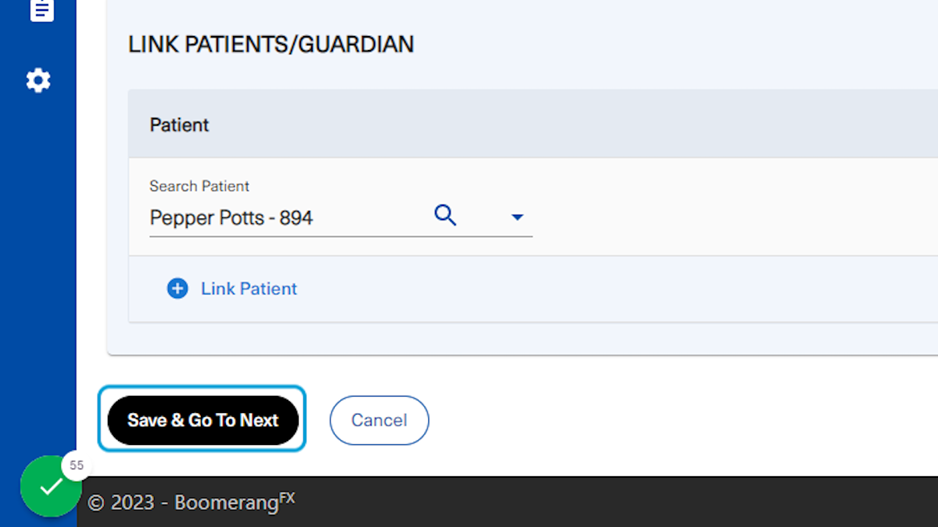
48. When all fields are filled out as necessary, click on "Save & Go To Next"
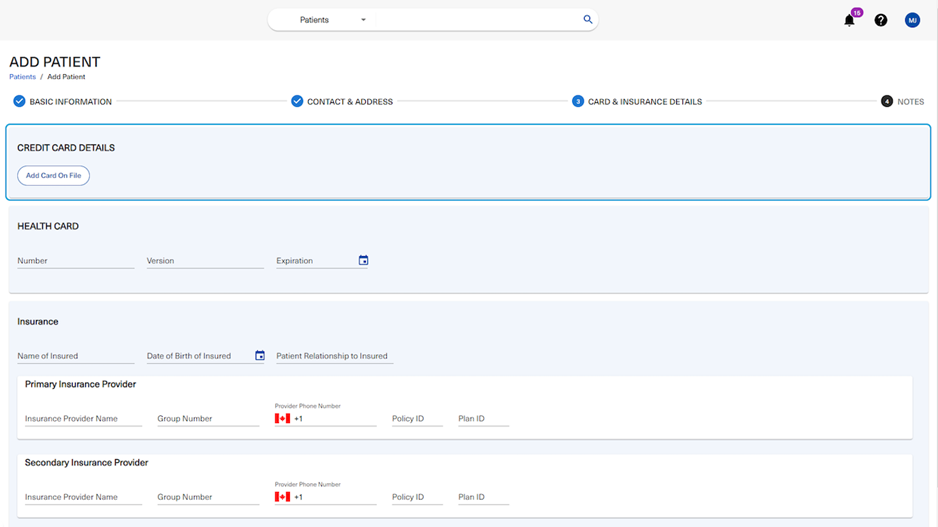
49. Step 3: Card & Insurance Details | Credit Card Details
In this step there are three sections. The first section is the Credit Card Details. In this section the user is able to add their patients' credit card details to their account.
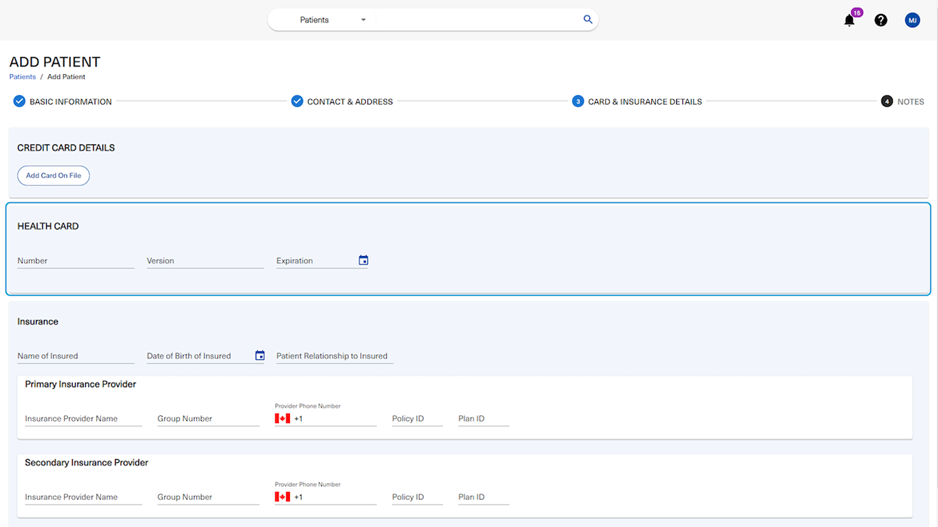
50. Health Card
The second section is Health Card. The user may fill out the new patient's health card information in the appropriate fields
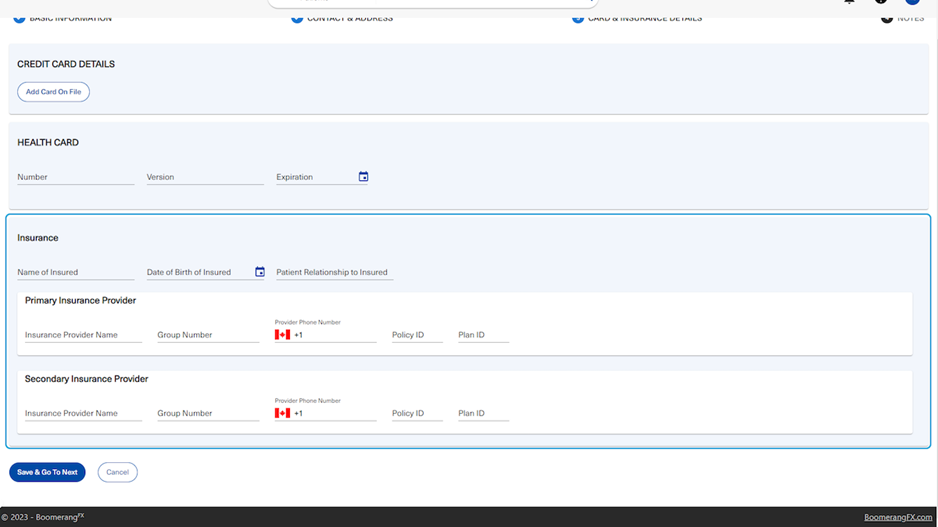
51. Insurance
The user may fill all required information regarding the new patient's insurance plan as necessary
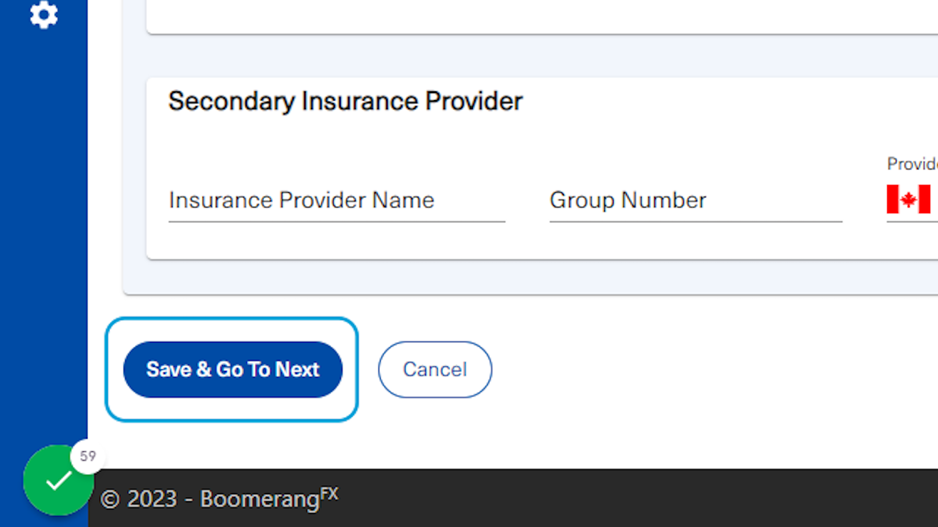
52. When all the fields have been filled as necessary, click on "Save & Go To Next"
53. Step 4: Notes
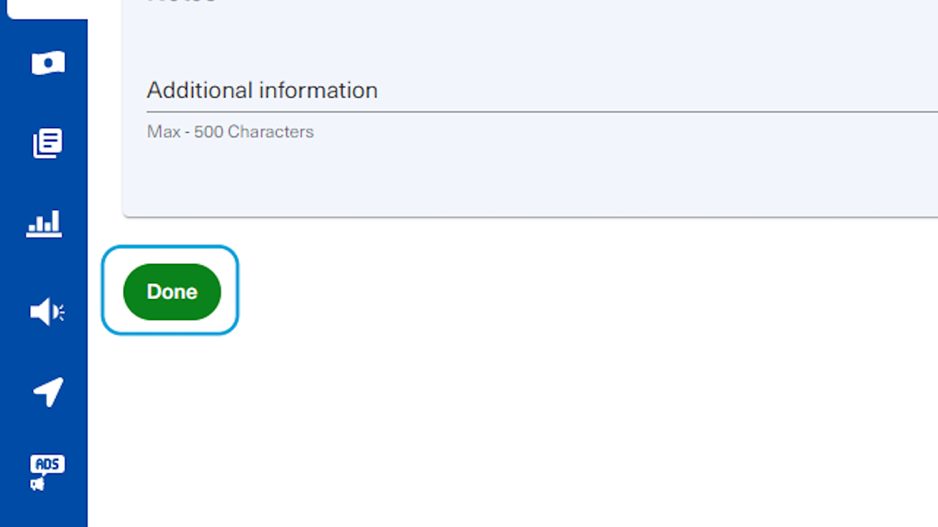
In this step, add any additional information about the new patient
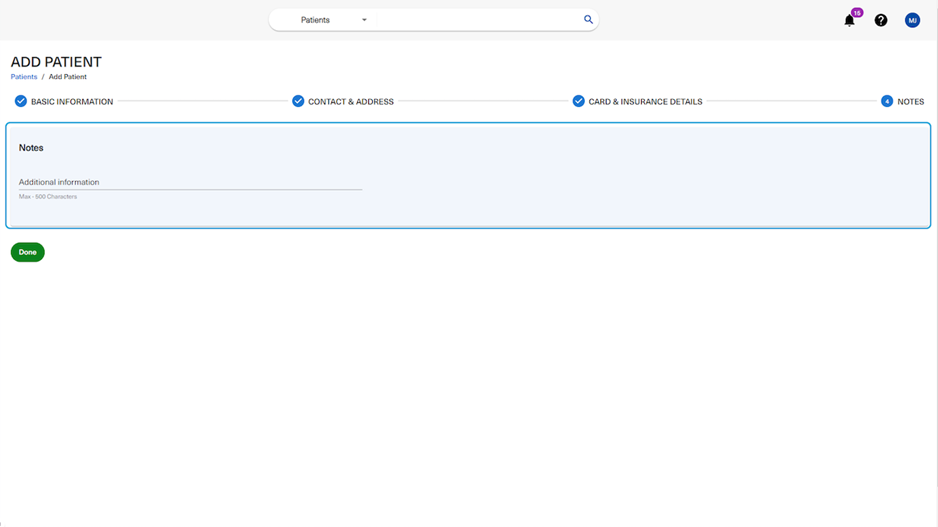
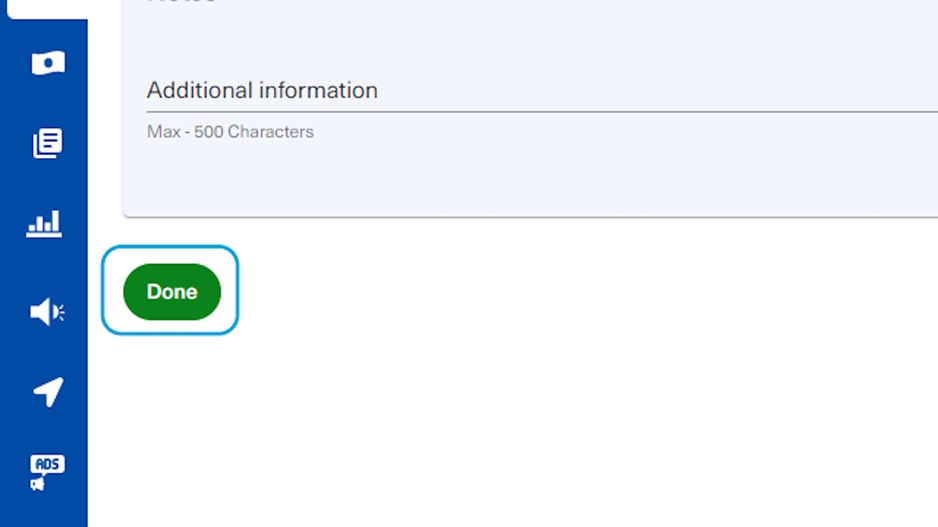
54. When the notes have been added as necessary, click on "Done"
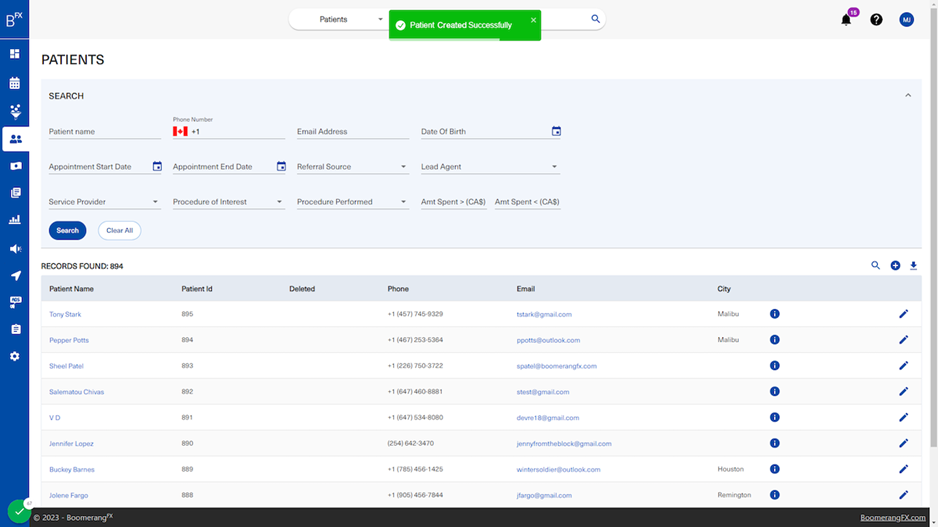
55. A green drop down at the top of the page will confirm a new patient has been successfully created
The user will be able to view the newly added patient at the top of the list of records.
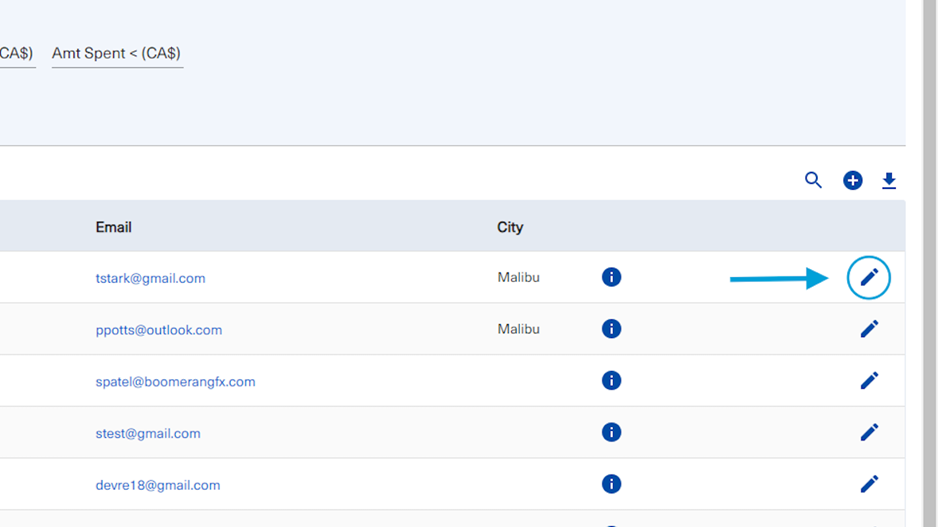
56. Editing a patient
The user may edit a patient by clicking on the pencil icon on the right
57. The user will land on the patient's Basic Information page (Step 1).
This page contains all the patient's information that was previously created. All the fields are editable in case of any required changes.
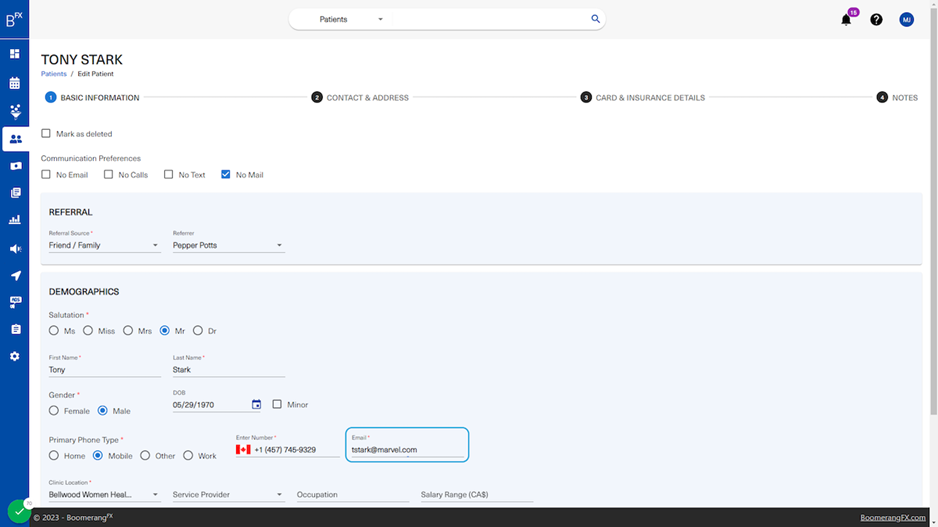
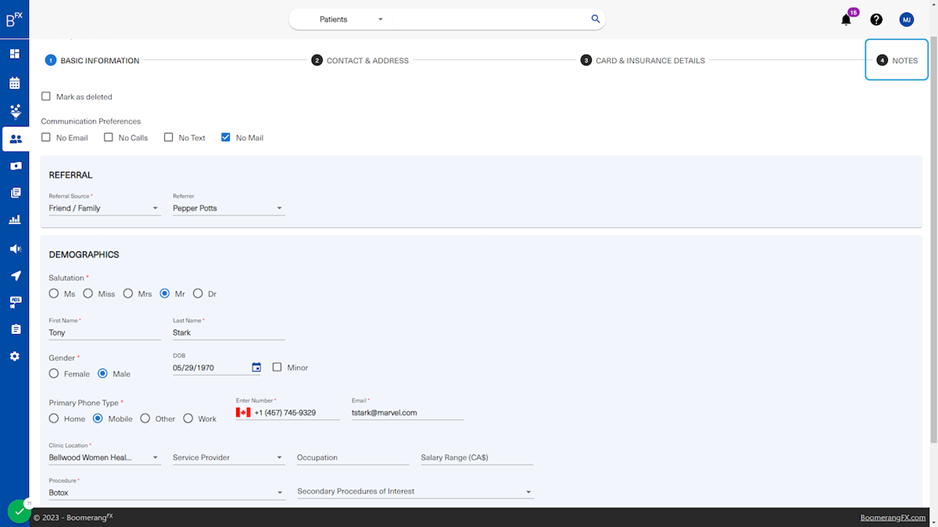
58. The top navigation bar is accessible to navigate through the different steps.
After all required edits, the user may decide to click on Step 4: Notes in order to skip the other steps that do not need any editing and save all the information edited.
59. When the notes have been added as necessary, click on "Done"
60. A green drop down at the top of the page will confirm the patient has been successfully updated
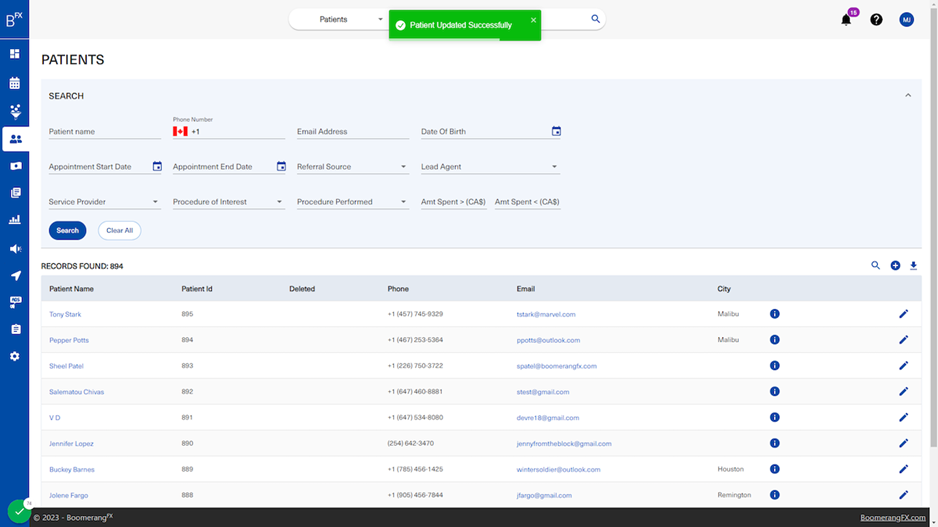
61. The user will be able to view some of the changes directly on the records list
