1. Go to BoomerangFX
2. Click on Setup in the left bar menu
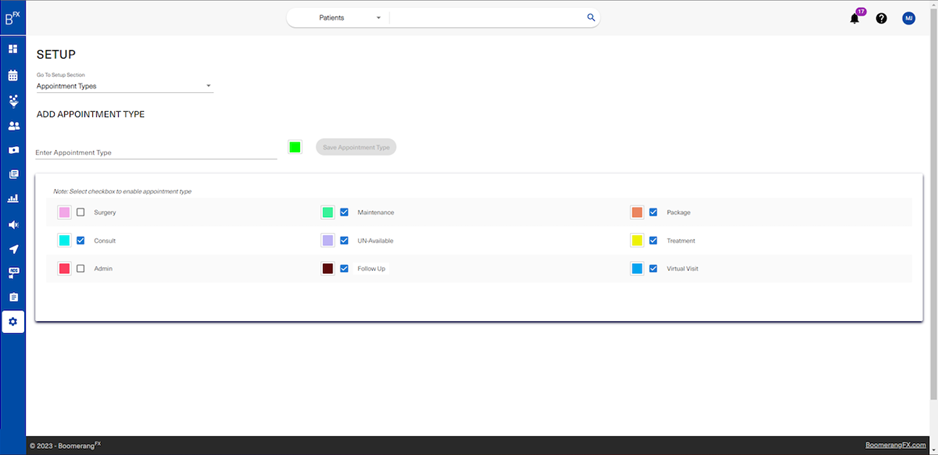
3. Appointment Types
Upon clicking on Setup, the user will land on Appointment Types. The following labels are crucial to customizing your dashboard and other functions throughout the system. Upon creating the appointment type, all labels and dropdowns related to the appointment type created will be changed contributing to a customized experience throughout the system. Users do not need to worry about setting up appointment types and are highly recommended to not edit them in the future. They are set up in your onboarding stage with your implementation specialist.
We have taken into account that changes may be needed and we are here to help. If any changes are required, please contact your implementation specialist or consultant to work through the changes together and ensure the insights on your dashboard are accurately reflecting the changes conducted.
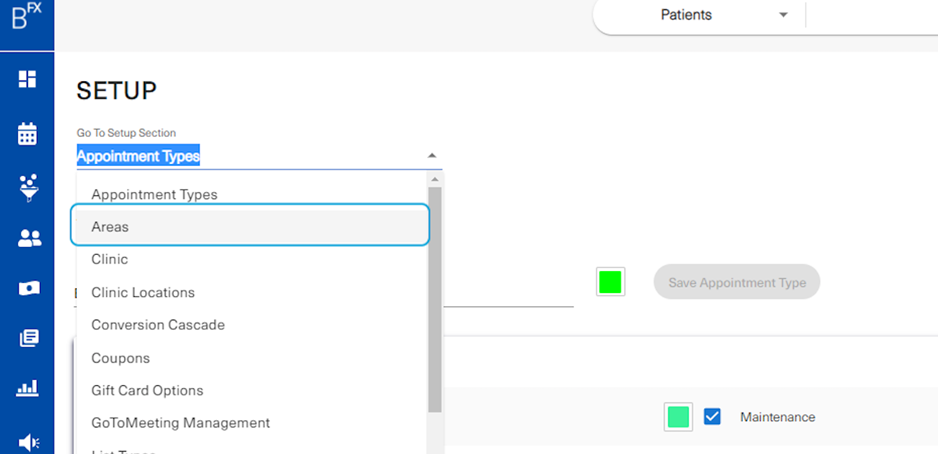
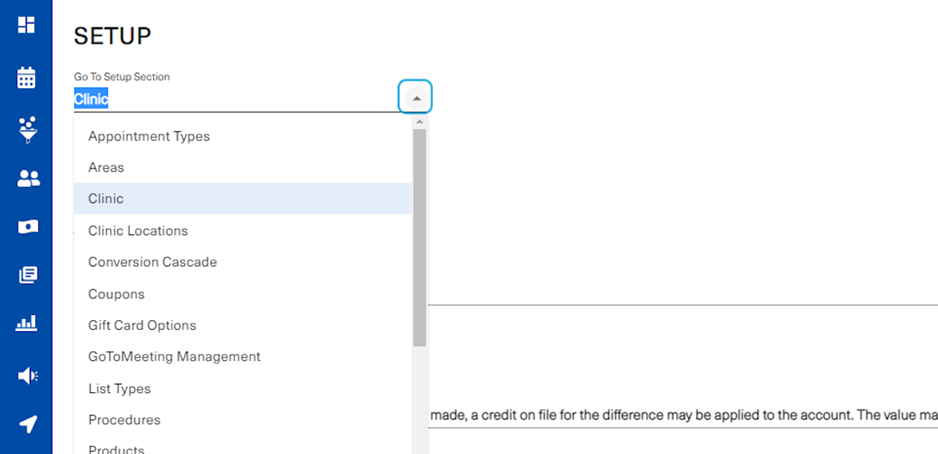
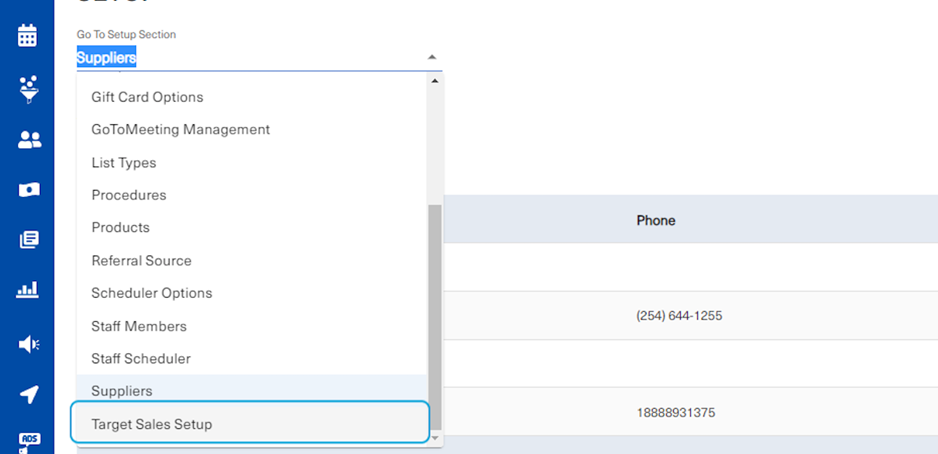
4. To navigate through the setup menu, click on the Go To Setup Section
A full list of setup options will be available for the user to navigate through. This workflow cover the list in order.
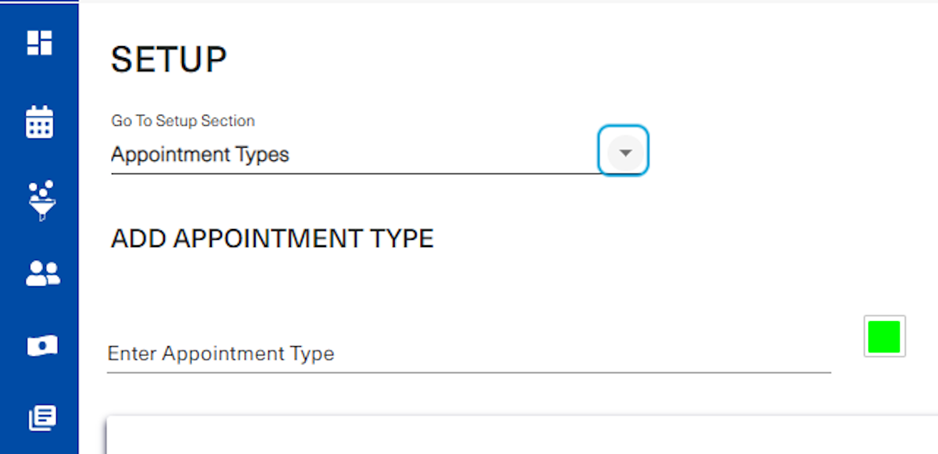
5. A full list of setup options will be available for the user to navigate through. This workflow cover the list in order.
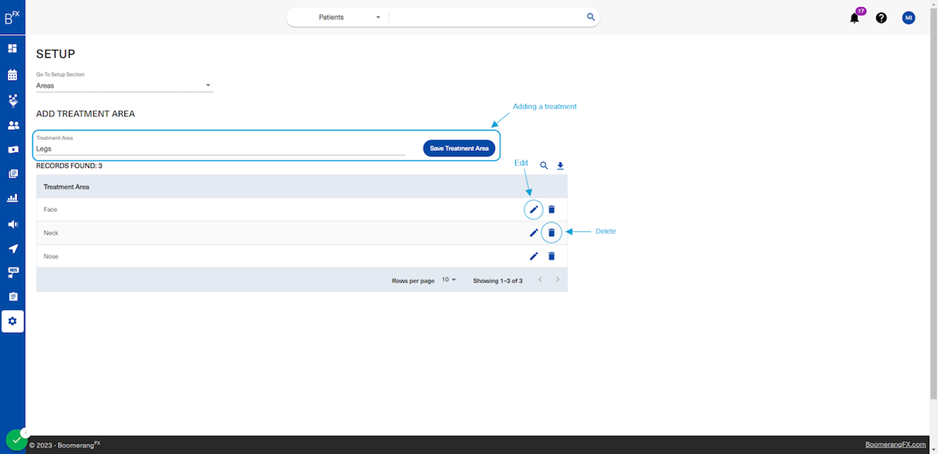
6. Areas
This is where you setup the treatment areas that your practice offers. To add an area, type under the Treatment Area and the click on Save Treatment Area. To edit, click on the pencil icon located at the end. To delete, click on the trash can icon next to the edit icon.
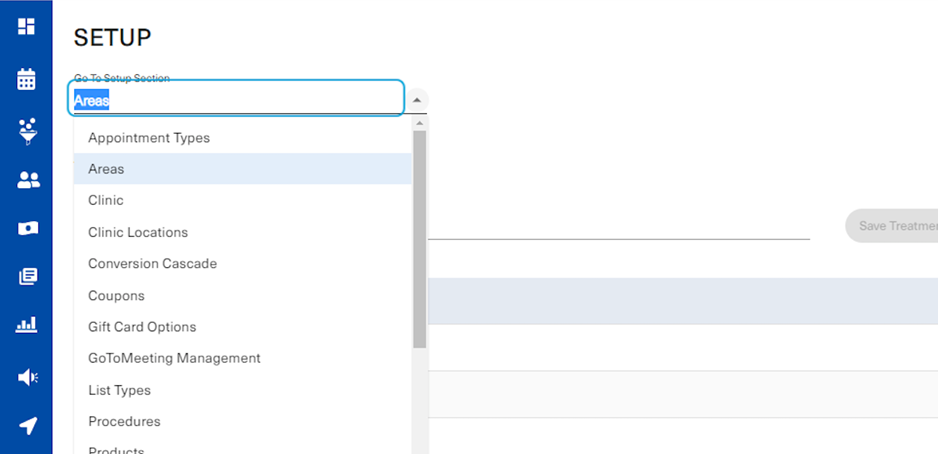
7. To switch to another setup section, click on the Go To Setup Section dropdown
8. Click on Clinic
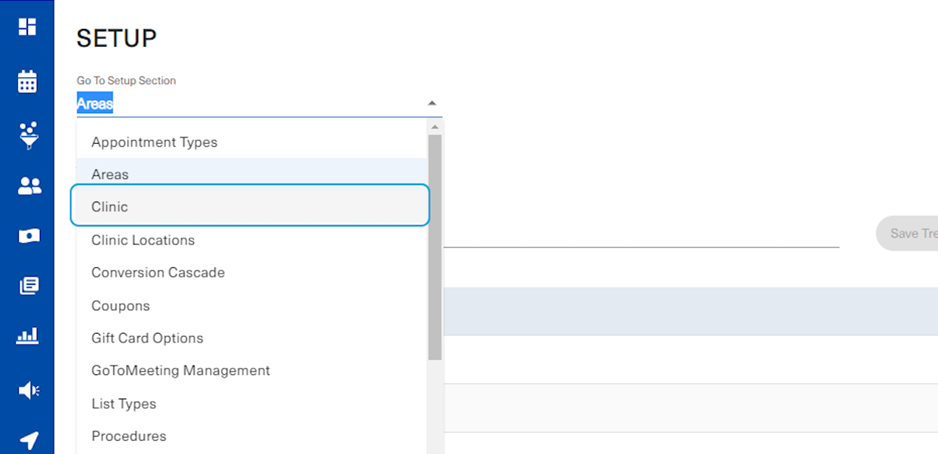
9. This is your main clinic setup page
Under this section you are able to change the name of your clinic, enable/disable MFA, draft a letterhead footer for documents issued under your clinic's name, edit your letterhead image, and configure stripe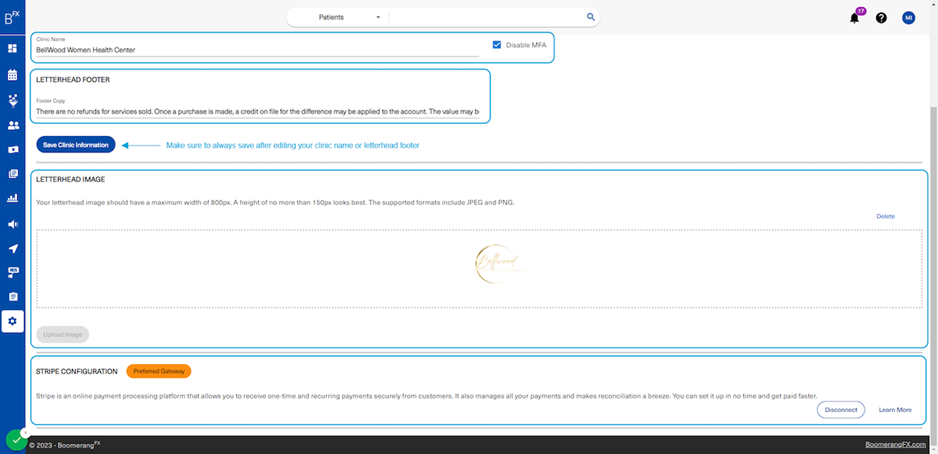
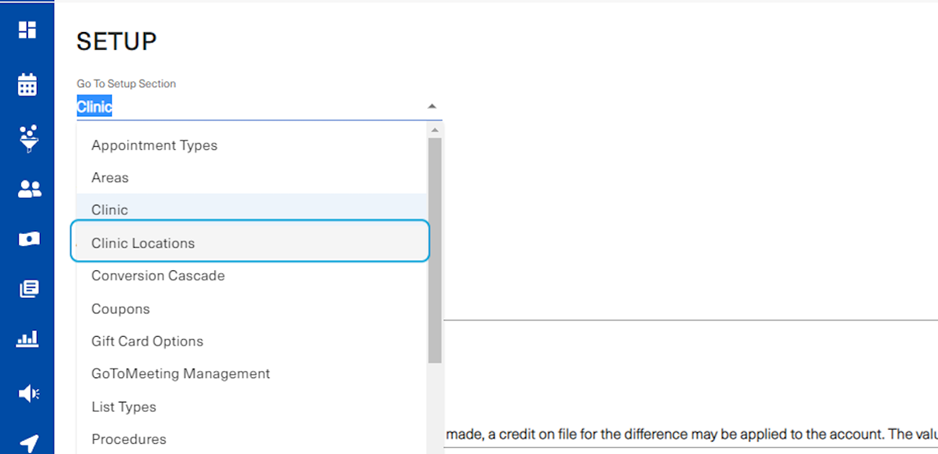
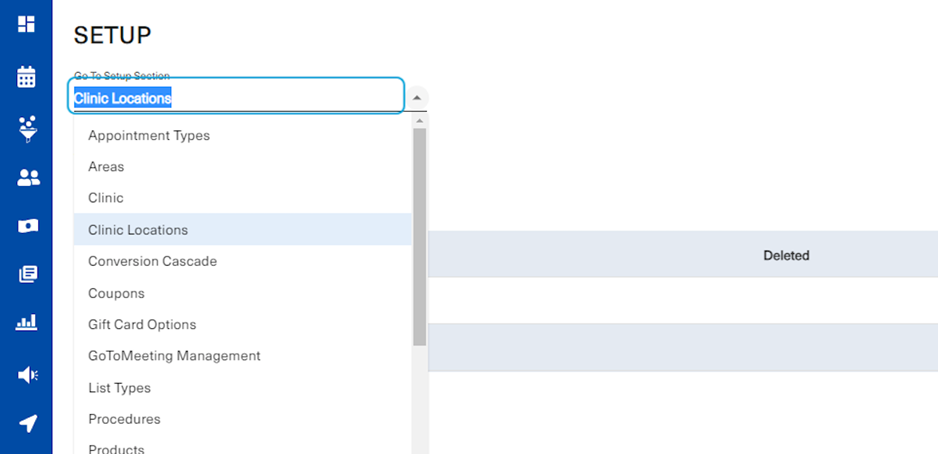
10. Click on the Go To Setup dropdown
11. Click on Clinic Locations
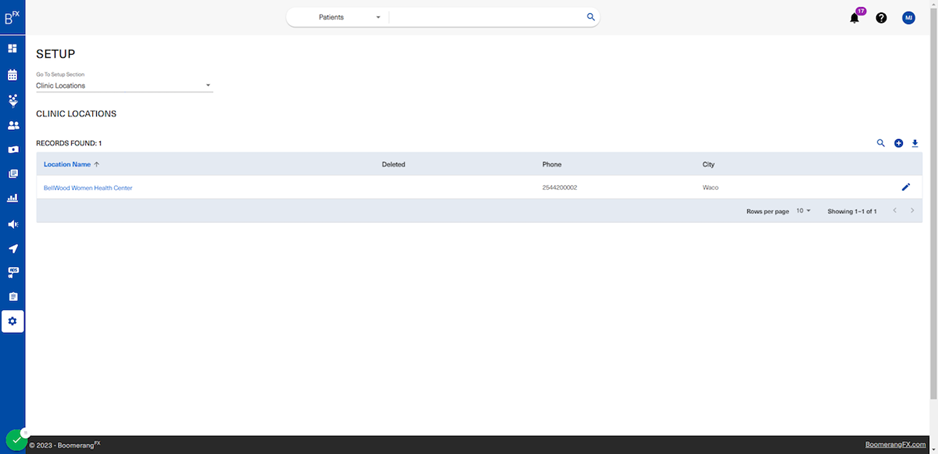
12. This is where you can setup your clinic locations
If you have more than one clinic, click on the plus sign on the right on top of the list table
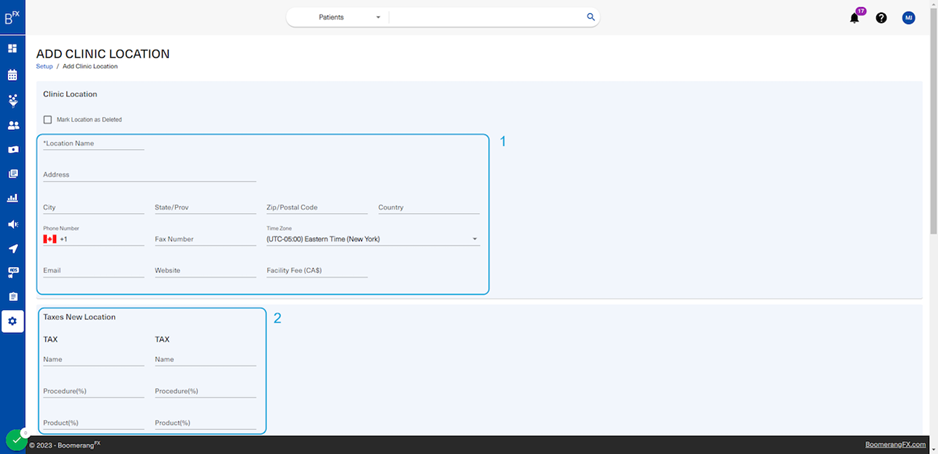
13. Adding a clinic location (1)
The first section includes the location's address and general information. The second section is used to setup the tax in your clinic's location. This is essential when creating quotes and receipts to allow the system to automatically populate the tax amount to the total.
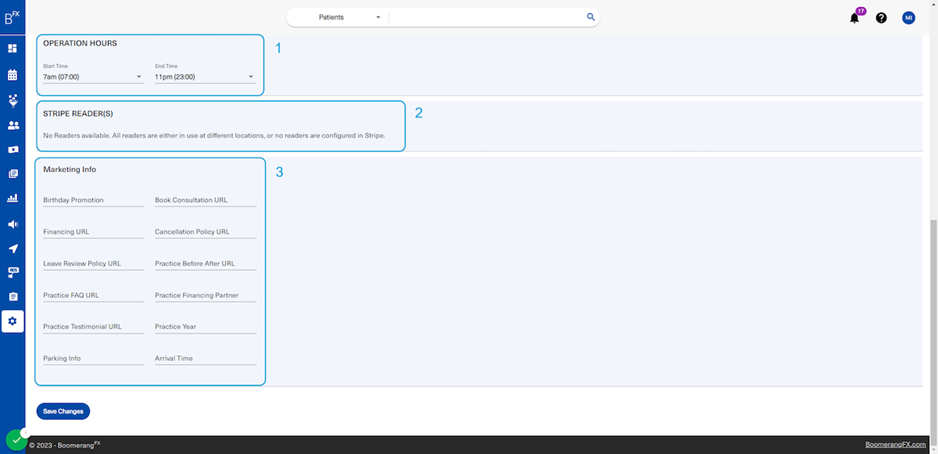
14. Adding a clinic location (2)
• Section 1 is where you can setup operation hours (opening and closing times)
• Section 2 is where you will be able to view any connected stripe readers. The Stripe configuration workflow will have information regarding the readers.
• Section 3 includes online pages related to your clinic and additional information to help your patients know more about you and how you run business
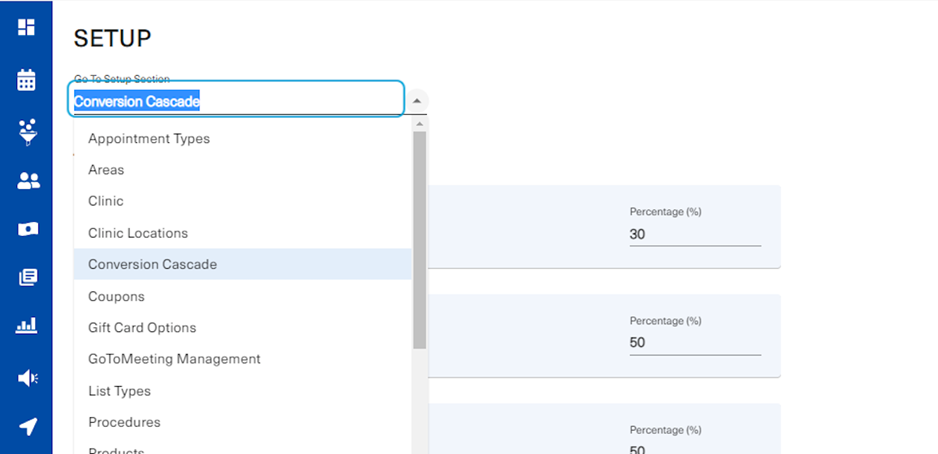
15. Click on Go To
16. Click on Conversion Cascade
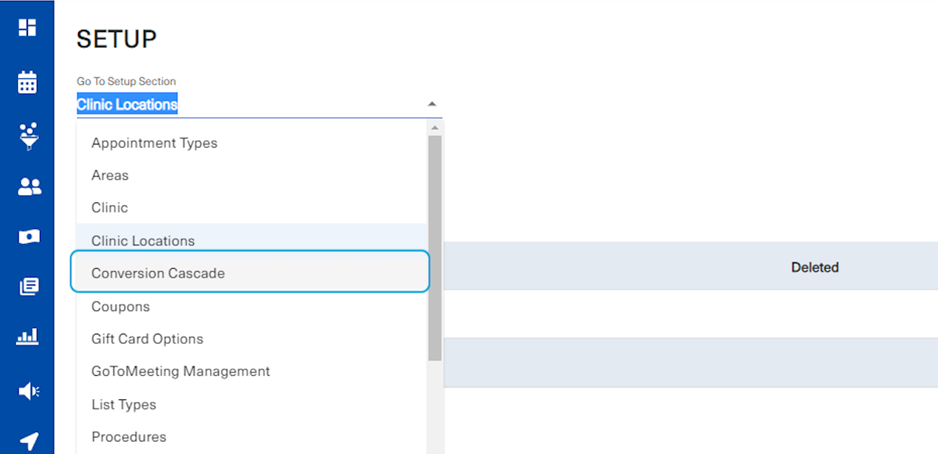
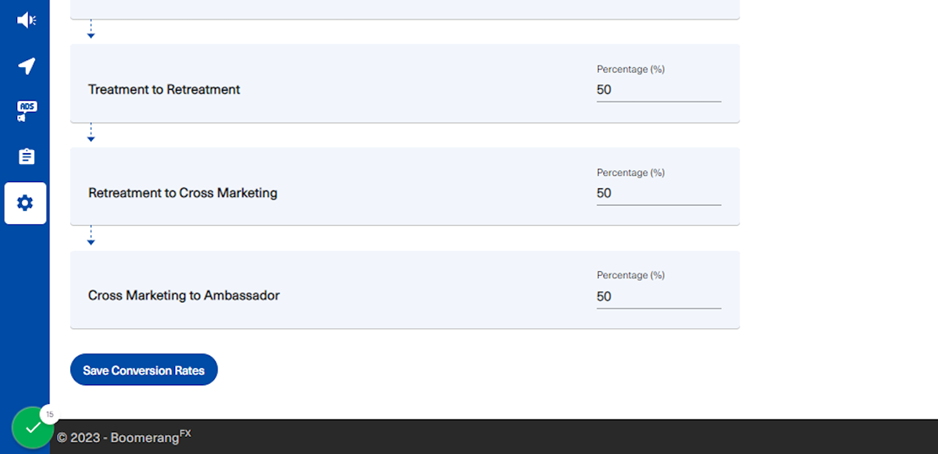
17. The Conversion Cascade section is where you can customize the targets set for converting leads.
The funnel under the Leads dashboard will reflect those targets and will help guide your clinic to reach the numbers that will help you grow your business
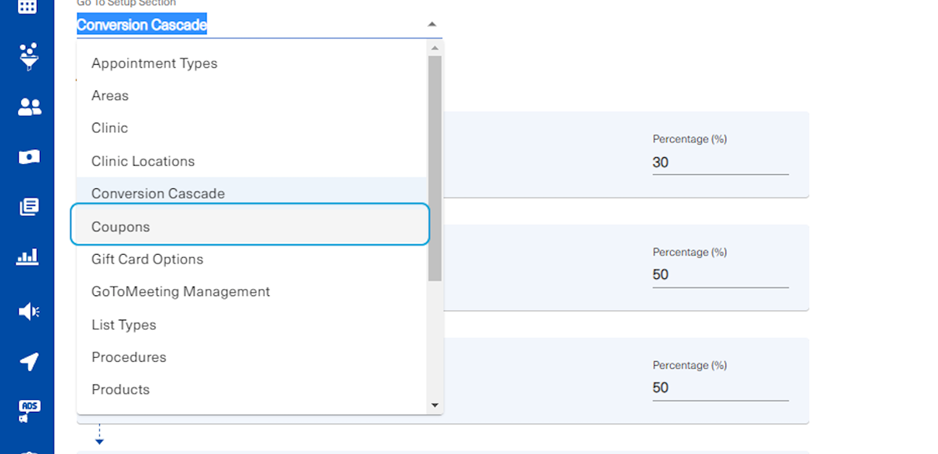
18. Click on Go To
19. Click on Coupons
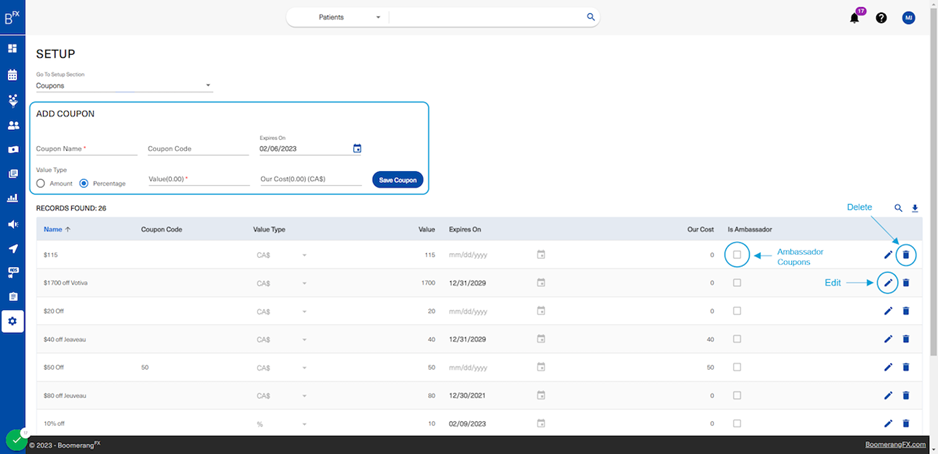
20. Under Coupons, clinic can enhance their relationships with their clients and increase customer loyalty
By using promotional tools such as coupons, patients are incentivized to get treatments from your clinic. Setting up a coupon involves one simple step. Users will fill out the coupon information under the Add Coupon section and will click on Save Coupon to insert it into the list below. In that list, the user may edit or delete the coupon as necessary. Additionally, users may choose to specify a coupon as an Ambassador coupon.
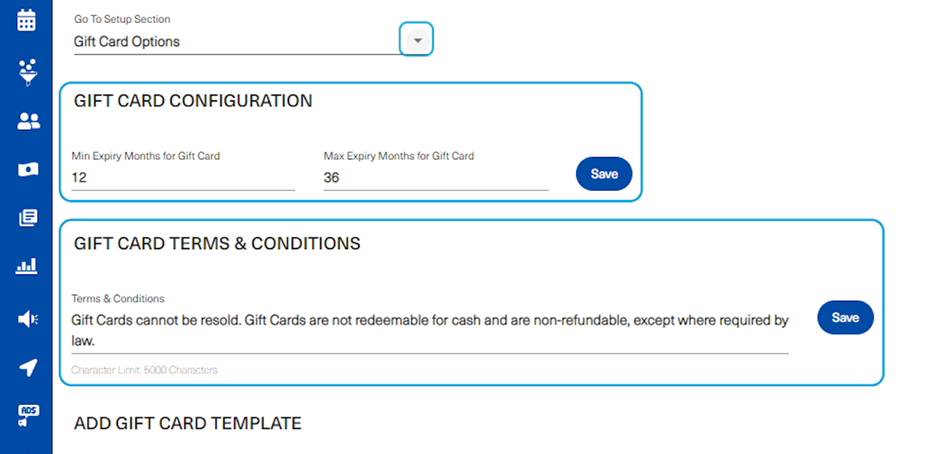
21. Click on Go To then on Gift Card Options

22. Gift Cards Setup: Another promotional tool that can be used by clinics is a Gift Card
To setup a gift card, the user will add the expiry dates and the terms and conditions.
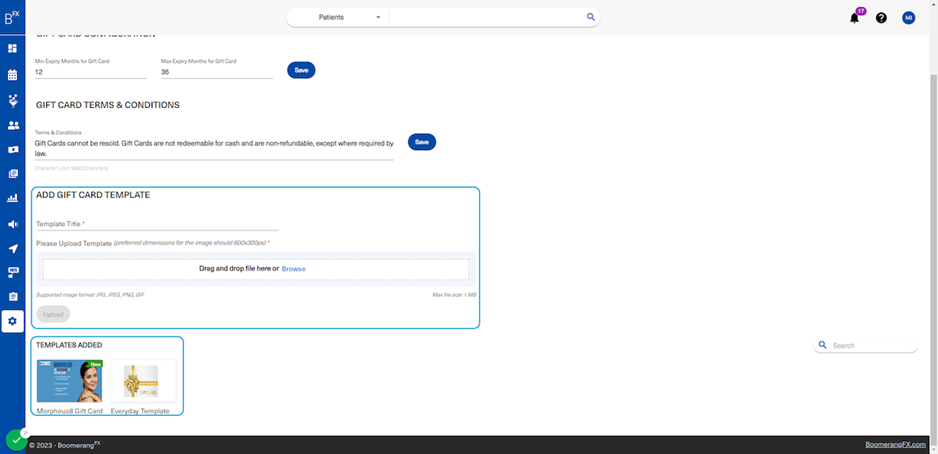
23. Gift Cards Setup
The user will then add a template for the gift card with a title that will appear when issued to a customer
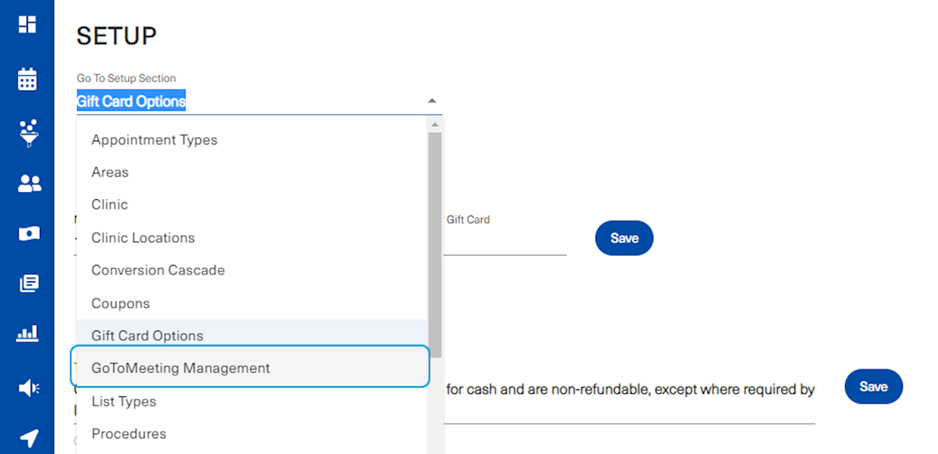
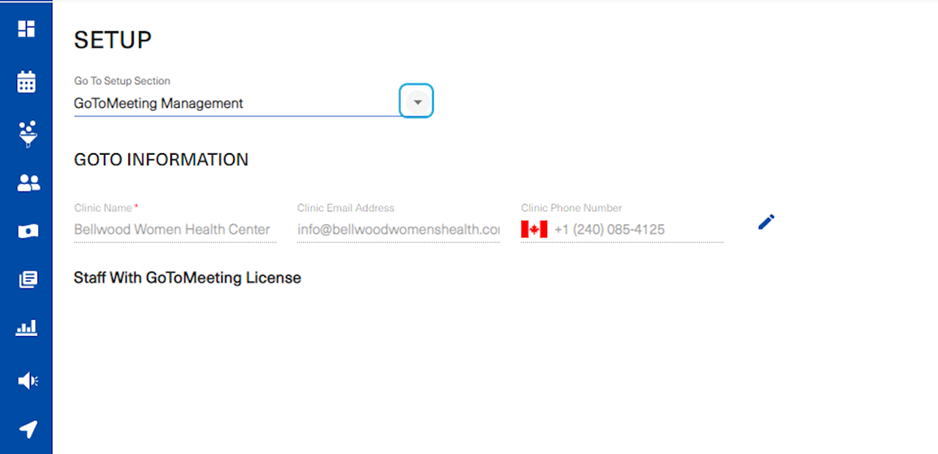
24. Click on Go To then on GoToMeeting Management
25. Staff with GoToMeeting Licenses who have been configured will appear in the list below
Please refer to the GoToMeeting Management Workflow to review the steps related to enabling GoToMeeting for a staff member and activating their account
26. Click on Go To Setup and then click on List Types
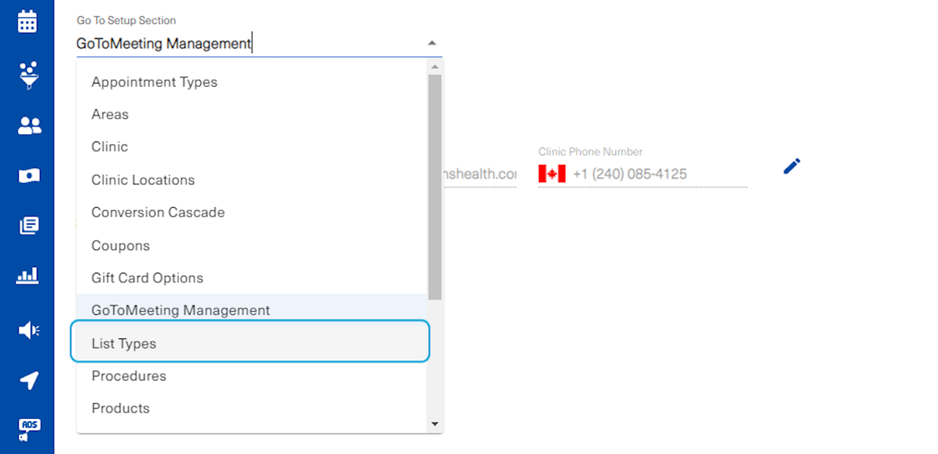
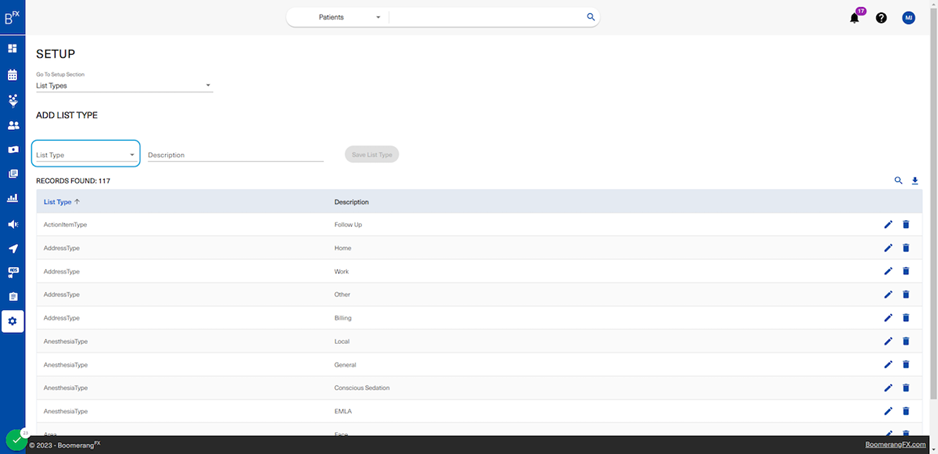
27. This is where you can set up list types
The software has multiple areas where the user is able to choose from a dropdown list to complete a certain task. These lists are configurable from this setup page.
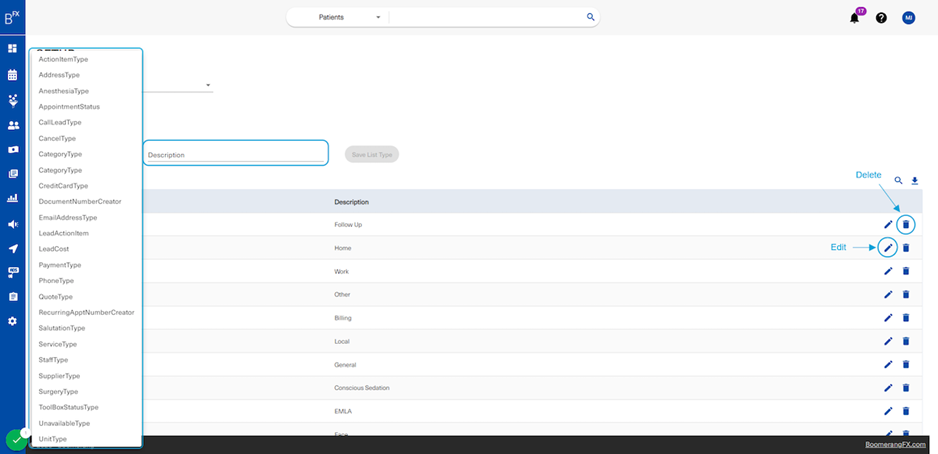
28. Click on List Type
You will find a list of list types to choose from. After choosing one, the user will write a description (or label) for it. The user may have to create multiple descriptions that fall under the same list type.
After configuring a list type, the user may either delete or edit it.
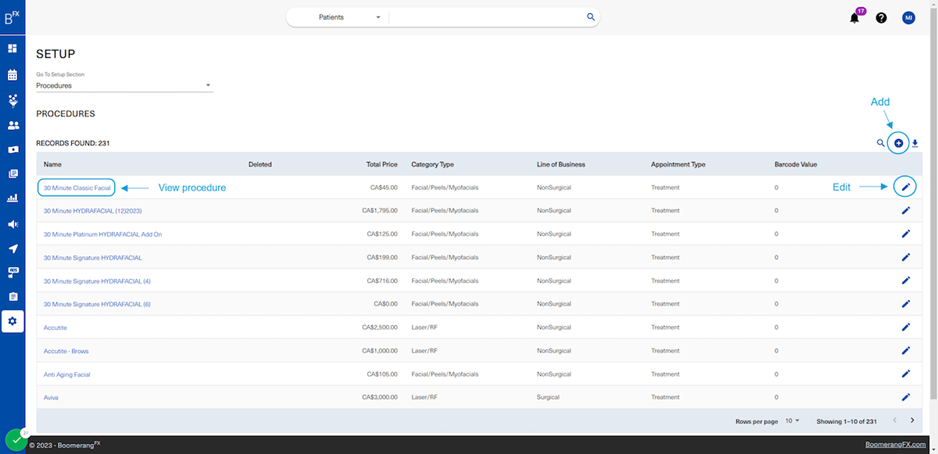
29. Click on Go To then on Procedures
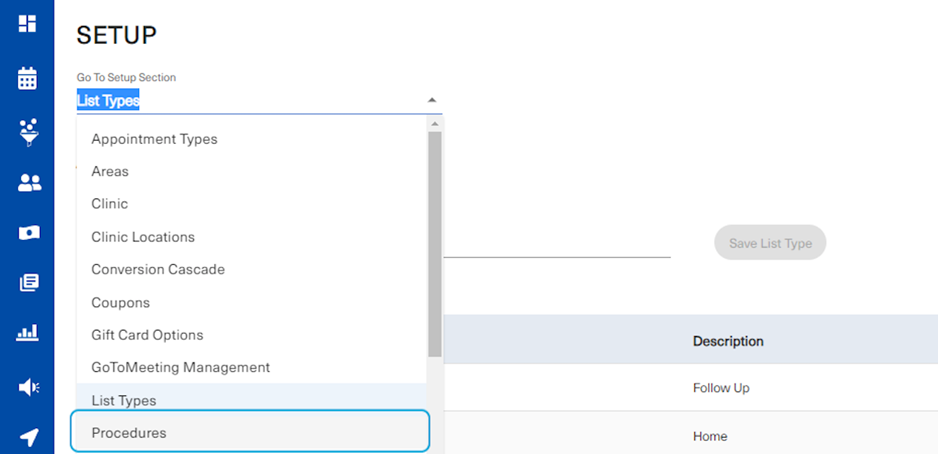
30. This is where you can add or edit procedures conducted within your clinic
To create a procedure, the user will click on the plus button on the top right above the table. To edit, the user will click on the pencil icon at the right of every procedure. By clicking on the procedure name itself, the user will be able to view its details.
31. Click on Go To then on Products
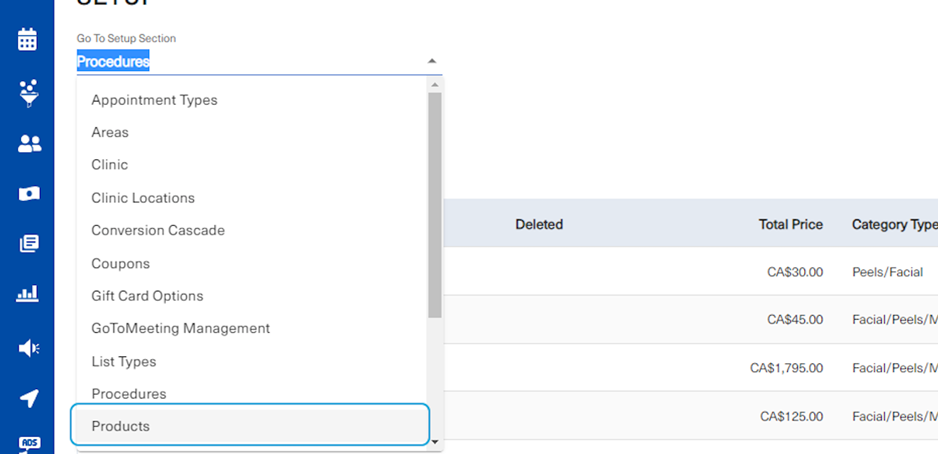
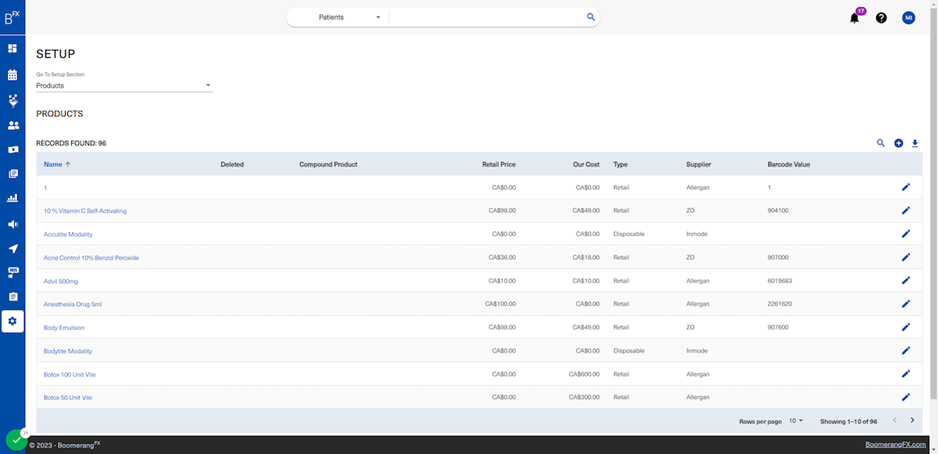
32. Setting up products is similar to setting up procedures
The user may add a product by clicking on the plus icon, edit the product by clicking on the pencil icon, and view the created product by clicking on the name in blue.
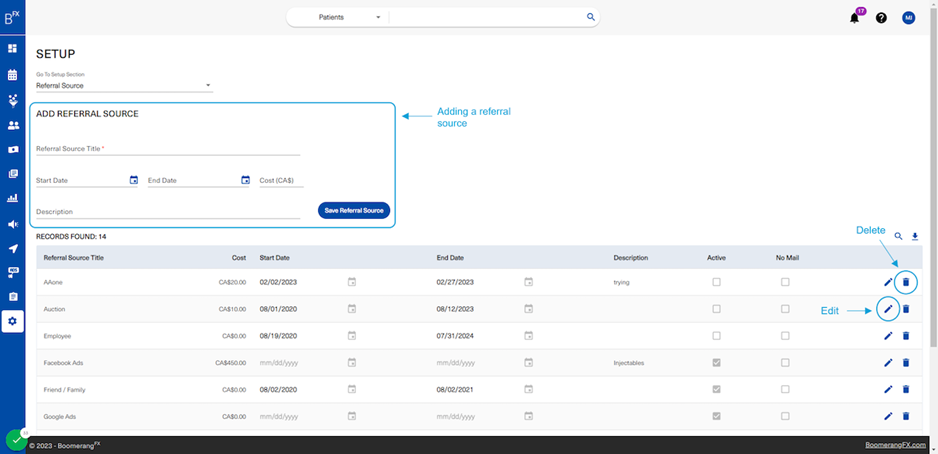
33. Navigate to Referral Source
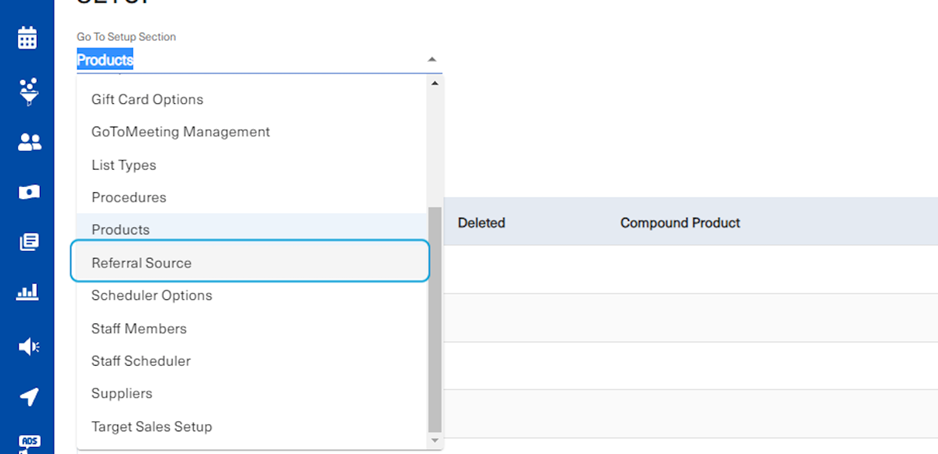
34. Referral sources typically appear when creating a new patient
To add a referral source, the user will fill out the fields found under the Add Referral Source title. To edit a referral source, click on the pencil icon, and to delete, click on the delete icon.
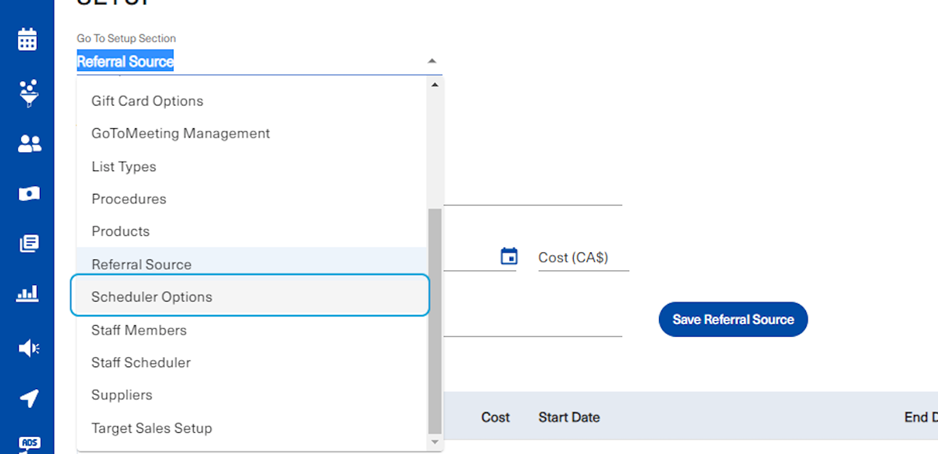
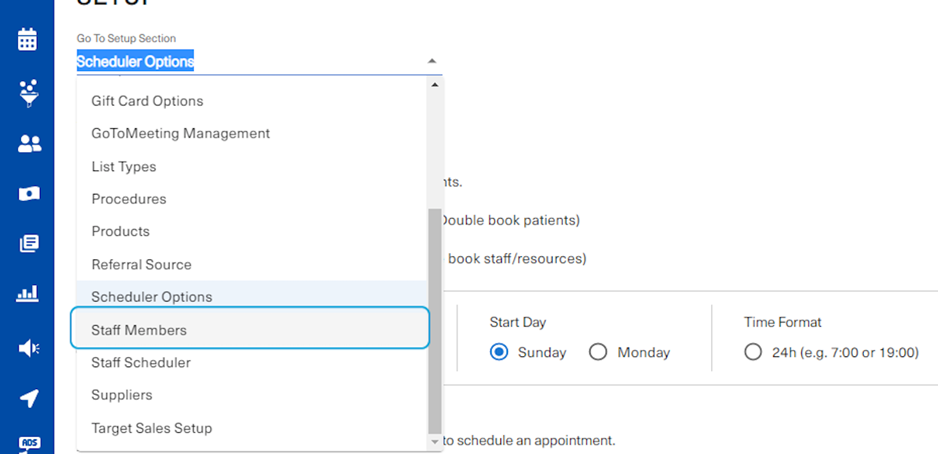
35. Navigate to Scheduler Options
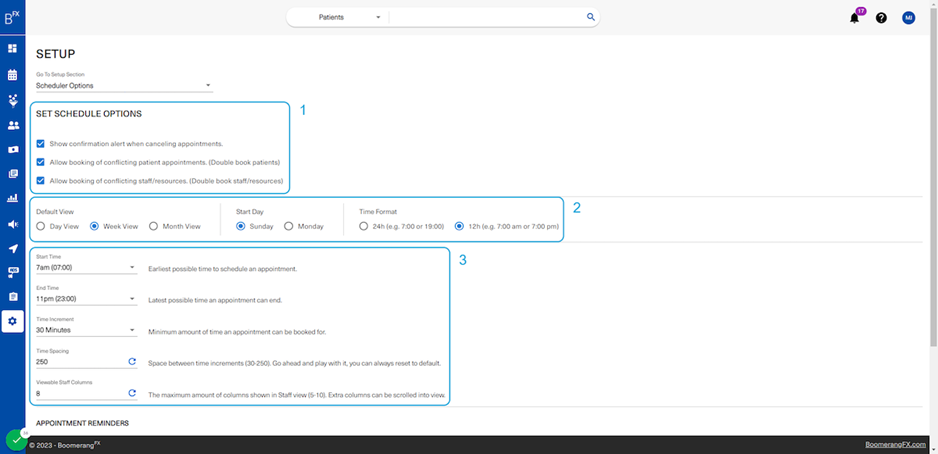
36. The scheduler can be customized to match your preferences
• Section 1: Users can tailor their user experience when booking and cancelling appointments.
• Section 2: Users can customize the view of the scheduler according to their preference
• Section 3: Similar to Section 2; users can customize the scheduler's time intervals, limits, and viewing options and additionally configure the visible staff columns
All options can be reset to default values
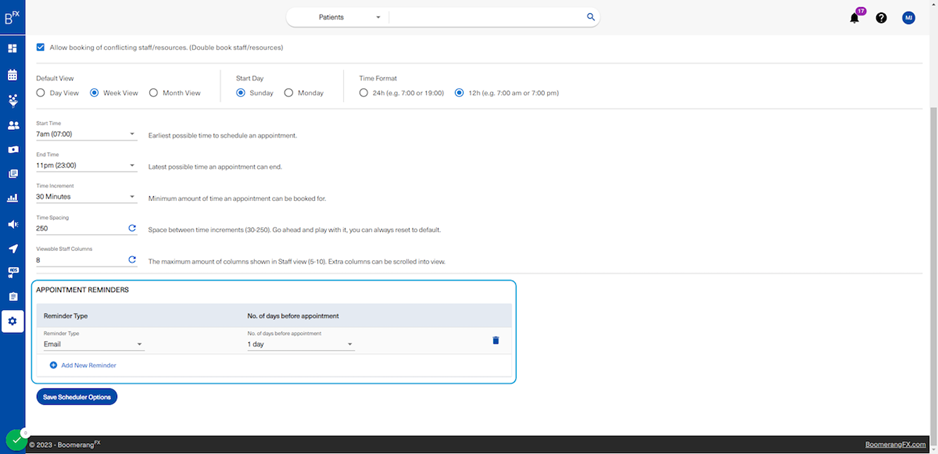
37. Users can also set appointment reminders
Users can specify the number of reminders, their type and the number of days before the appointment
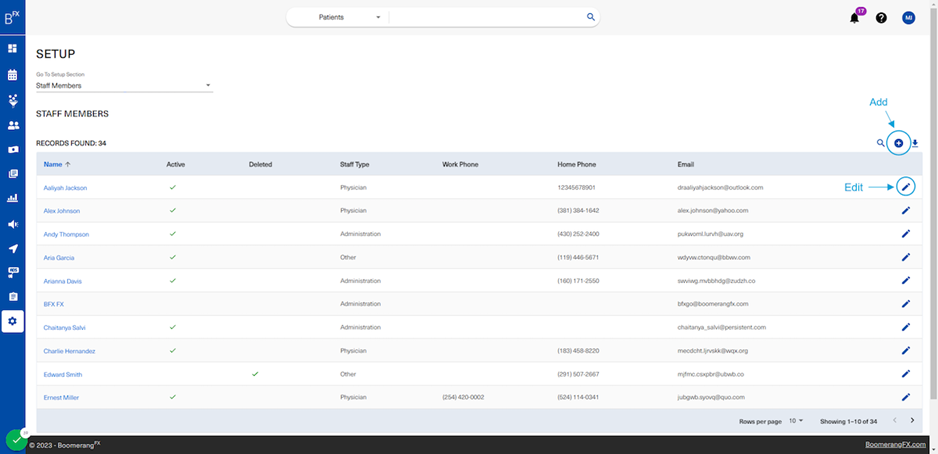
38. Navigate to Staff Members
39. This is where users can add new staff members
Similarly to products and procedures, staff members can be added by clicking on the plus sign at the top right corner
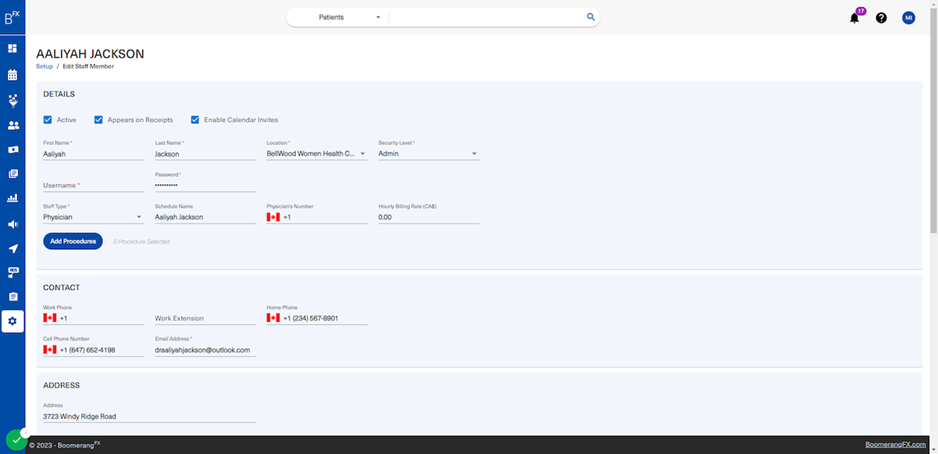
40. When users click on edit, they will arrive to this page
Users can view all the details about the staff member being edited currently. All fields will be editable given that the user logged in has the permission to edit staff members.
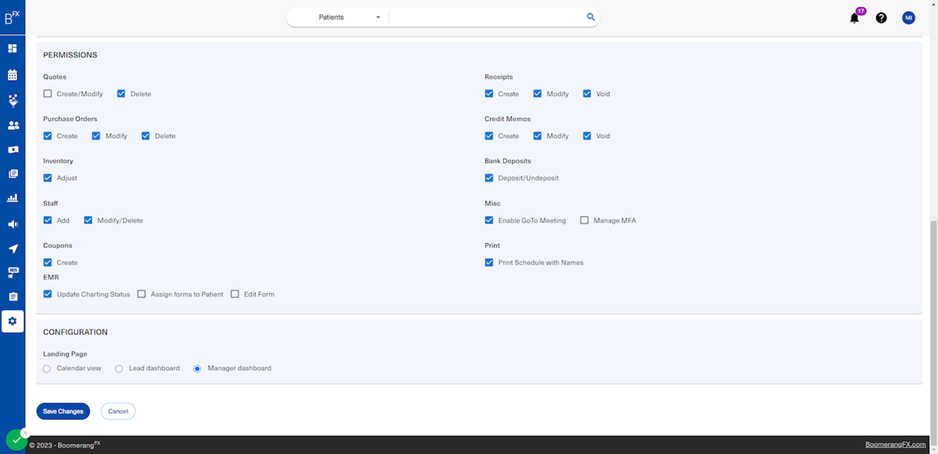
41. Permissions are also set up under the Edit Staff Member page
The user needs to scroll down to view the permissions section.
42. Navigate to Staff Scheduler
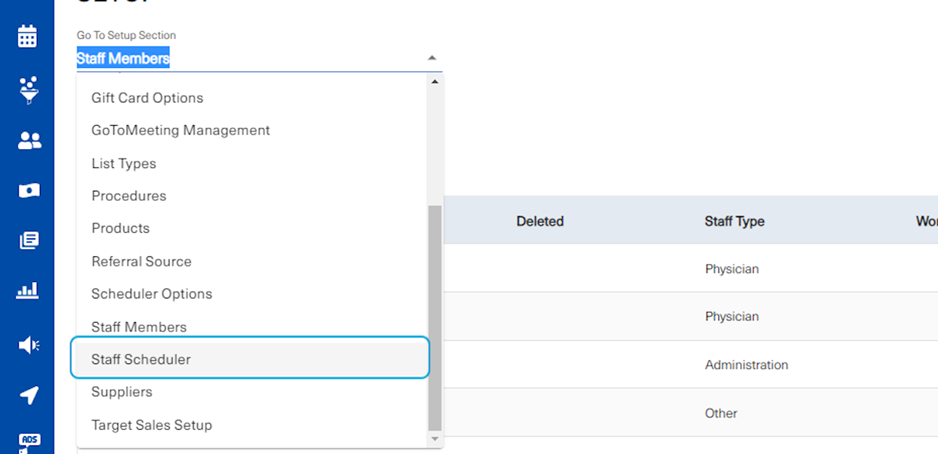
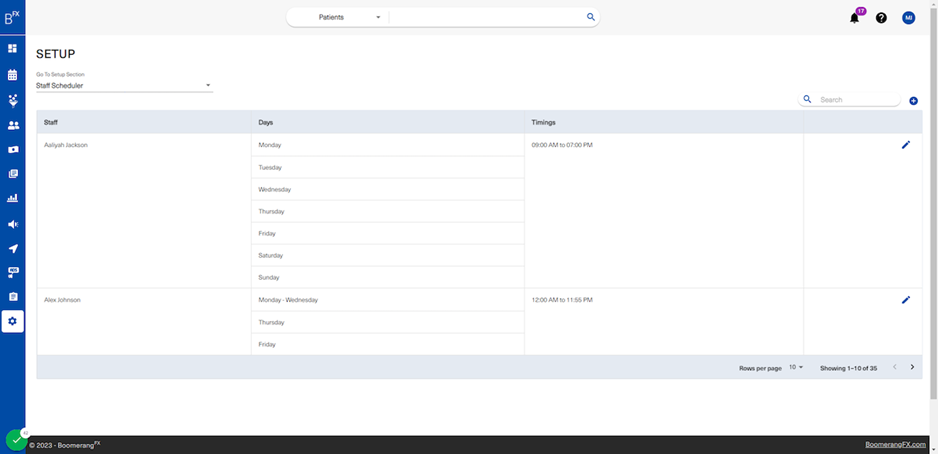
43. Under Staff Scheduler, you are able to specify the schedule of each staff member
By clicking on the pencil icon, you are able to edit the staff schedule.
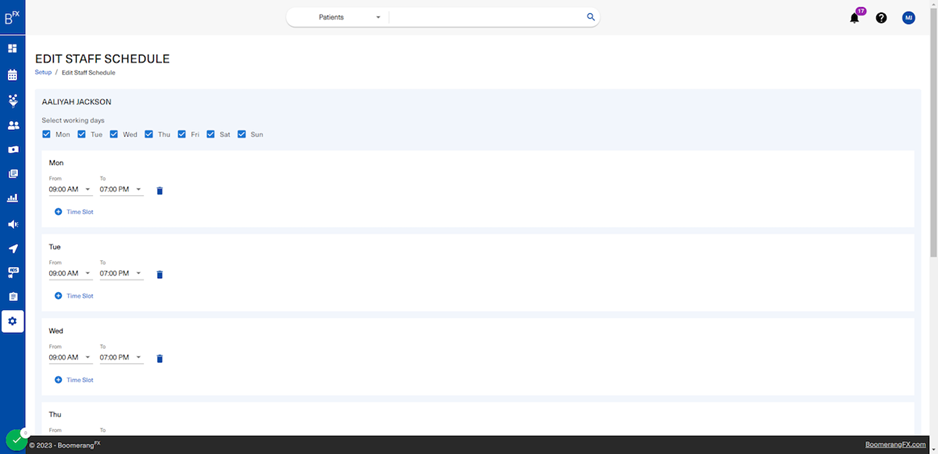
44. This is the edit page
You have the option set a detailed staff schedule by specifying the day and the specific times of operation per day.
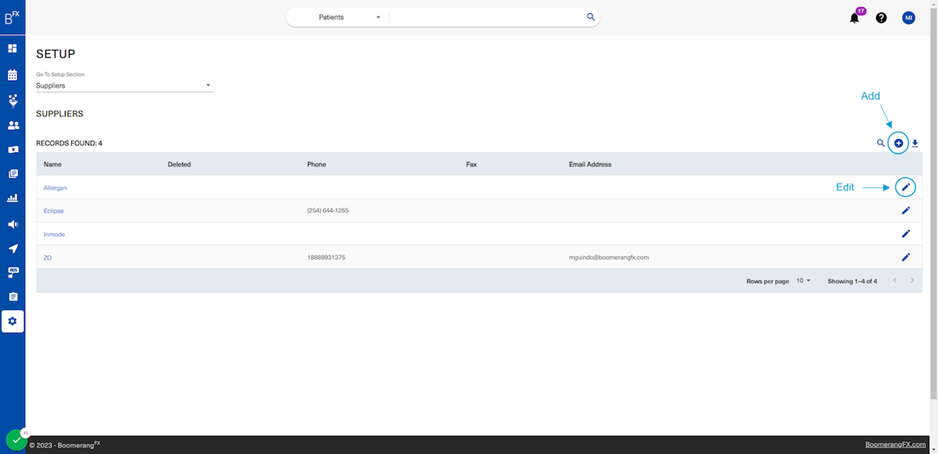
45. Navigate to Suppliers from the Go To Setup dropdown

46. Suppliers can be added and edited under the Suppliers Setup page
Similarly to procedures, products, and staff members, adding a supplier can be done by clicking on the plus sign and edits can be done by clicking on the pencil icon.
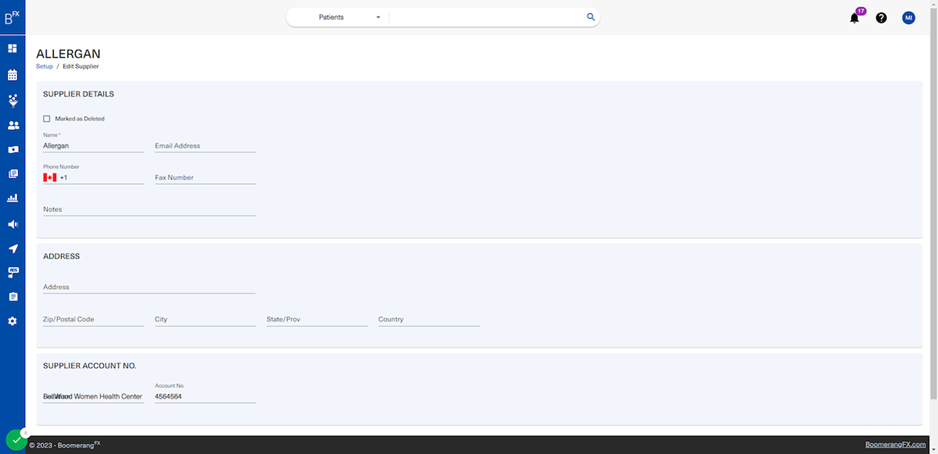
47. Upon clicking on edit, users can view the details of their supplier
All fields are editable. If a supplier is discontinued, the user will click on Marked as Deleted
48. Navigate to Target Sales Setup
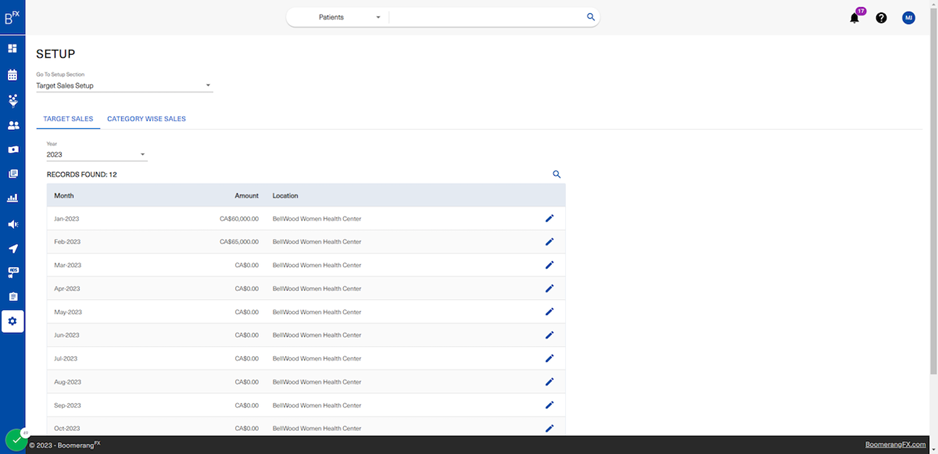
49. You are able to set sales targets for each month of the year
By setting sales targets, you will provide your clinic with the needed alignment and direction to reach new heights and grow at a pace that is pertinent to your clinic based on location and competition. This will ultimately inspire better fluency of internal management and proper focus on customer satisfaction.
Your practice consultant will be available to help you set appropriate targets based on your specific needs.
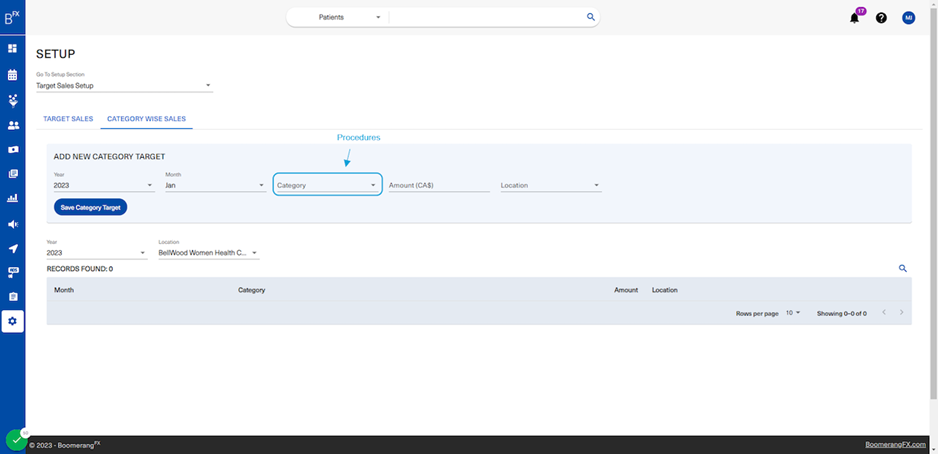
50. Sales targets can also be set up based on specific categories
The categories found in the dropdown can be setup under the Procedures Setup