What are Schedule Options ?
Schedule Options allow the user to customize their calendar.
How do I set the Schedule Options?
To access the setup section, open the side menu by clicking the three lines in the top right comer. Click on clinic setup, to access the setup section.


To access Scheduler Options, select Scheduler Options from the Go To Setup Section Drop-Down Menu.

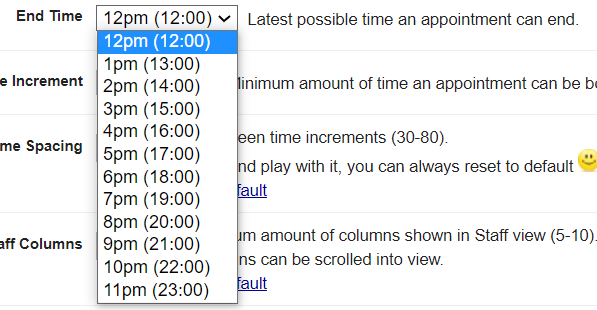
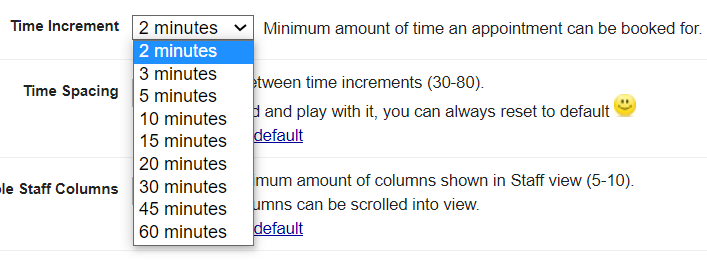
In Set Schedule Options, you will see several choices for customizing the schedule.
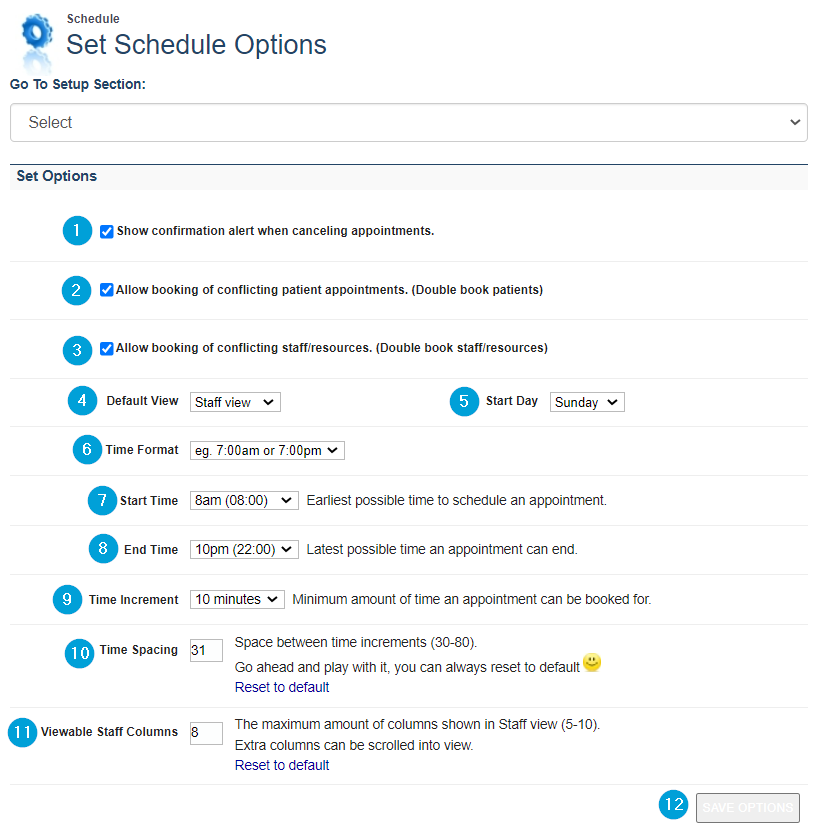
- Show confirmation alert when canceling appointments - It is recommended that this option is checked.
- Allow booking of conflicting patient appointments - Check if you would like to double book patients.
- Allow booking of conflicting staff/resources - Check if you would like to double book staff.
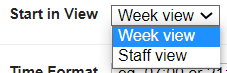
- Start in View – Clinics have the option to start the scheduler in Week View (default) or Staff View.

11- Viewable Staff Columns – This is the number of staff that can be seen on screen at one time (default 8).
12- Save Options – Click Save Options to save any changes.